
Start Sending Emails
Download Mail Designer 365 for Mac and follow the 10 steps below to start sending emails to your audience:
Open Mail Designer 365 on your Mac. Go to Design Ideas in the sidebar and choose your favorite design to get started. Today, we're going for a cat-themed email 😸

Click the Crew Chat icon in the Mail Designer 365 toolbar.
Now type in a name like "My first design in Crew Chat".
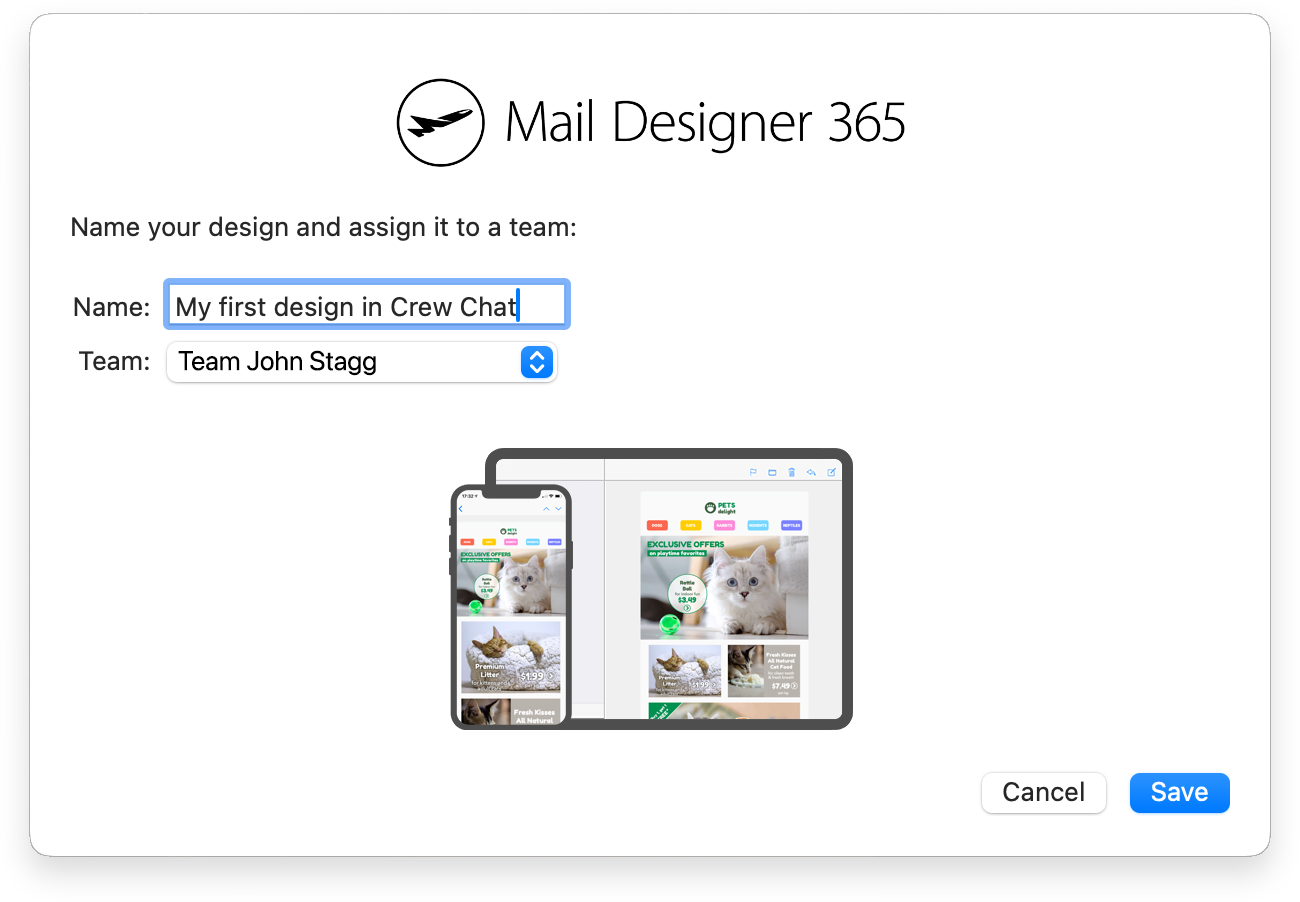
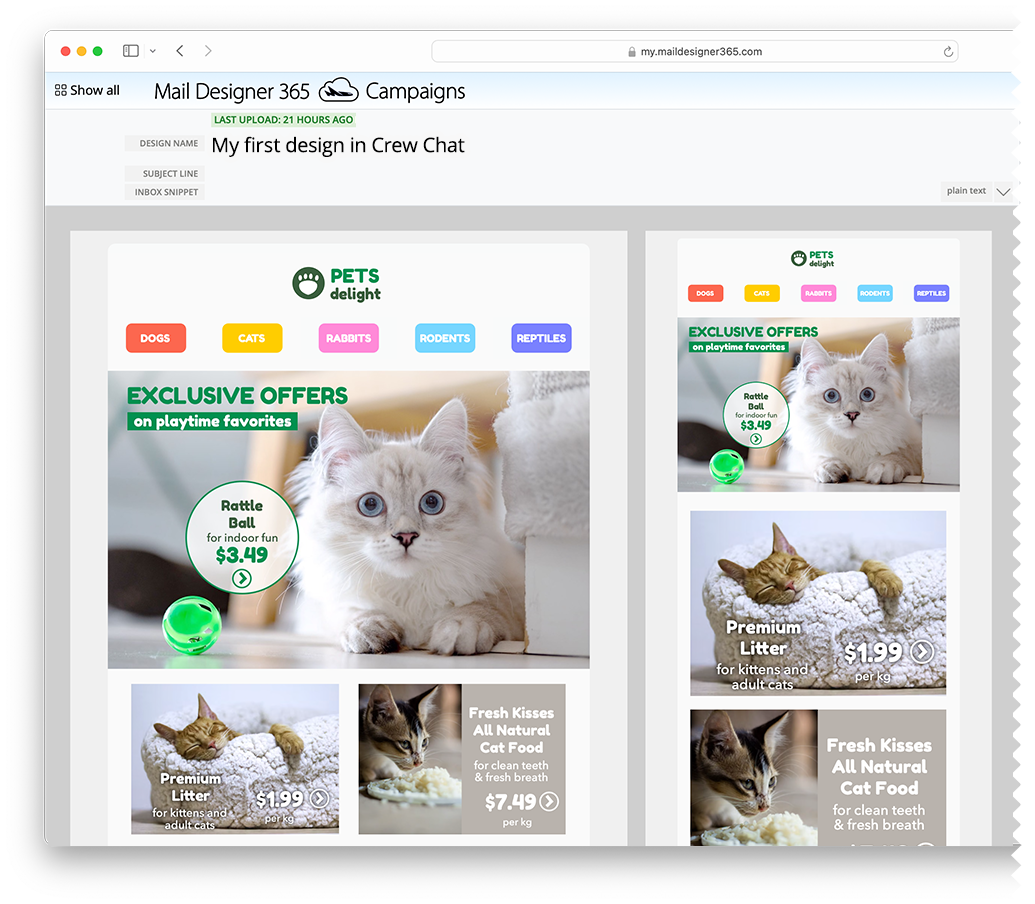
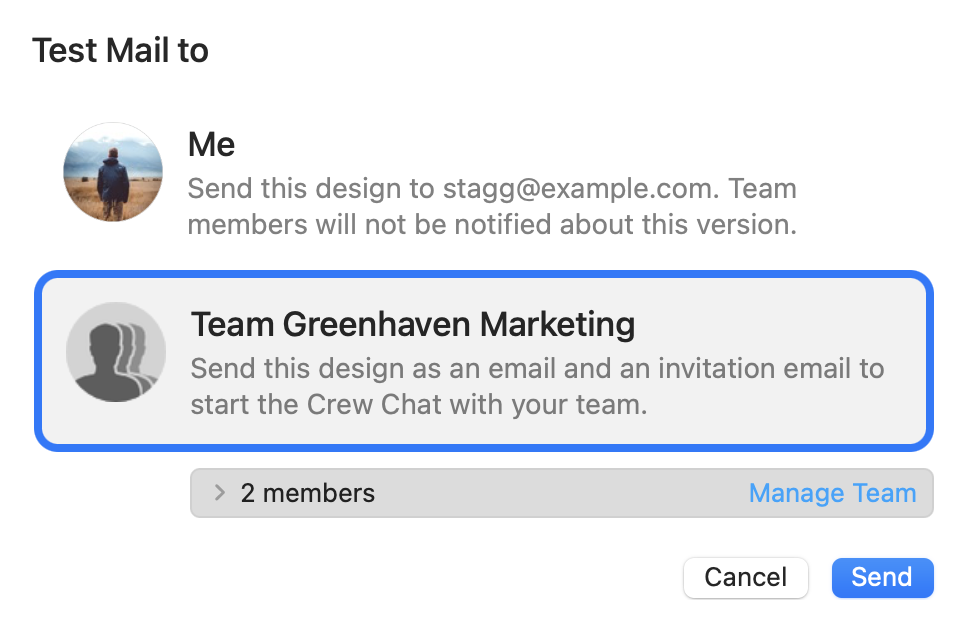
A window will open with a preview of your latest design version.
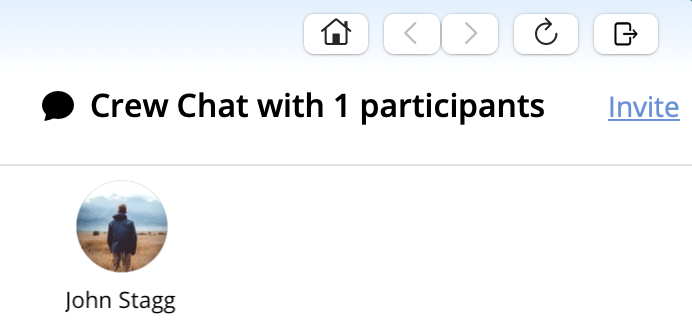
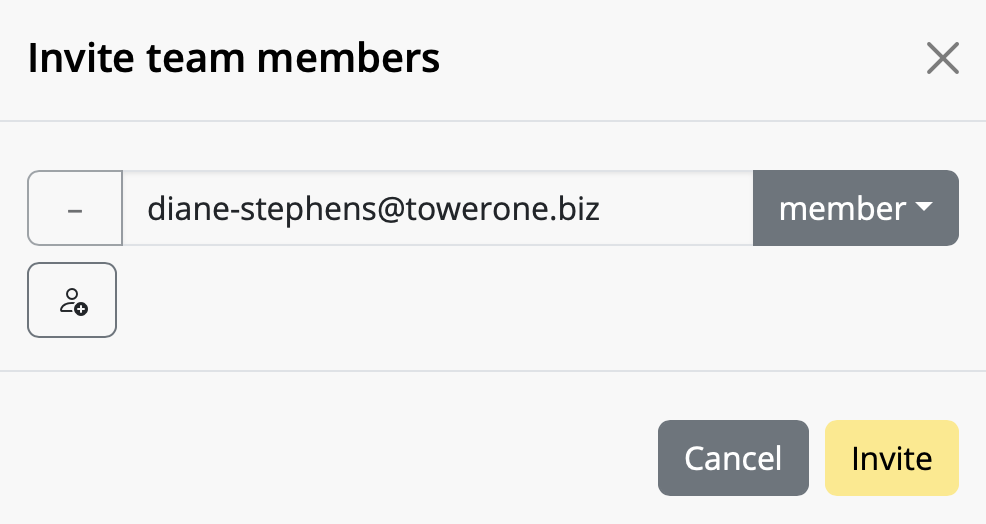
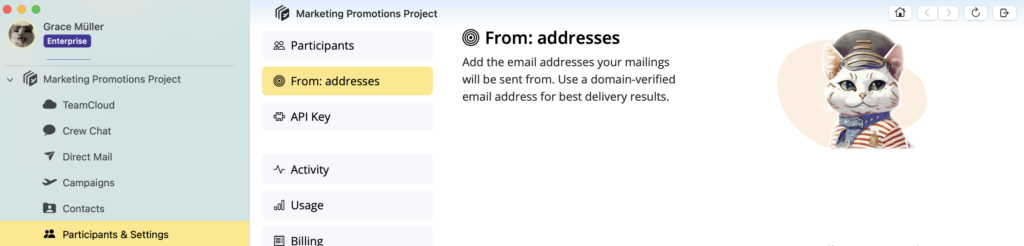
Now enter an email address to send your first invitation.
5. Time to test!
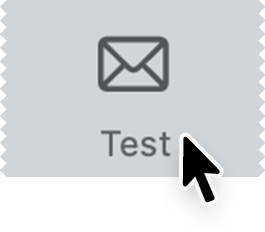
Switch back to the Mail Designer 365 app and hit the Test icon in the toolbar to send yourself a dry run of your email.
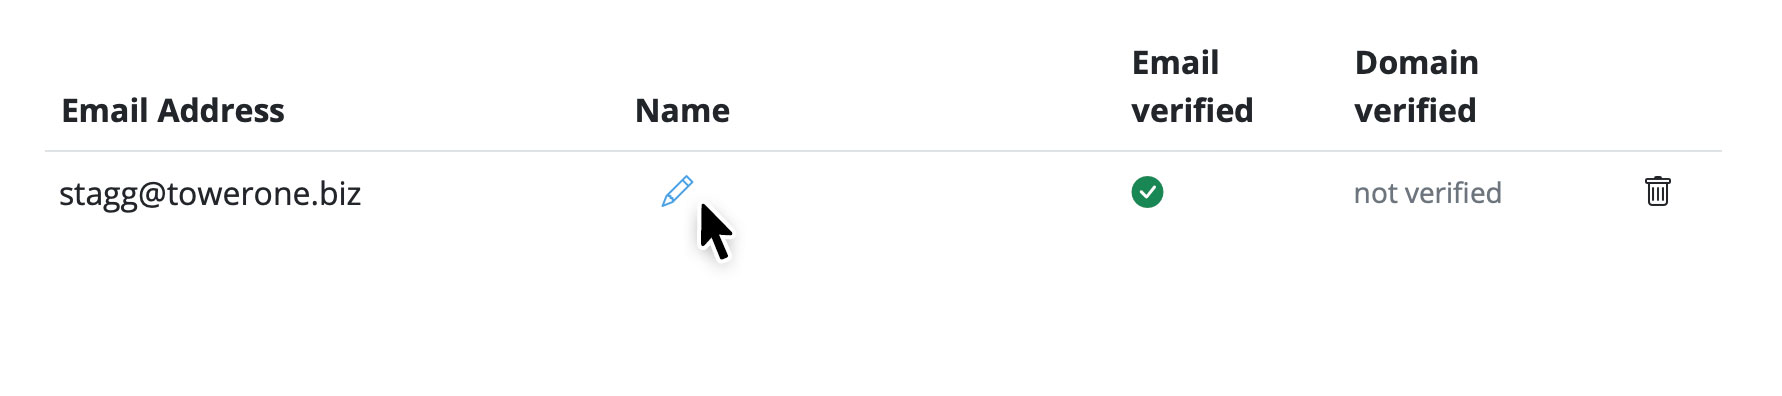
Once you’ve sent your test email, look out for the verification email in your inbox. This confirms the email address belongs to you. Click the link and you’re ready to start sending for real later!
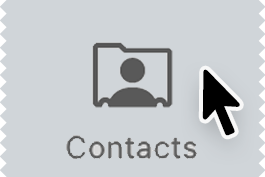
Add new contacts by clicking Contacts in the Mail Designer 365 toolbar.
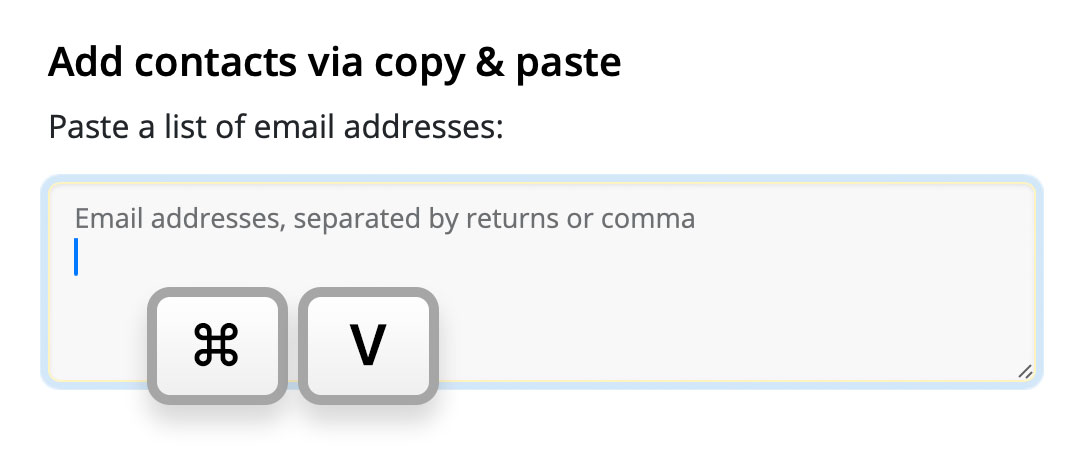
A new window will open. Paste email addresses into the address box to make up your first audience. Add your own email addresses too, if you like!
Now let's say all the new contacts you've added are cat lovers. Make a note of this by assigning them an attribute.
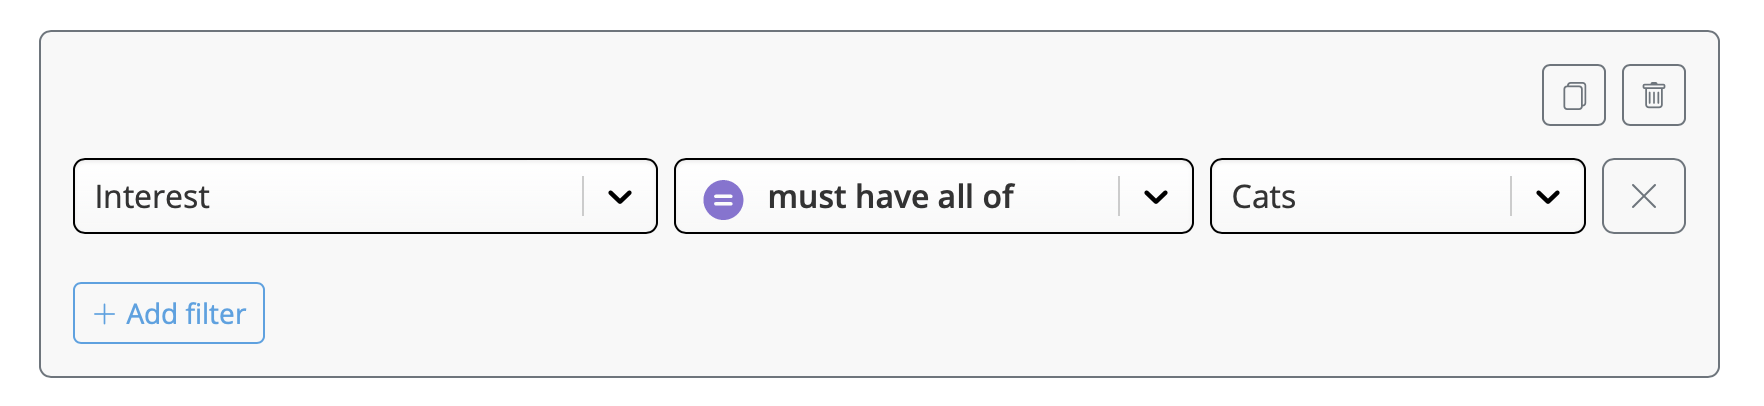
Try it out: Just enter "Interest" into the attribute field and click on "Create". To show they are interested in cats, enter "Cats" and click on "Create".
You can also attach further values to an existing attribute category to represent different interests – for example, "Dogs", "Reptiles", etc.
Finally, click on "Add contacts".
Create a new audience – let's call them "Cat Lovers". Pick out all the contacts interested in cats by choosing the "Interest" attribute you created earlier and selecting "Cats".
9. 🔥 You're ready to send your first email!
Now it's time to create a new campaign:
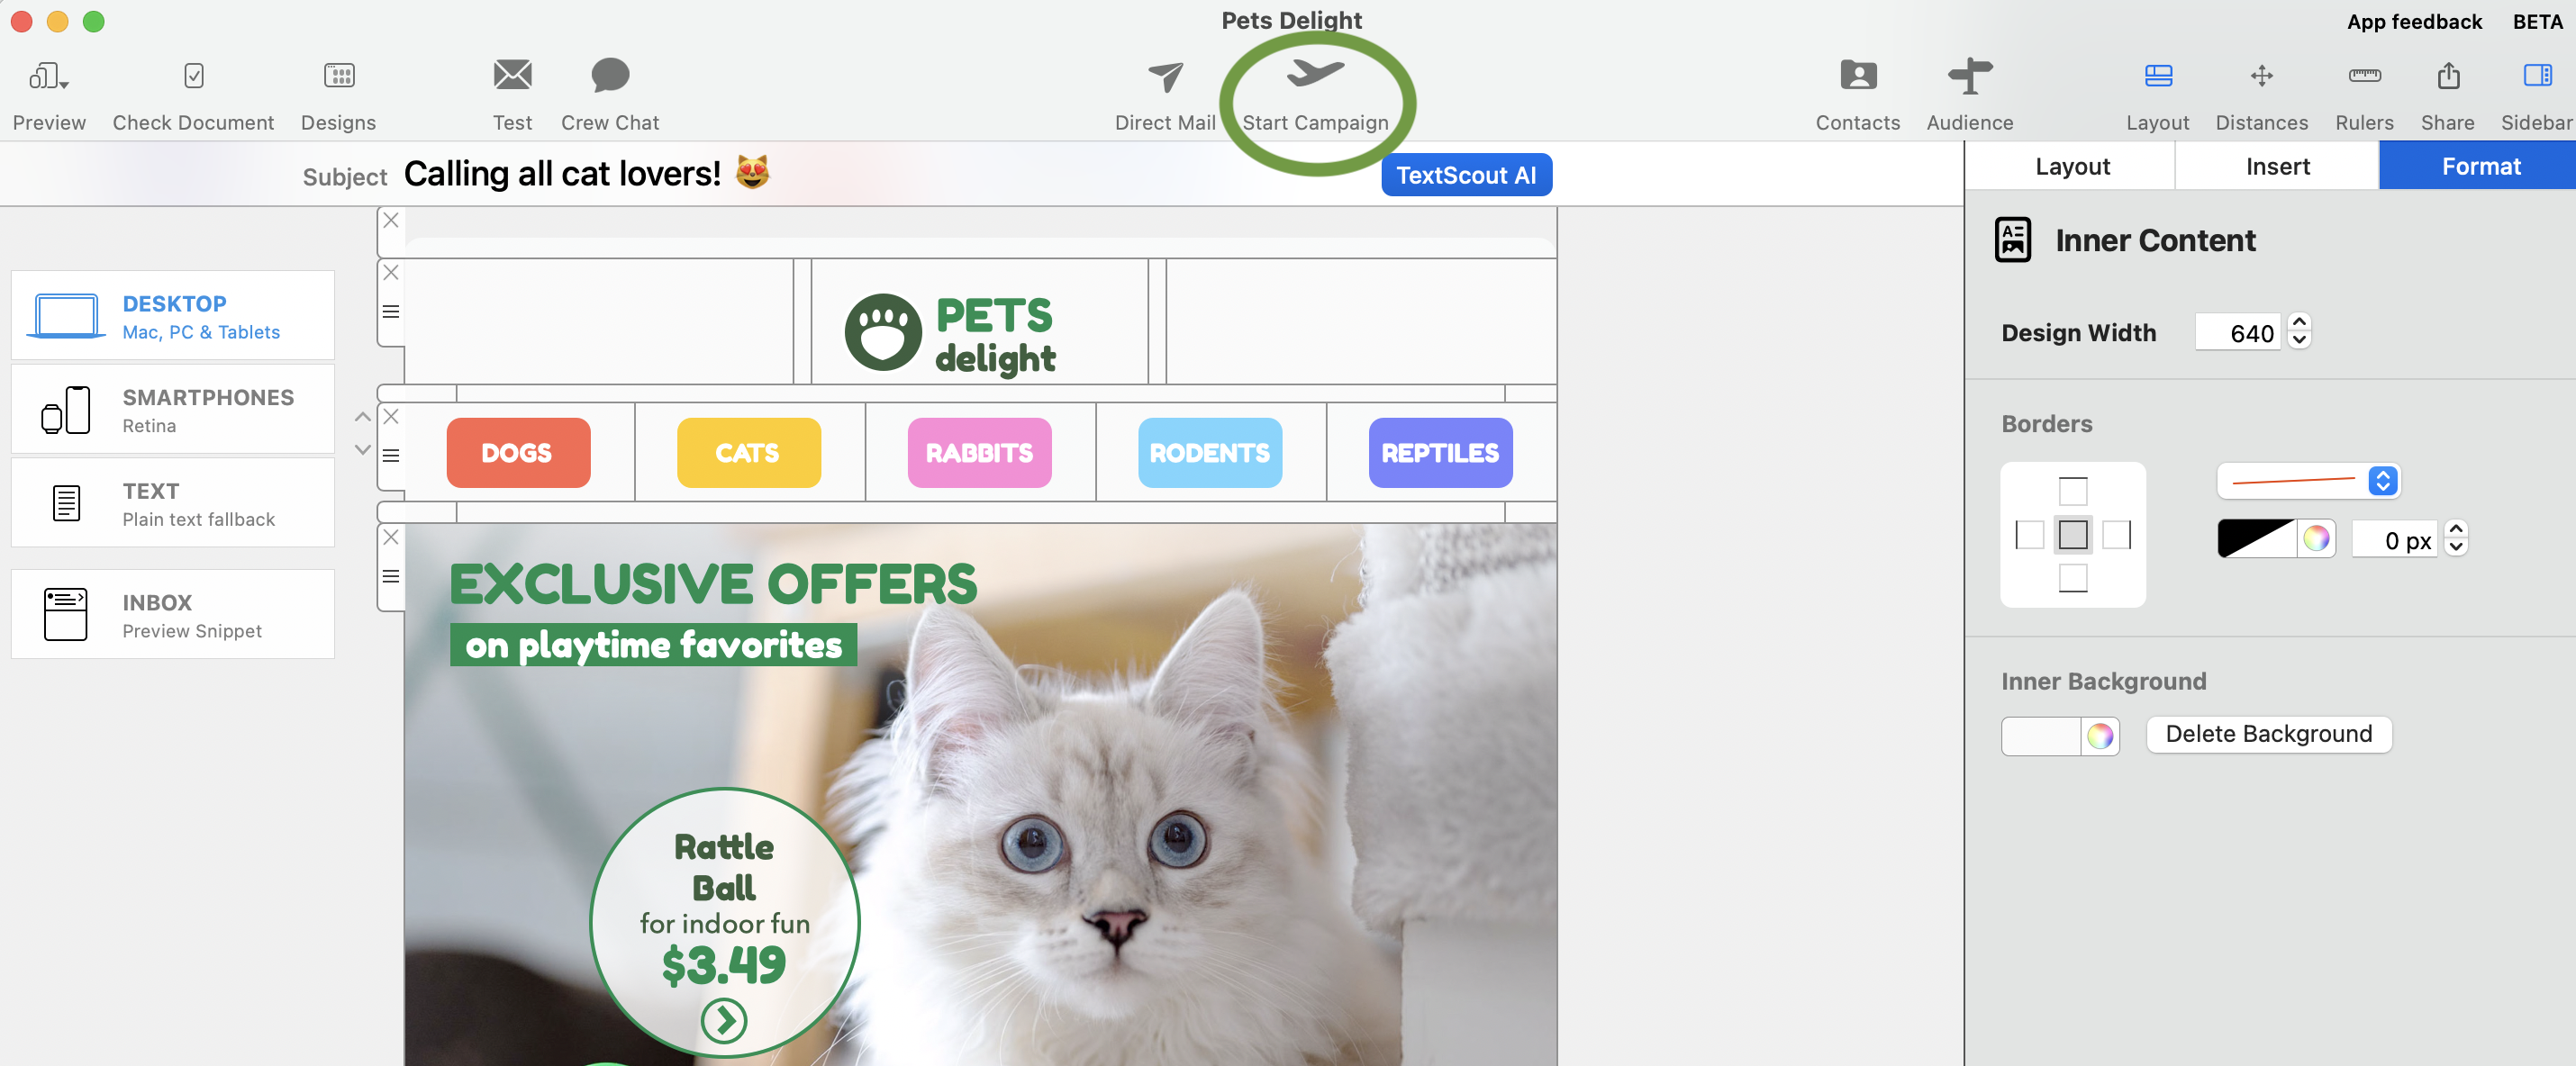
To get started, go to the design you built in Mail Designer 365 and choose Start Campaign:
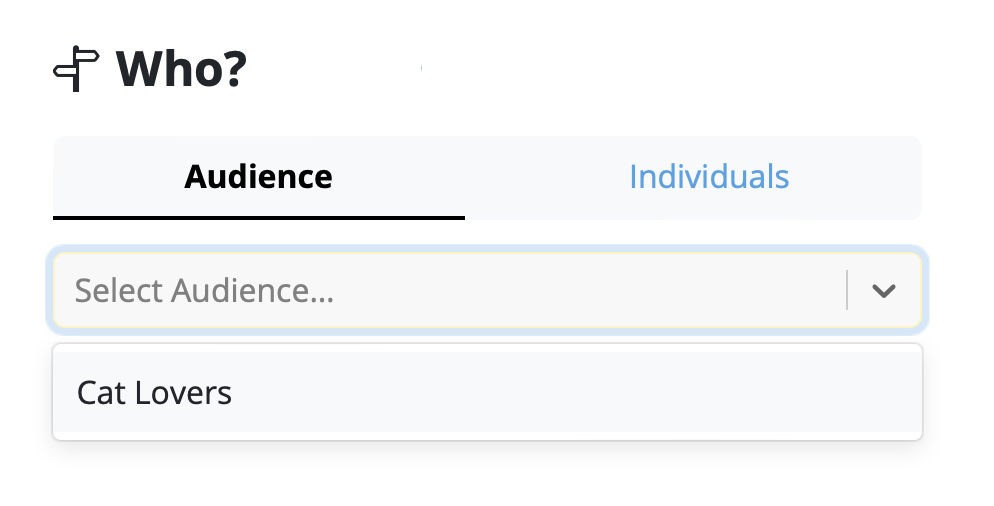
Next, choose your Audience. Here you will see the Cat Lovers target group you added earlier.
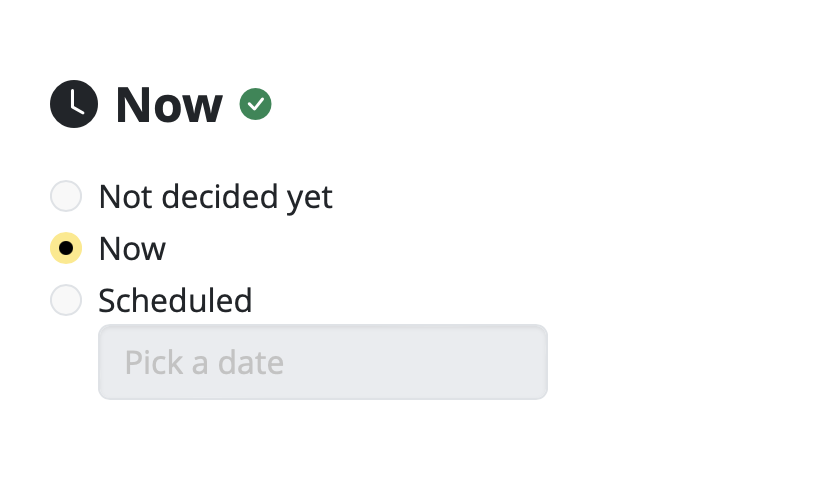
Now choose when to send your campaign: Send now or schedule for later.
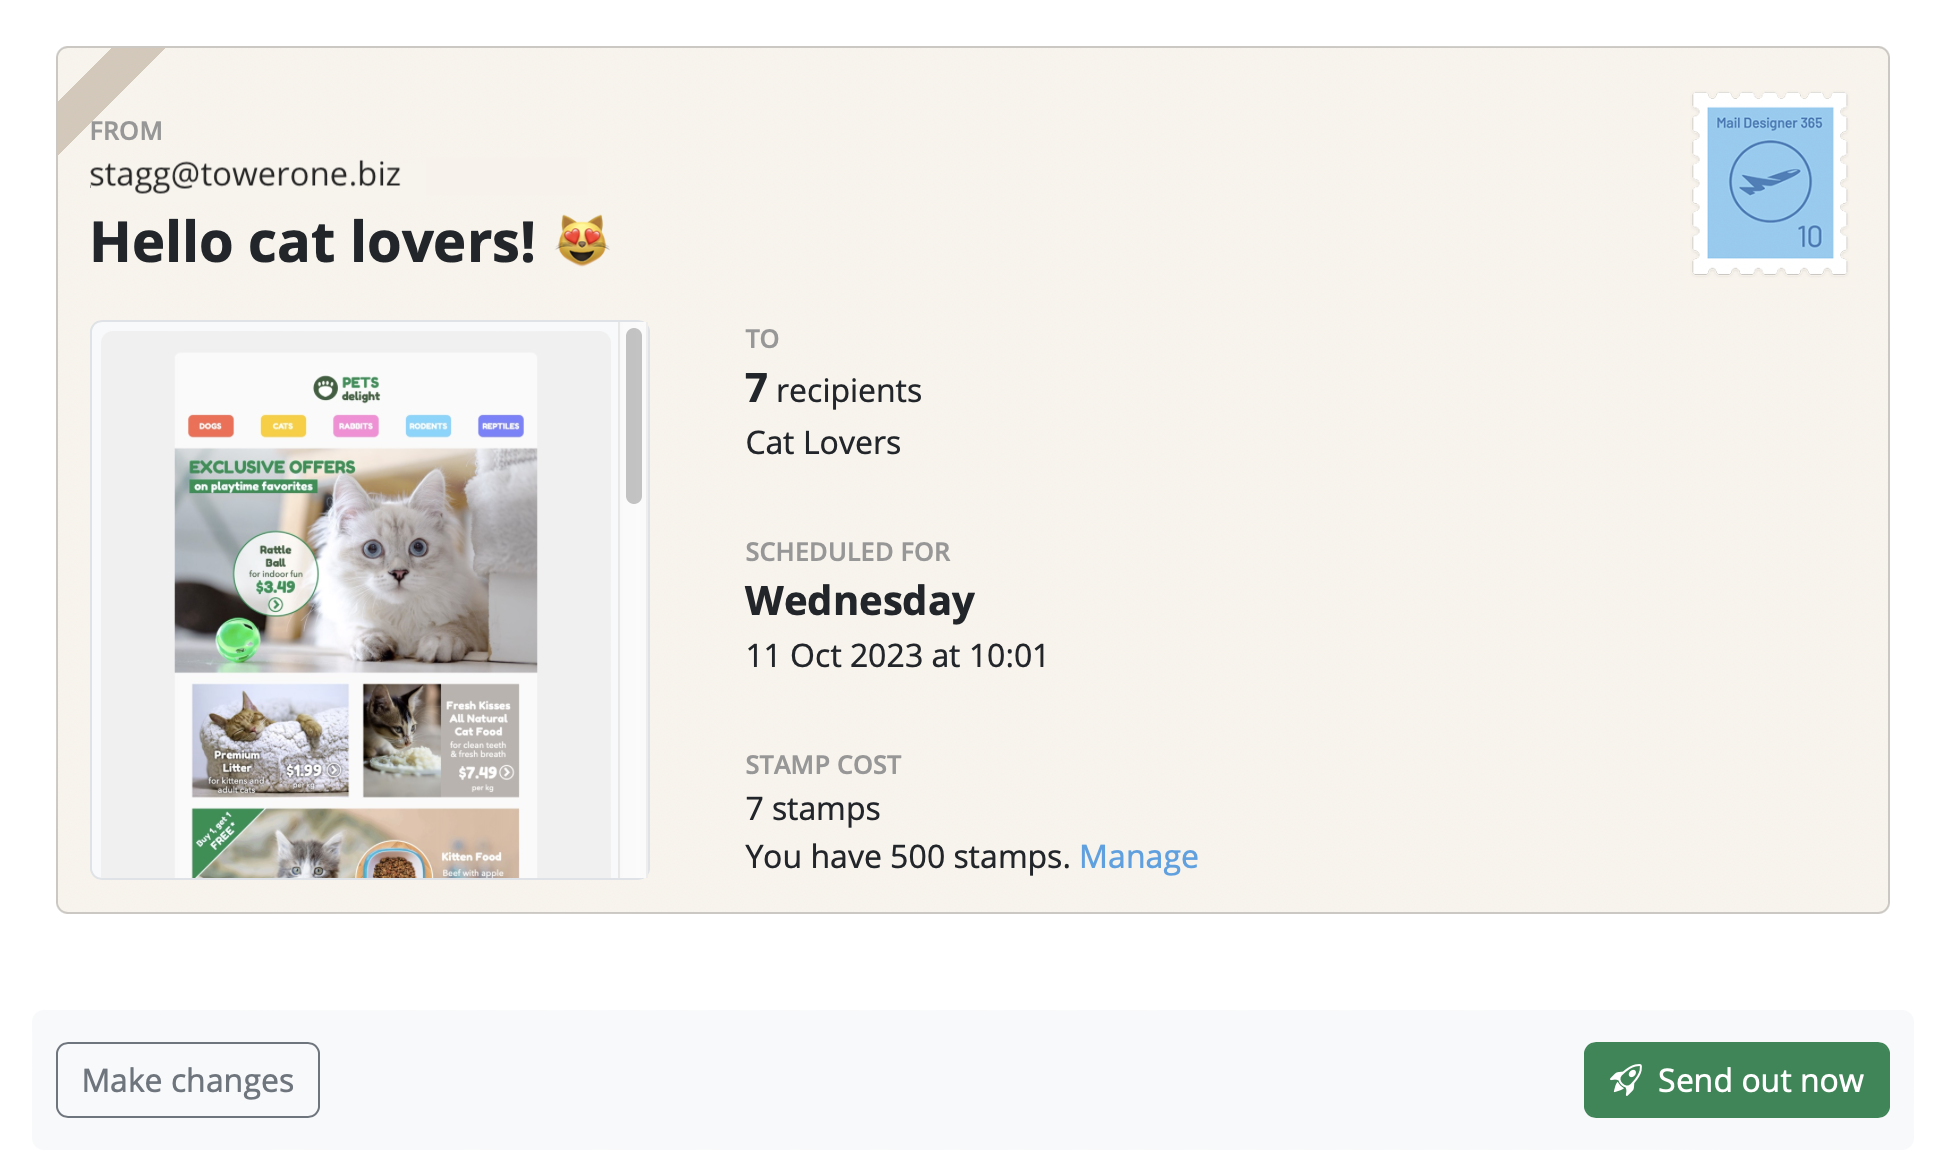
Happy with your campaign settings? Select "Queue this mailing for delivery" and hit Review to go to the next step. Otherwise, you'll see the save option so you can come back to your campaign later.
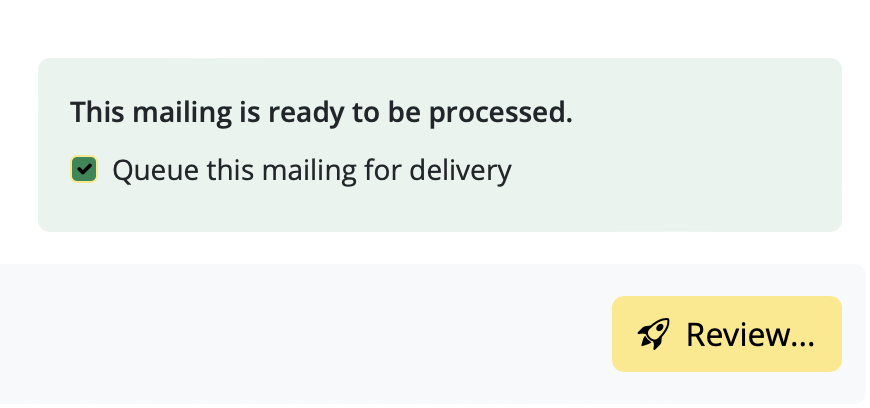
Ready to go? Click the green button, you know you want to!
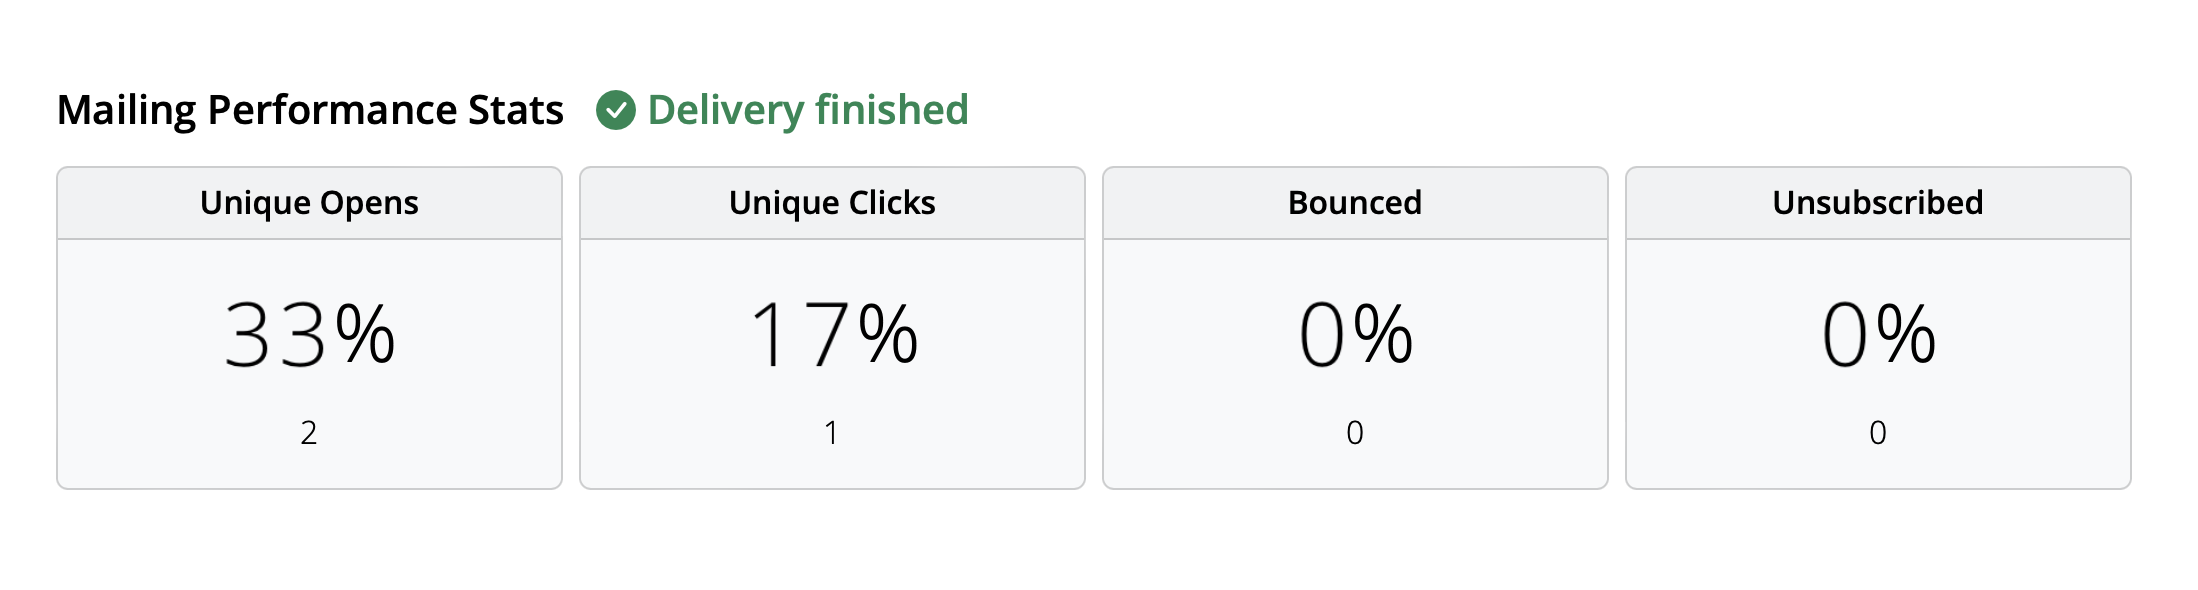
This is the place to come to monitor deliveries, email opens and clicks. For a test campaign, expect initial results like this:
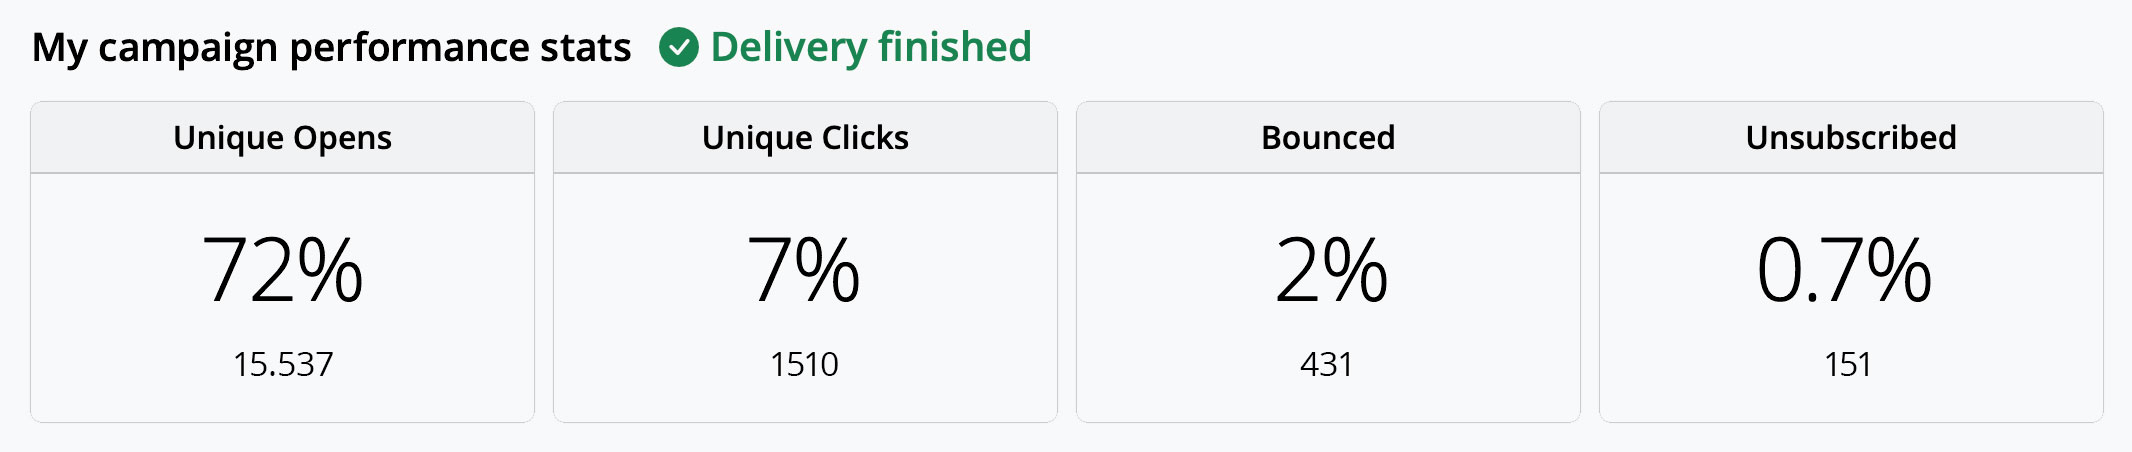
However, once you really get started, get used to views like this:
Tip: If you added yourself as an email contact, try clicking on one of the links in the email and you'll see your click appear in realtime!
Congratulations, you're now ready to start sending emails! 🎉
All Mail Designer 365 design plans come with free Delivery features to help you get started. Ready to bring your whole team on board? Check out all options below:
Displayed dollar prices are in USD.
Which FileMaker versions can I use the Mail Designer 365 FileMaker API with?
The API integration was developed for the latest FileMaker version, FileMaker Pro 23, and is also compatible with older FileMaker versions from FileMaker 12 onwards, as well as with the FileMaker Go iOS app. When using attachments, at least FileMaker 18 is required.
Which kinds of emails can I send using the Mail Designer 365 FileMaker Integration API?
The API is super versatile and lends itself to a number of professional use cases. If you are regularly sending transactional emails such as order confirmations, reservation details, welcome emails, appointment reminders, invoices, quotes, portfolios, etc., you can easily utilise the Mail Designer 365 FileMaker API to save time and send beautifully designed emails directly from your FileMaker database.
Can I use image placeholders in Mail Designer 365?
Currently, the API only supports text placeholders. Image placeholders are on our roadmap for a future release.
What is the Mail Designer 365 FileMaker Integration API?
Regularly sending booking confirmations, quotes, invoices, welcome emails? Use the API to seamlessly integrate Mail Designer 365 with your FileMaker database and send flawlessly designed transactional email templates to customers, clients, and staff – directly from FileMaker.
What kind of Mail Designer 365 license do I need for the FileMaker Integration API?
We are working on the finishing touches for a new Mail Designer license for all users interested in using the FileMaker Integration. Existing users will be able to cross-upgrade.
Does the Mail Designer 365 FileMaker Integration API work on iPhone and iPad?
You can try out the integration in the FileMaker Go iOS app to send emails using your iPhone or iPad.
Can I already test the Mail Designer 365 FileMaker Integration API? When will it be available for everyone?
You sure can! Our live demo gives you a sneak peek of the FileMaker integration in action. The API will be rolling out publicly in April 2025. Register here for first access!
How does the integration work with FileMaker?
Create a FileMaker string with all your existing database variables so they correspond with the placeholders in your Mail Designer 365 template. Then, relay these to the FileMaker send script (cURL-based) to enable one-click emails directly from your records. It's that easy!