Create custom email designs from scratch on your Mac
Feeling creative? Open Mail Designer 365 and press ⌘ + n to get started with a blank canvas!
1. Build your layout
Browse layout block options in the sidebar and drag and drop them into your design to create your email layout.
2. Add your copy
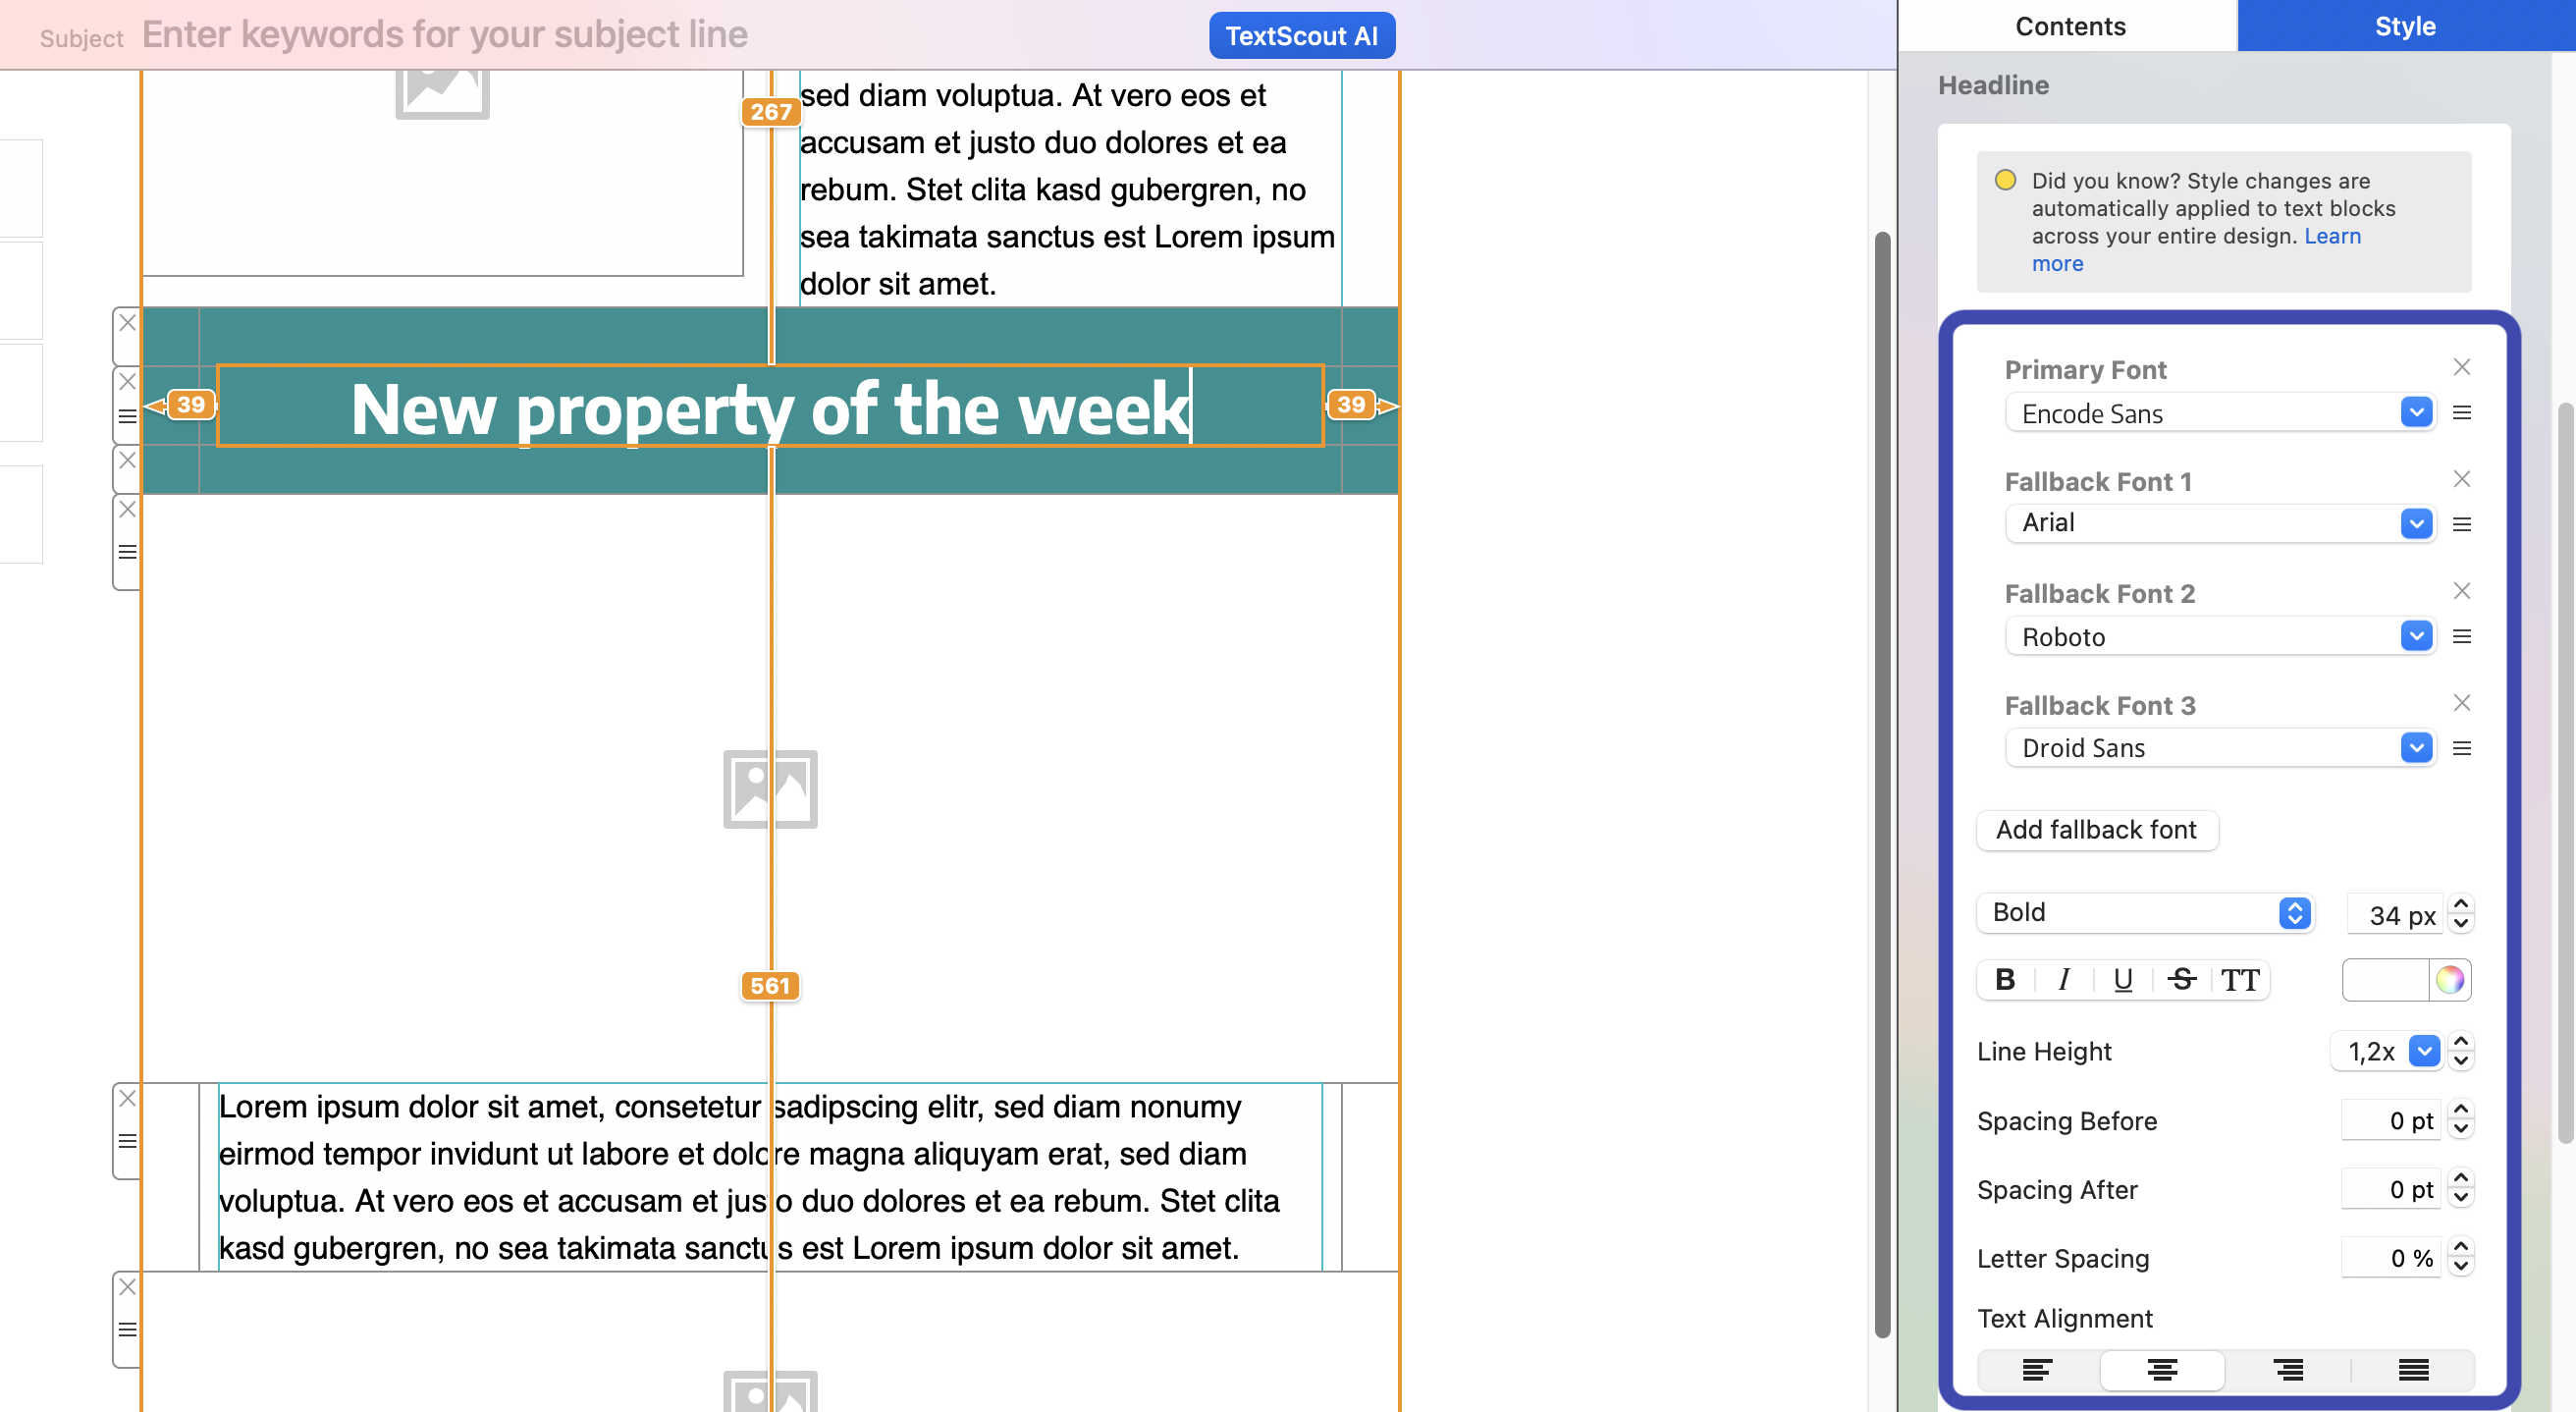
Enter a headline for your email into a text block, then go to the Style menu. Choose from 100s of web fonts and determine the size and color of your text:
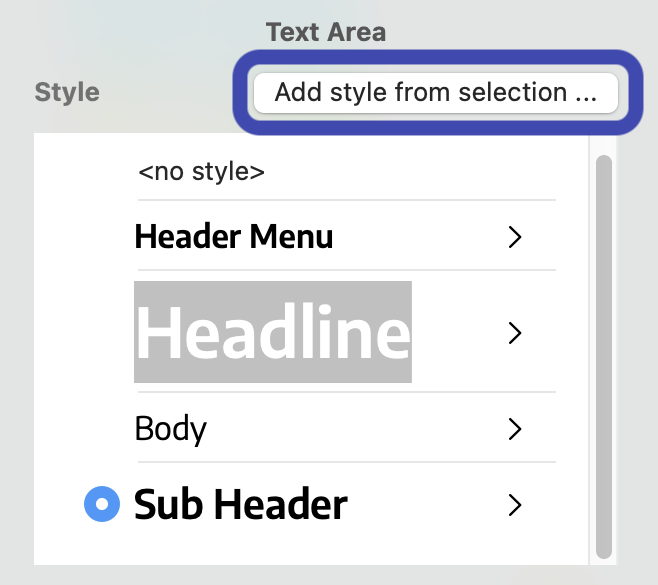
Add additional styles, for example "Sub Header", by highlighting the text you want to edit and clicking "Add new style from selection" in the top right corner:
3. Time for graphics!
Bring your email design to life with some eye-catching images: Find an image layout block in your design, then drag and drop in images (e.g. product photos, logos) from your Mac.
Tip: Can't find a suitable image? Go to Contents > Images in the sidebar and add license-free stock photos from Unsplash.
4. Explore buttons and eye-catchers
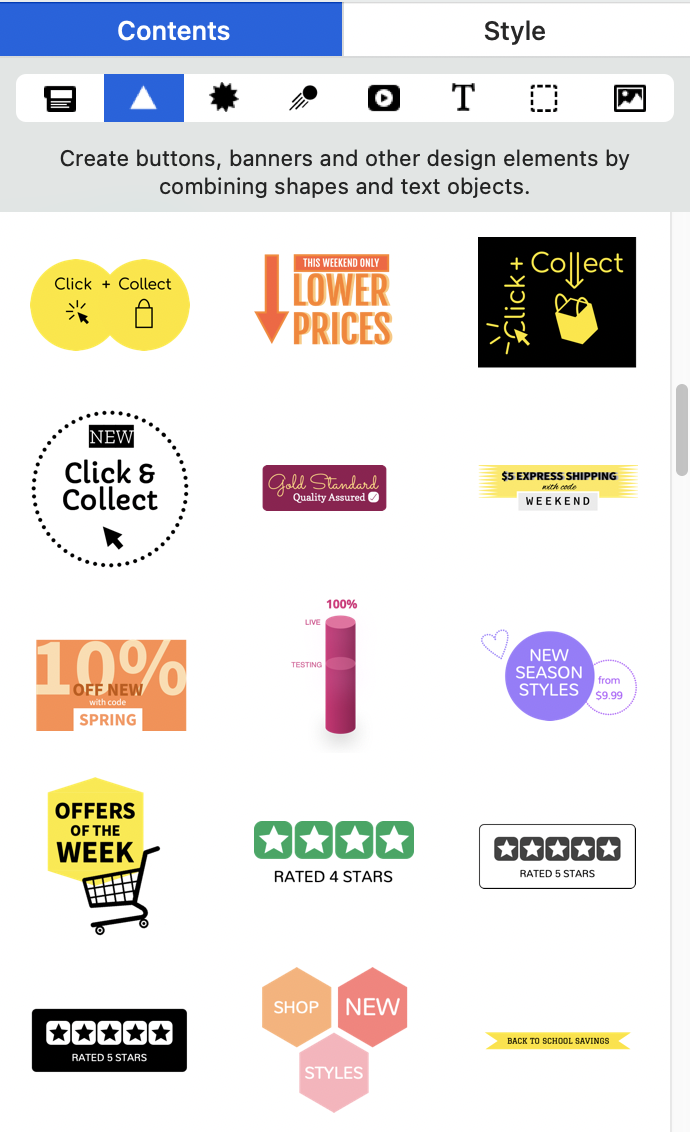
Maximise conversions for your email campaign with call-to-action buttons and badges. Under Contents > Shapes you will find dozens of ready-made graphic elements, ready to drag into your design:
Want to try for yourself? Use basic shapes and text items to create your own buttons and badges.
5. Automatically optimise for mobile devices
The desktop version of your design is ready? Time to go mobile!
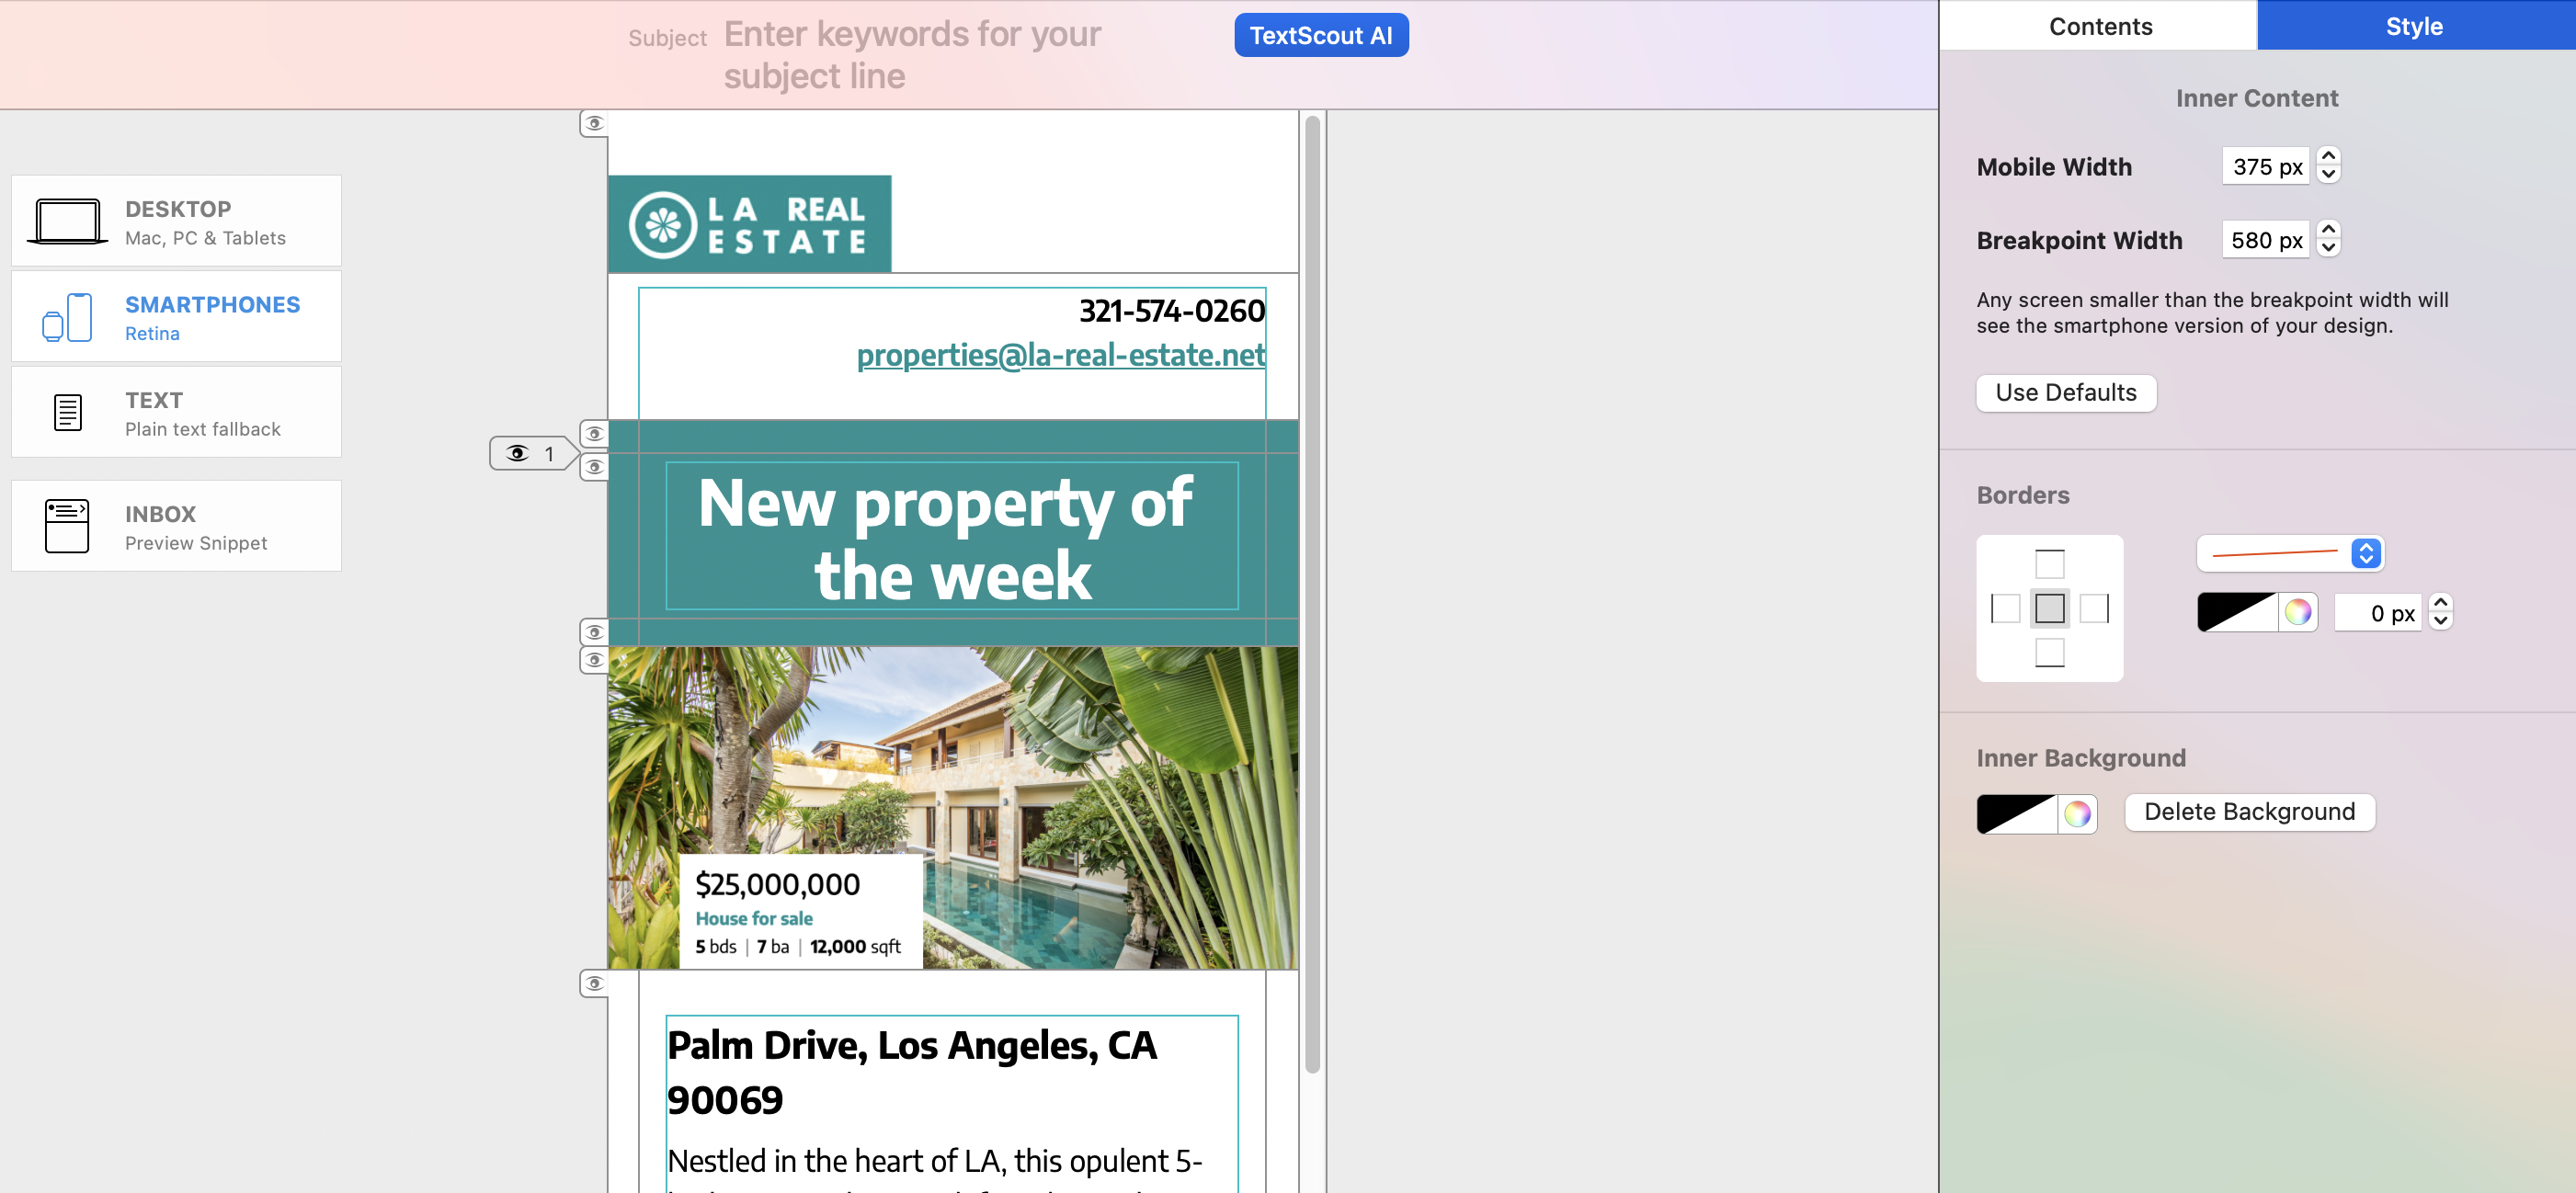
Mail Designer 365 saves you time by automatically creating a mobile optimized version of your design. Check this out by switching to the Smartphones tab:
Click the Preview icon for a live preview of your design on the latest mobile devices.
