
Mail Designer 365 works best in teams – send test emails, discuss and approve design drafts in Crew Chat, and schedule and send campaigns together in Delivery Hub.
Setting up your team
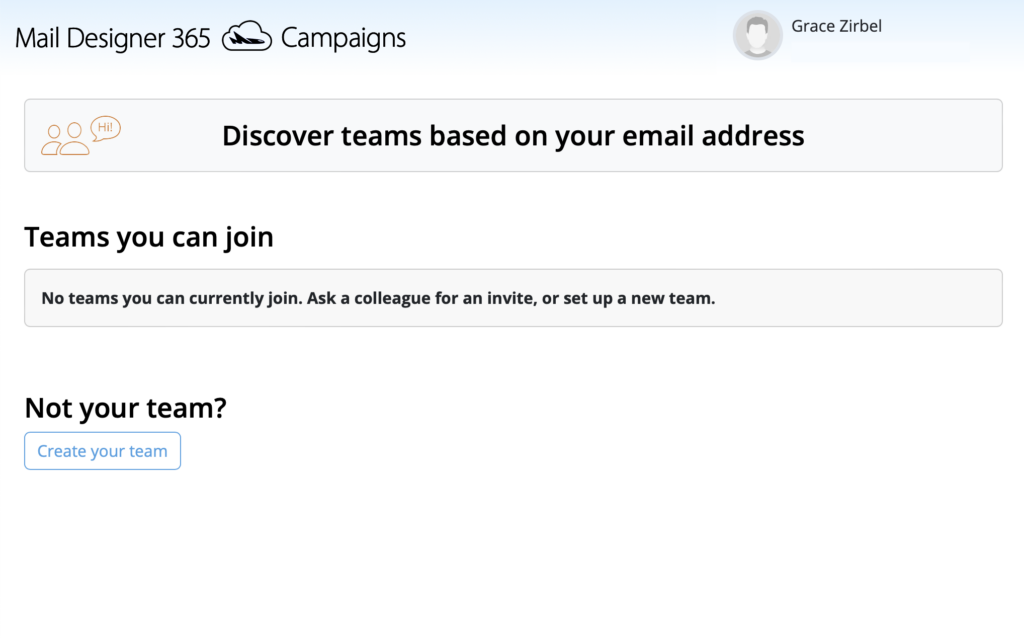
When you first create your Mail Designer 365 account at my.maildesigner365.com, you will be taken through the team creation workflow.
If someone from your company already has a Mail Designer 365 team, you will be asked if you want to join. Otherwise, click Create your team to get started:
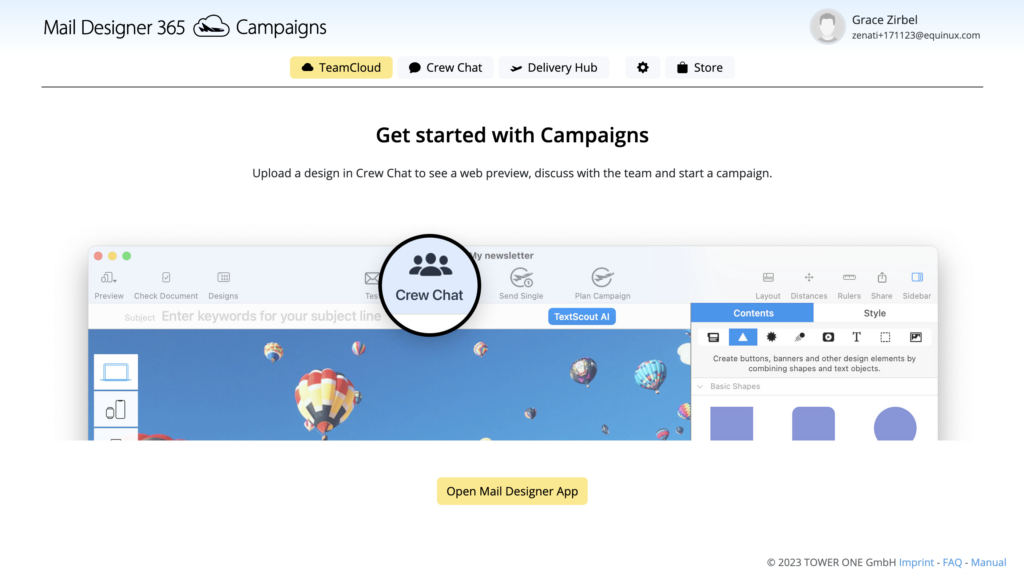
 You will now be directed to the TeamCloud start page. This is where you will see all your team's uploaded templates once you get started with Mail Designer 365 Campaigns:
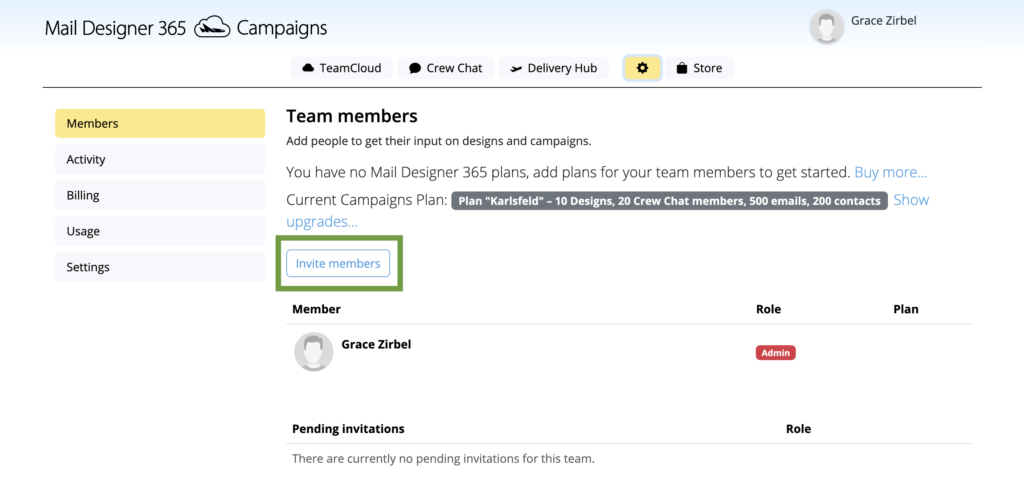
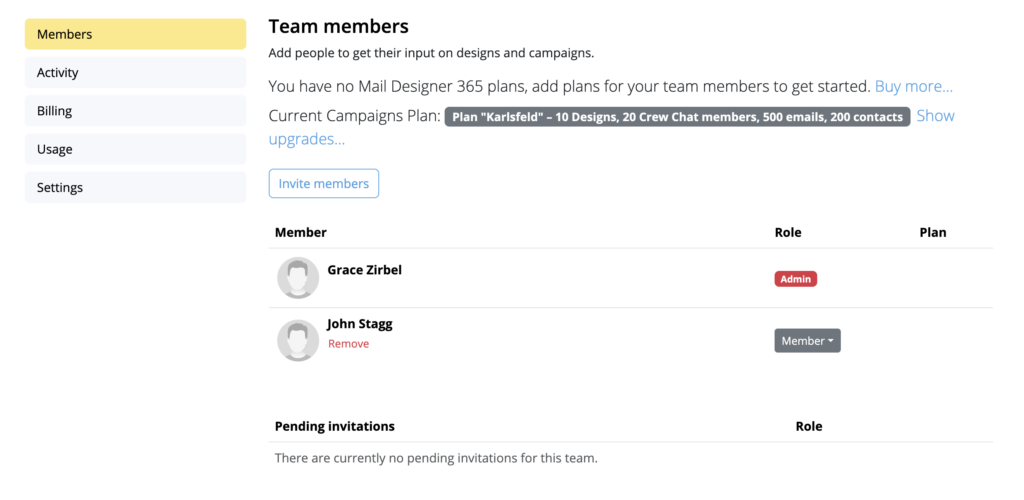
To manage your team, click the Settings icon. On the Team Members page, you can invite new members (e.g. colleagues & collaborators) to your team via the Invite members button:
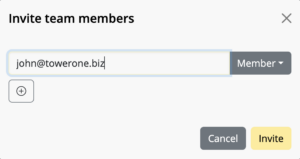
Enter the email address of the person you want to invite to your team and click the (+) icon to add further members. Finally, hit Invite to send your team invitations:
Once a user has accepted your invitation, they will appear in the Team Members overview list, where you can assign roles and design plans later:
How Can We Help?