
To send a campaign to one person with Mail Designer 365 Campaigns, save the latest version of your design to your team and open the Direct Mail Campaigns interface. Choose individual recipients instead of an audience, enter and confirm the address, review the sender and delivery settings, and then send.
This browser-based workflow is useful for a private one-to-one delivery or a small set of individually entered addresses. If you prefer to send directly inside the Mac app, use the separate Direct Mail workflow there. Do not use an audience campaign when the message is intended for only one named recipient.
The latest version of your design will be uploaded to TeamCloud and Delivery Hub will open in your browser:
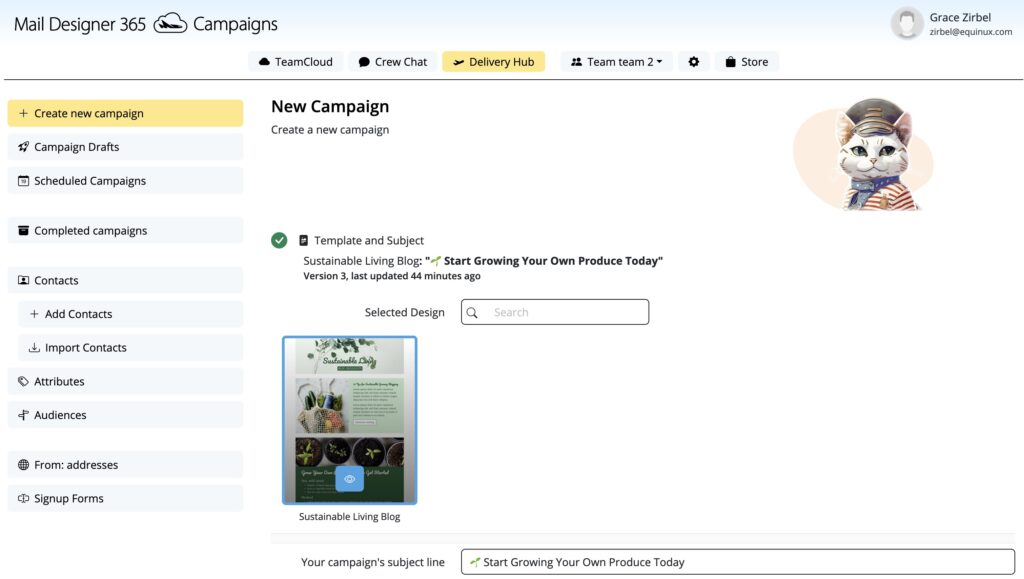
Template and Subject
First check your email Subject. This is the Email Subject message that will be displayed in the recipient's inbox

Make sure the section Template an Subject has a green checkmark
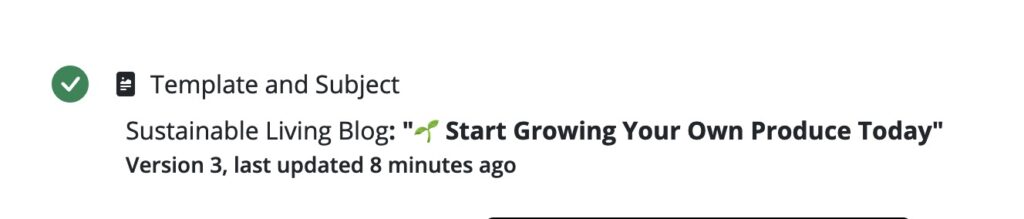
Choose One Person as the Campaign Recipient
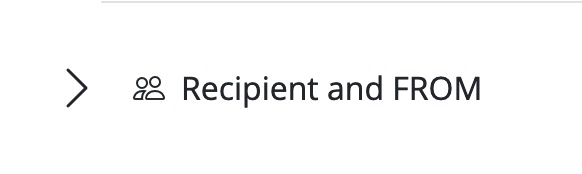
Next, open up the section: Recipient and FROM by clicking on the arrow on the left side
Select Individuals if you are sending to individual recipients
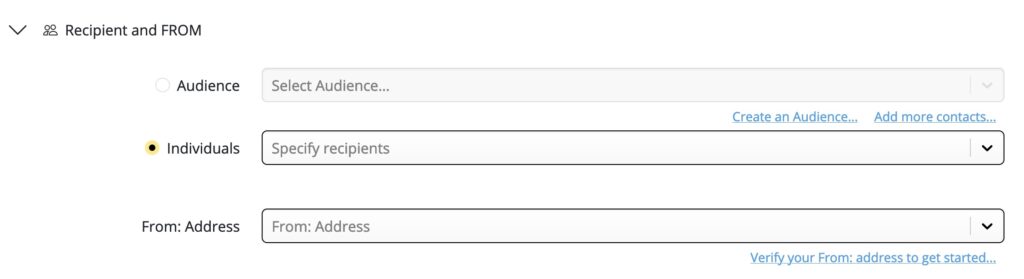 Enter the recipients email address(es) into the field Specify recipients
Press Enter or click on Add Contact to confirm adding the contact to your email. The Email Address will appear in yellow once it is added successfully

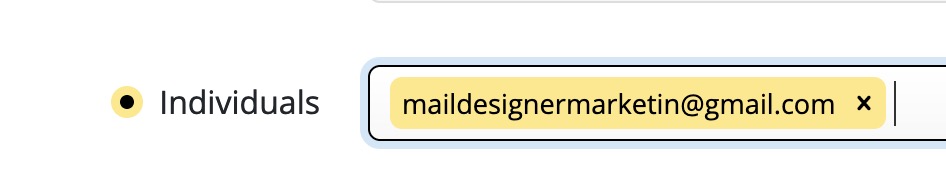
Repeat for any additional recipients you are sending to.
Make sure your FROM address is correct. This is the address your email will be sent from.
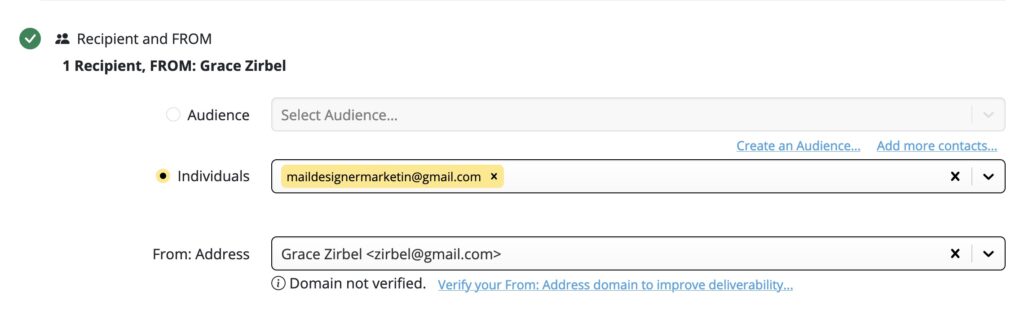
Once you are finished, make sure there is a green Checkmark next to the section Recipient and FROM
By default, Mail Designer 365 will pre-fill this field with your last-configured address. If you have multiple addresses configured, choose one from the dropdown menu. If you want to add a new address, go to From: addresses in the sidebar menu.
Delivery Date
Open up the section: Delivery Date by clicking on the arrow on the left side
Here you can decide when to send your campaign. Choose to Now to send immediately or Scheduled to schedule it for a future date and time. Alternatively, choose Not decided yet to save it and come back to it later.
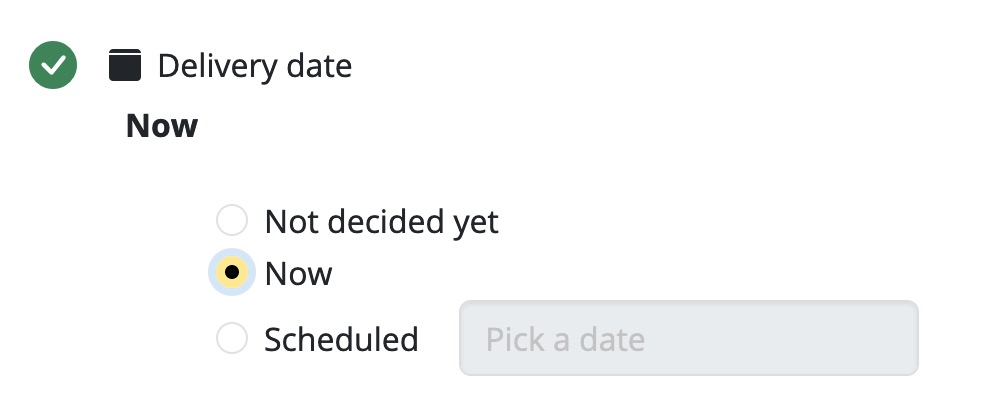
Make sure the Delivery Date section has a green checkmark next to it.
Content
Open up the section Content.
Here you can select Banner options if you are on a free Mail Designer Campaigns plan. The Banner will be removed by default with any paid Campaigns plan.
You also have the option to disable link tracking and can give your Campaign an internal name to easier recognition in the interface.
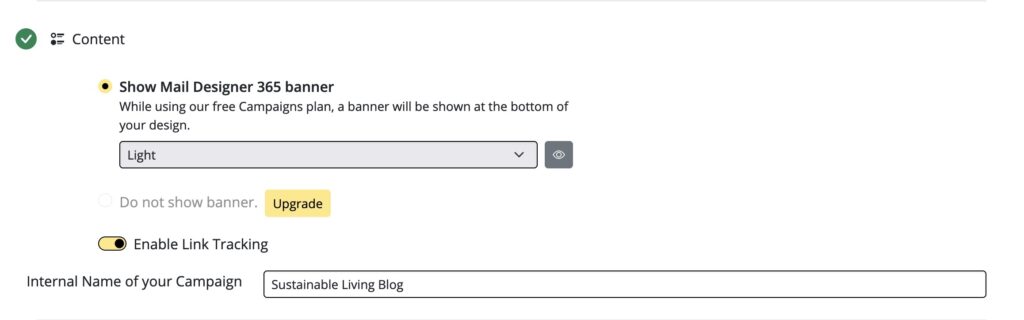
Make sure the Content Section has a green Checkmark.
Send
You will be able to send, as soon as you have green checkmarks next to all sections.
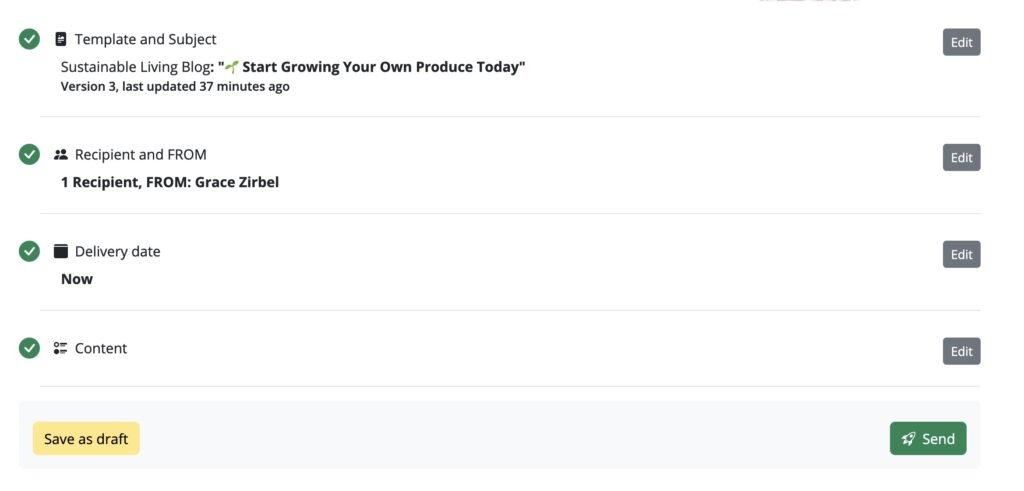
Press the green Send Button.
Your email will now be sent and Mail Designer Campaigns will redirect you to the Completed Campaigns section. Here you are able to see if your email was opened and any links were clicked.
How Can We Help?
- Eye Catcher Design: 3 Ideas for Email Campaigns
- Email Blending: 3 Ways to Use Blend Modes
- Aligning different objects
- Combining design elements
- How to Add Email Contacts to Mail Designer 365
- Assigning Placeholders to your Contacts in Mail Designer Campaigns
- Email Audience Segmentation: Delivery Hub Case Study
Sending Emails: Tutorial Video
More of a visual learner? We've got you. Check out this video tutorial for a step by step walkthrough.