
Once you start combining design elements, you may want to place certain objects in image areas in front of or behind other objects.
Move objects from the front to the back and vice versa
Click on the graphic element that you want to move. You will notice that Mail Designer 365 will open the "Style" tab automatically on the right.
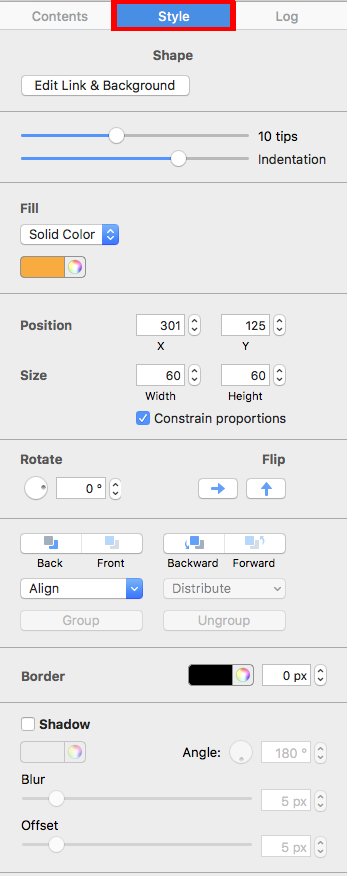
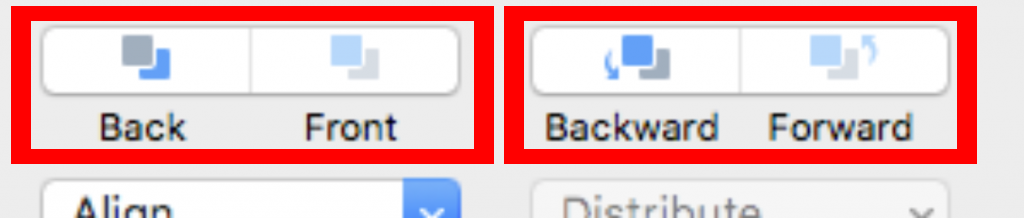
Within the "Style" tab, you will see buttons labeled Back, Front, Backward, Forward:
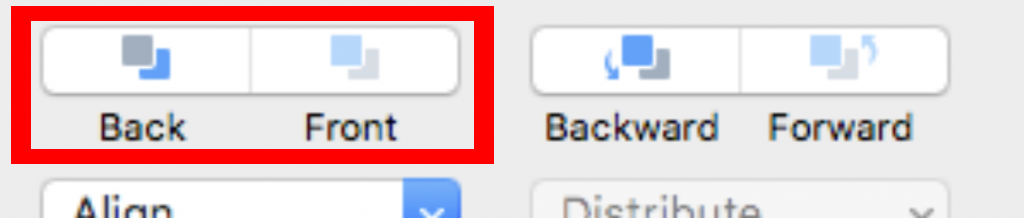
Select an object and click the “Front” or “Back” button in the sidebar.
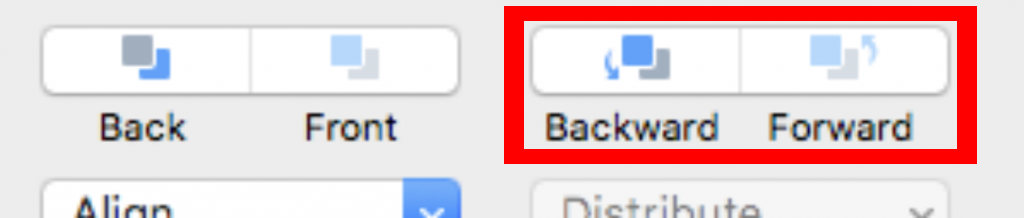
For more granular control over your layers, you can also choose between “Backward” or “Forward.”
Using the mouse...
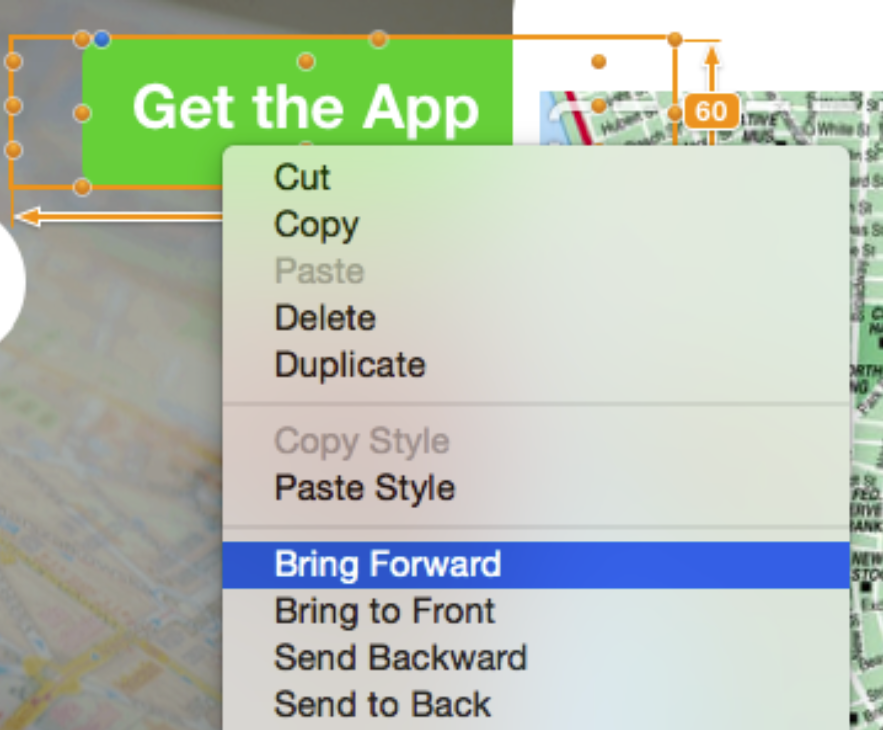
For instance, in order to place this “Get the App” text object in front of image, you can either right-click it and choose “Bring Forward” or click "Forward" in the sidebar.
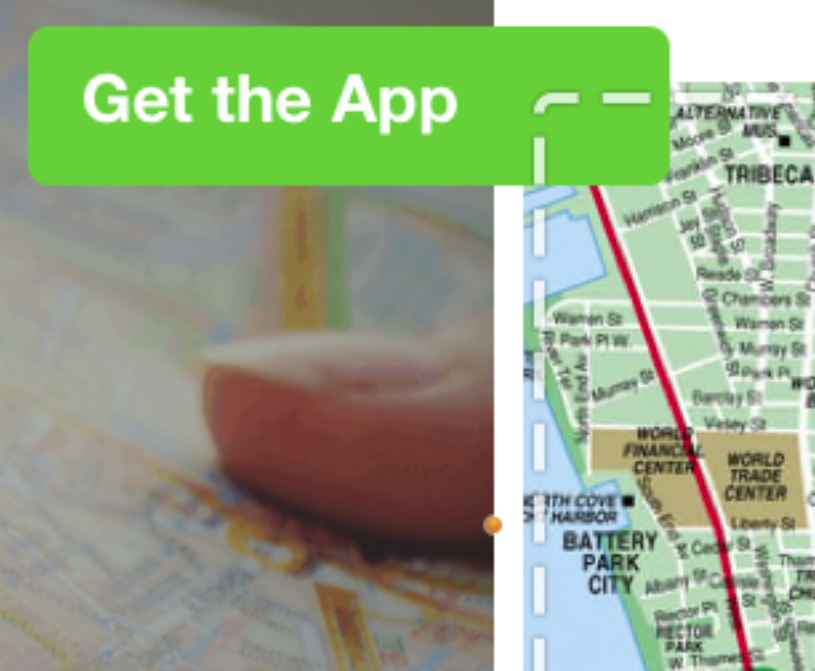
That will place it in front of the image:
How Can We Help?