As well as dozens of font options and text styles, Mail Designer 365 also enables you to create stylish text buttons and badges in your newsletters. This step-by-step guide shows you how to get started and add a splash of color into your email designs.
Why are text buttons better?
You may already be familiar with the shapes and image elements within Mail Designer 365. While image-based elements can be a great addition to your email design, it is not recommended to create emails that consist entirely of images. In particular, important information such as links and call-to-actions within your email should be text-based where possible.
Here are just a few reasons why text buttons are better...
- Compatibility: In contrast to images, text buttons will show up in all email clients, even when images are turned off (i.e. for mobile users with data saving activated) or don't render correctly
- Spam compliance: Emails that are image-heavy are much more likely to land in spam. Including text buttons balances out your email's text:image ratio, which is generally recommended to be about 60:40
- Accessibility: Screen readers can’t decipher images without an alt text so using text buttons guarantees your email's core call to action can be understood by everyone in your audience
- Email size: Opting for text buttons instead of images reduces your email's overall size. Emails that are too big come with many issues, including increased spam risk, higher bounce rate and slow loading
Use cases for badges and buttons
A lot of the time when writing copy for an email, you will need to emphasise certain words and phrases. This ensures important information immediately stands out to the recipient, which is especially useful for readers quickly skimming your email for the essentials.
Badges and buttons within text can be used hand in hand with classic marketing techniques such as creating a sense of urgency – i.e. through time-sensitive language ("Hurry, ends midnight!") – or to highlight buzzwords like "new" or "sale" which instantly grab the reader's attention.
A text button effectively does the same job as a badge, whilst also allowing you to insert a link. In comparison to boring text links, text buttons jump out at the recipient and entice them to click – making them a great choice for your email's most important call-to-action:
Inserting a badge
Found an area of text you wish to emphasise? Highlight the text, then go to Insert > Badge in the Mail Designer 365 menu:
![]()
A default style will then be applied to your text. Use the control panel to update the style and match it perfectly to your email design. First up, try using the color picker to update the background color of your text badge:
![]() Then, play around with the padding and rounding controls to give the badge the shape you want. Rounded corners create the perfect "pill button" shape, or opt for harder edges for a classic highlight effect.
Then, play around with the padding and rounding controls to give the badge the shape you want. Rounded corners create the perfect "pill button" shape, or opt for harder edges for a classic highlight effect.
![]()
Finally, use the text style editor to update the font, size, alignment and boldness of your text:
![]()
![]()
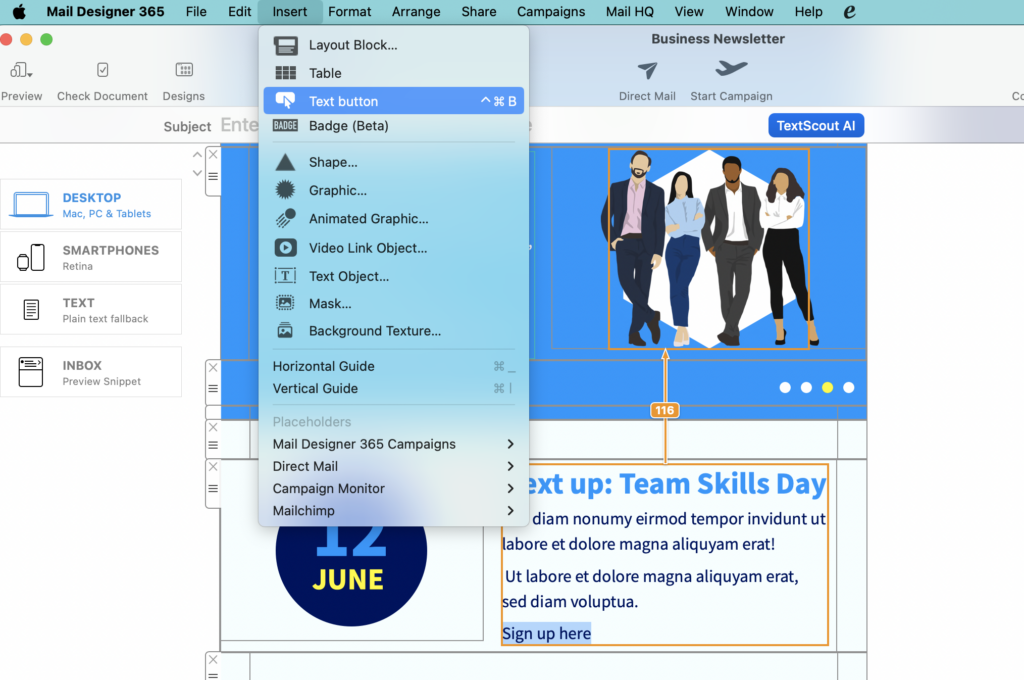
Inserting a button
Adding a text button follows a really similar workflow to adding a text badge. Start by selecting the text you will be using for your button, then go to Insert > Text Button in the Mail Designer 365 menu.
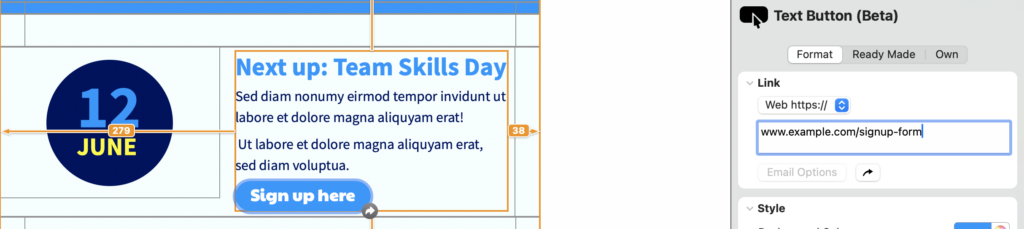
The first option you will see in the control panel is the link field. Enter the URL for your button here:
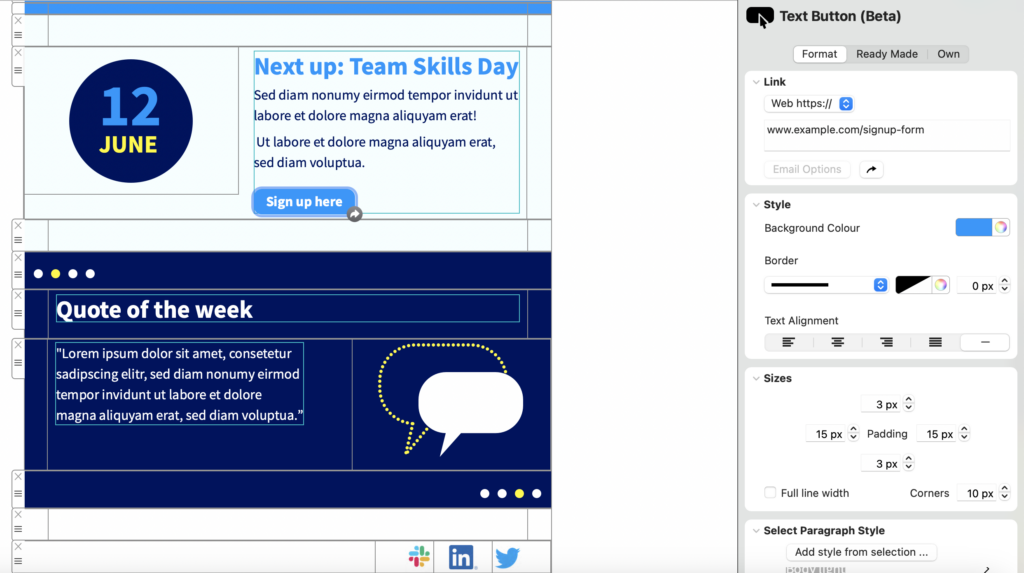
You can now proceed to adjust the style of your button, as described in the previous section:
Saving styles
If you are regularly sending emails for your business, it's best practice to keep designs consistent, as this helps to create a strong identity for your brand which customers will recognise and relate to. With this in mind, saving style options across your team is a great way to ensure buttons, badges and text stay the same across all your email communication.
Once you're happy with how a badge or button looks, switch to the "Own" tab and click "Save badge/button style":
![]()
You can then give the style a name, e.g. "important text" and save it for the rest of your team to reuse again and again:
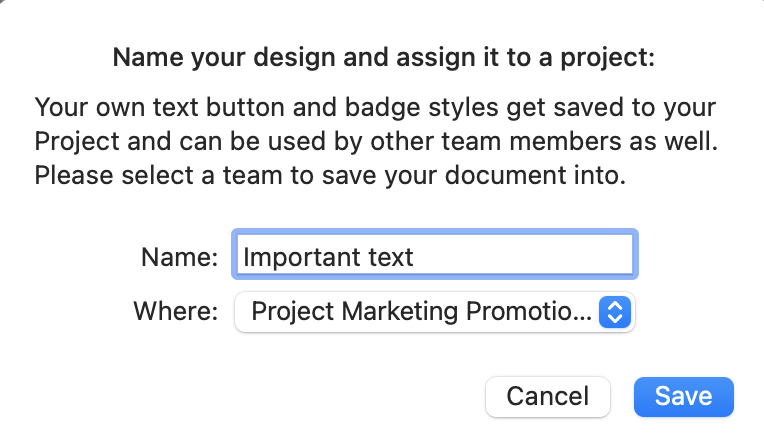
In future, saved badge and button styles can be found under the "Own" tab.
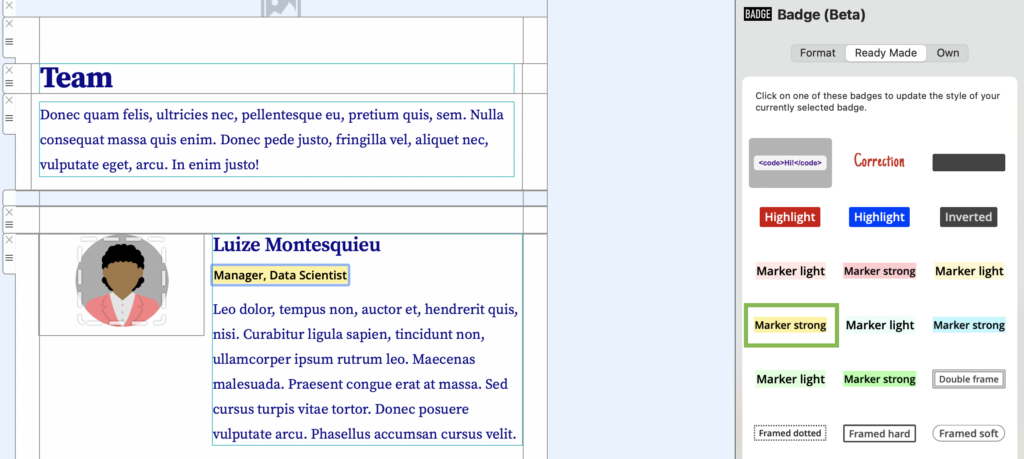
Using predefined styles
In a hurry or need some inspiration for your badge or button styles? Mail Designer 365 also offers a range of predefined options that you can quickly apply to text for an instant style upgrade.
Once you've selected your chosen text and opened the editor, switch to the panel "Ready Made" to explore all options:
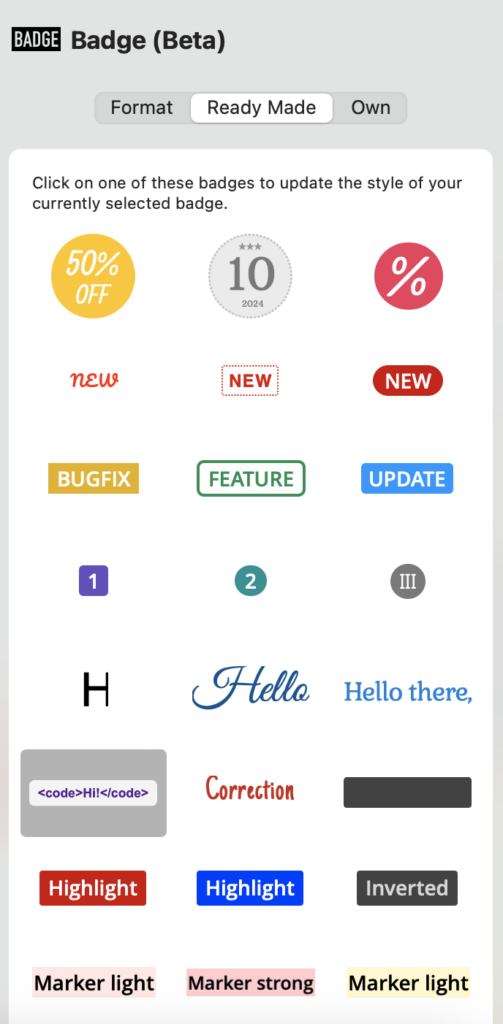
Click on a preview to apply the style to your text. Here we've opted for a bold highlighter effect – great for outlining key information, for example in office newsletters: