
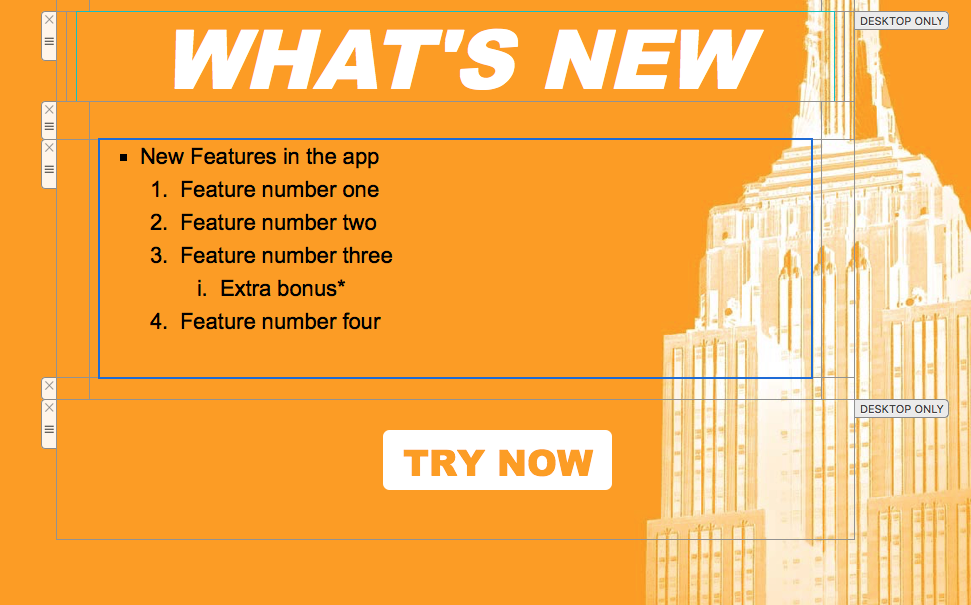
Nested Lists
With Mail Designer 365, you can apply different list styles within your email design to create more defined lists.
To get started, insert a text layout block into your design by dragging and dropping from the content menu in the sidebar.

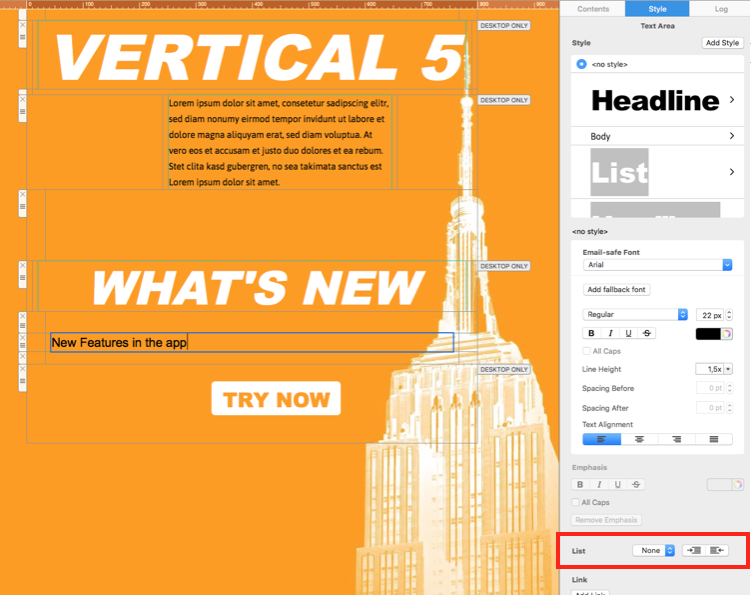
Type the first line of your list into the layout block. You should notice the list tool appear in the "Style" menu in the sidebar:
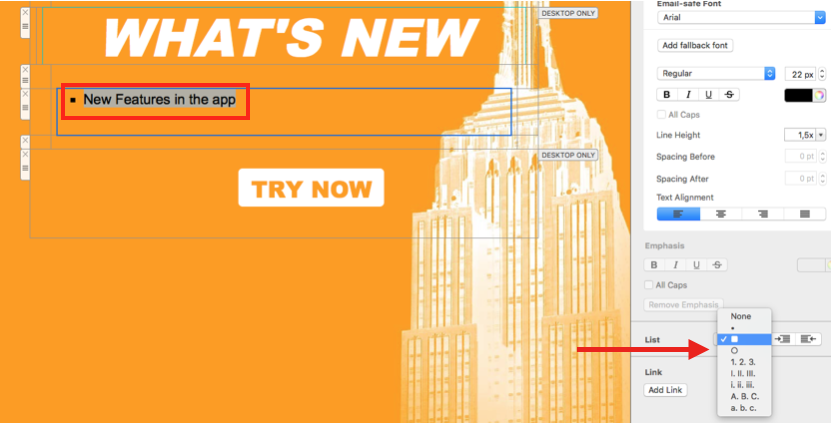
Highlight the text and choose a list style from the drop down menu and click to apply it to first line of your list.
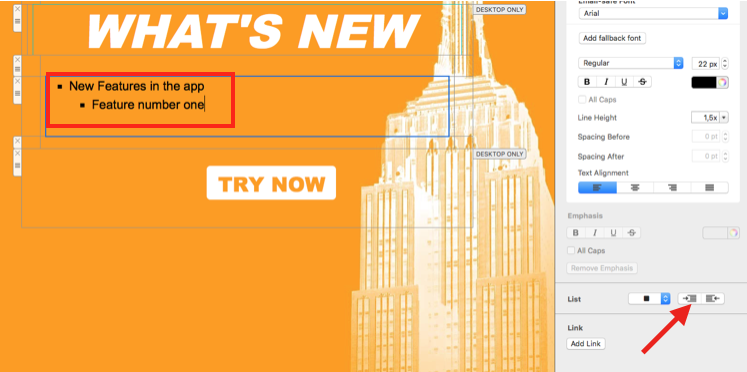
To create an indentation, hit enter to start a new line, and then hit the ⇥ key. Alternatively, you can use the indent buttons in the "List" tool to indent left or right.
You can then highlight this line, and choose a new list style to distinguish from the first line.
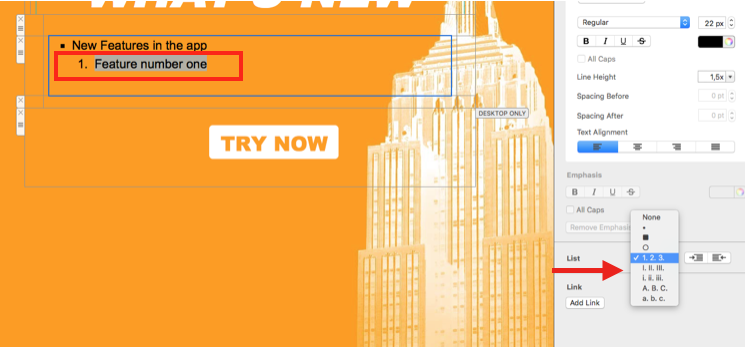
To include multiple list styles, continue to repeat the previous two steps:
How Can We Help?