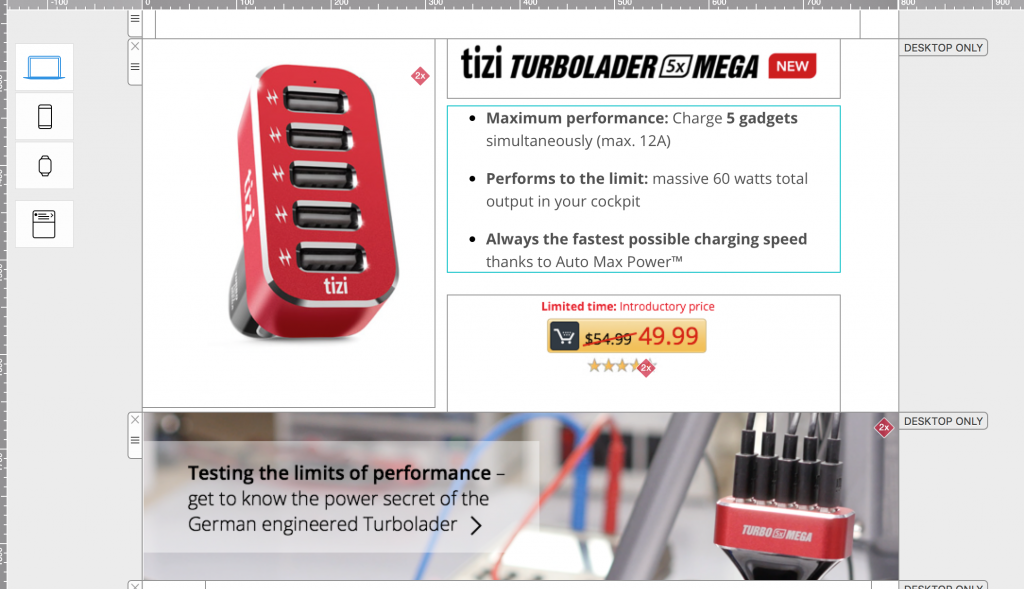
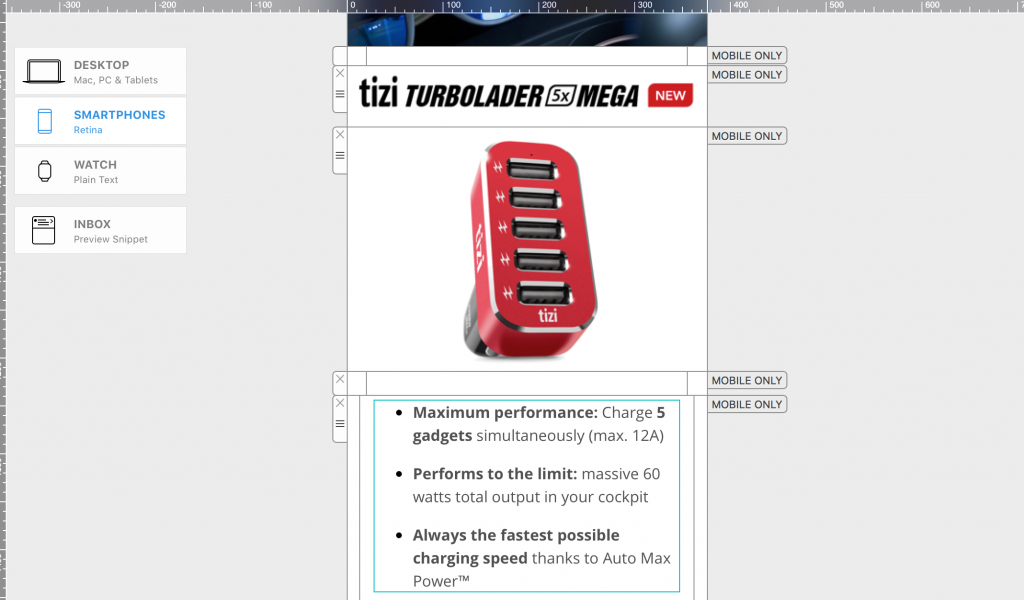
Email alt text is the alternative text which is displayed in place of images and graphic elements in your email design. In this guide, we will walk you through all you need to know about using alt text and how to set up alt text for your images in Mail Designer 365.
Why should I use alt text?
Writing an alt text for the images in your email newsletters is a great way to ensure your designs are still effective to recipients who cannot view images on their device (e.g. due to a poor connection or if remote image loading has been turned off in the settings.)
In addition, alt text is also super important for visually impaired users, as it is used by screen reader software (such as Apple's VoiceOver) to describe image-based elements in an email to recipients who cannot see them.
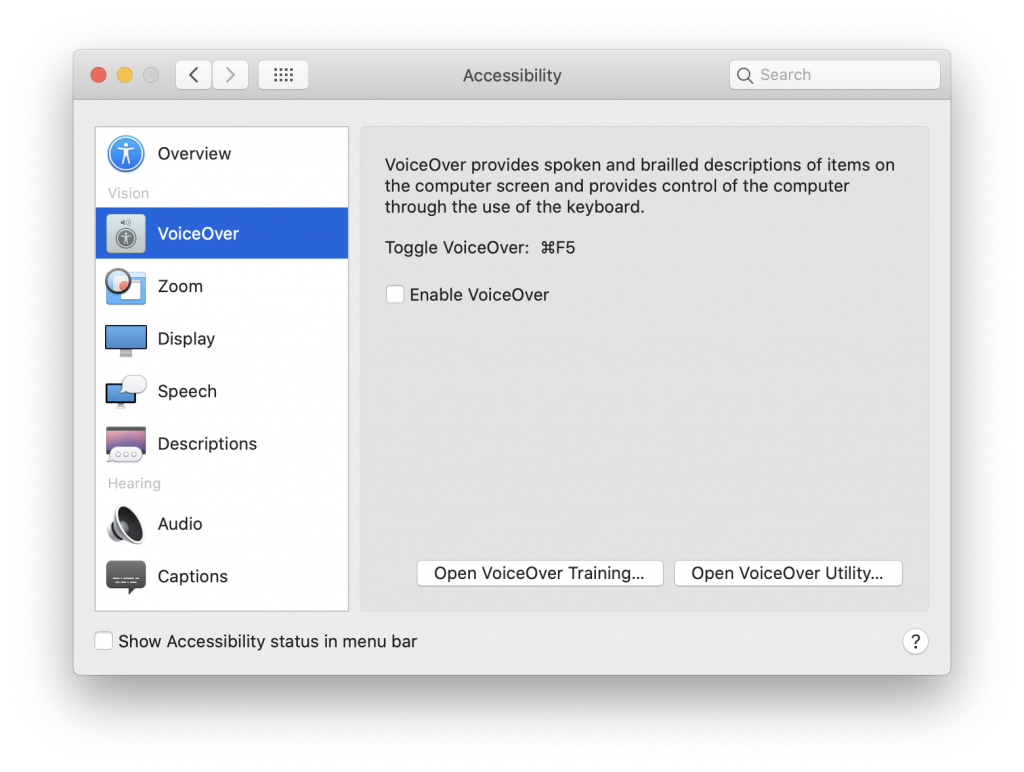
Alt text is important in making your emails accessible for visually impaired users using screen reader software.
Furthermore, some email clients (e.g. Outlook) will not automatically display images in emails for security reasons. In this case, having an alt text in place of an image is a good workaround to provide the reader with sufficient context to be able to understand the email.
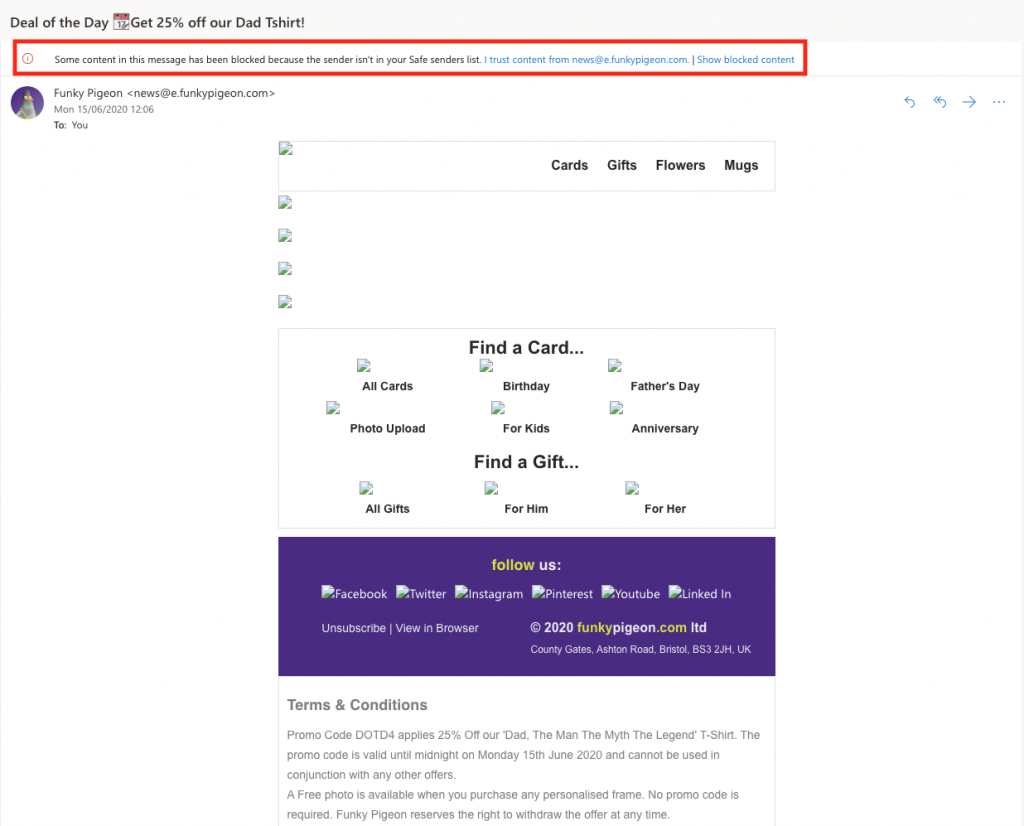
Here is an example of how an email looks in Outlook with no alt text configured for images:
Here is the same email again but with the content unblocked:

Instead of just blank boxes, having alt text configured for the images in this email would have given any readers unable to view images more context about the 25% off Father's Day offer and could have resulted in better click and conversion rates.
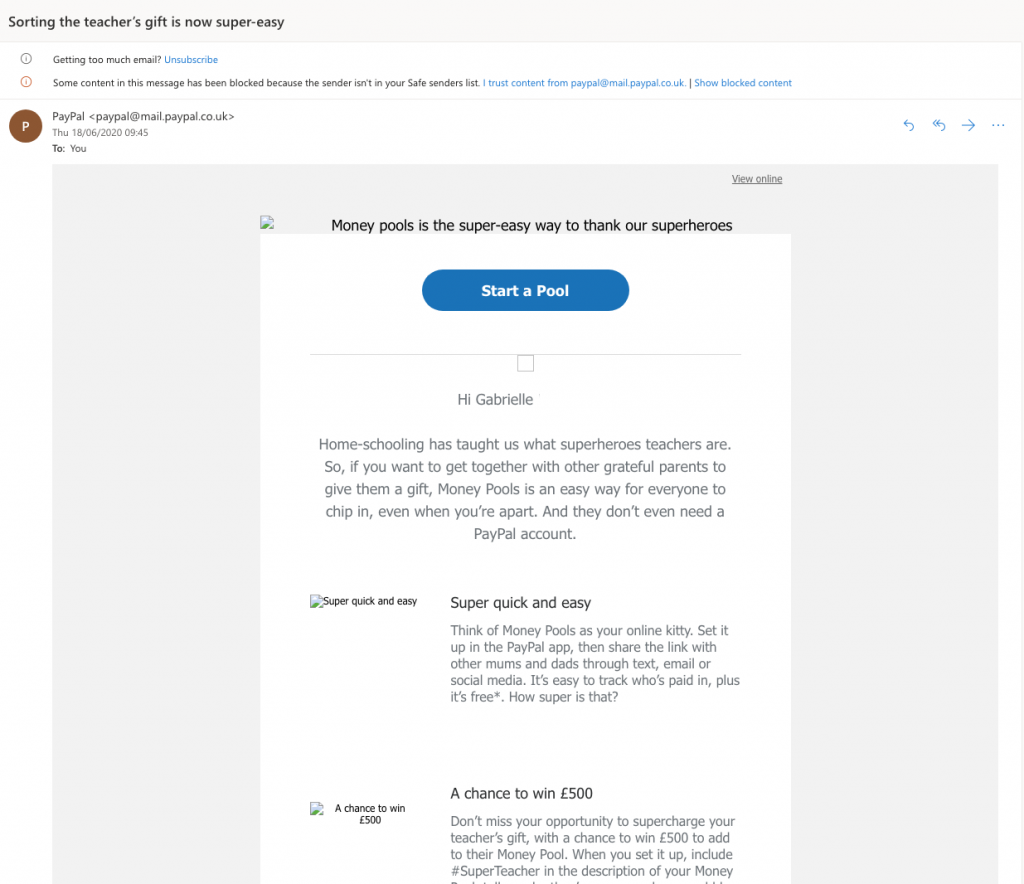
Here is an example of how an email looks in Outlook with alt text in place for images:
Here is the original version of the email:
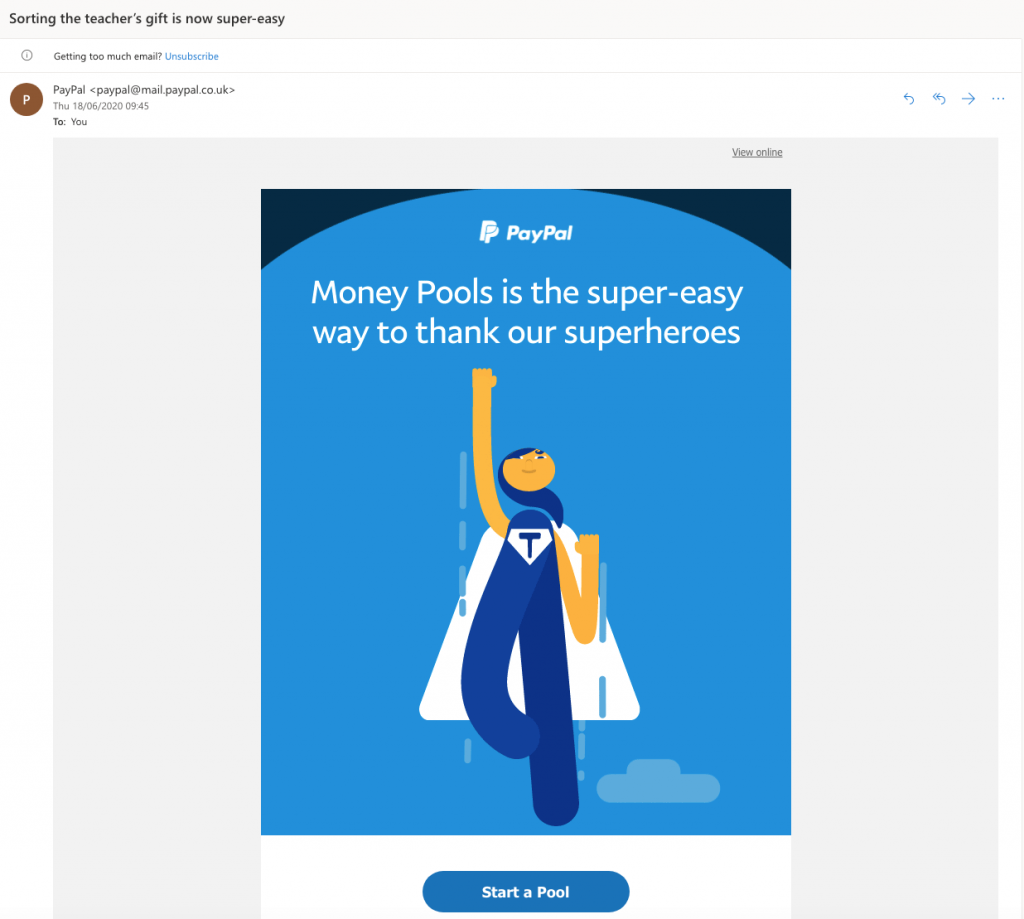
As you can see, having the alt text set up means that recipients will still be able to get the gist of the email and receive a good text replacement for the missing image.
How to set up alt text for your images in Mail Designer 365
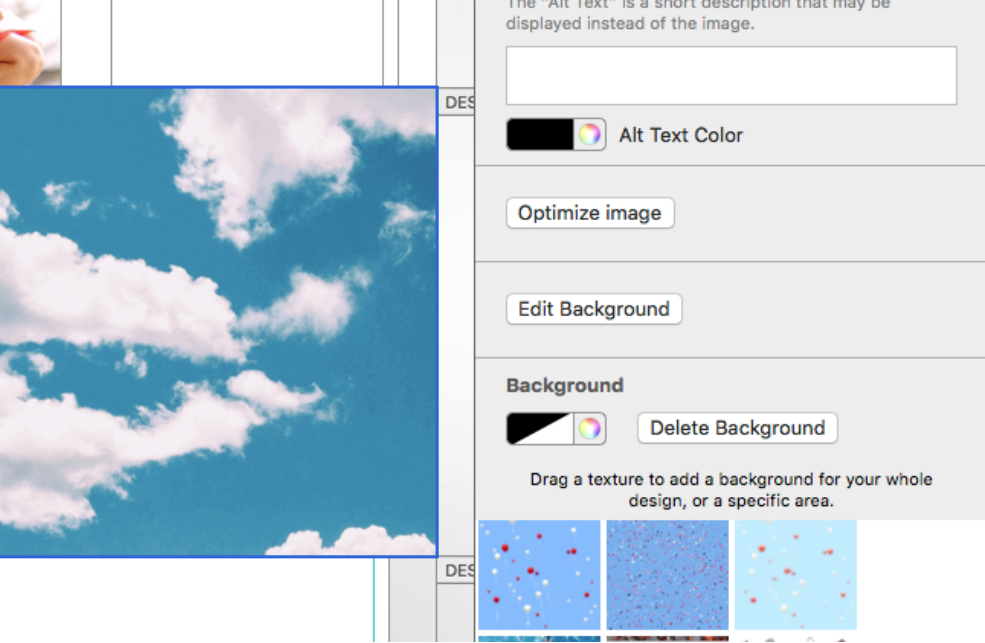
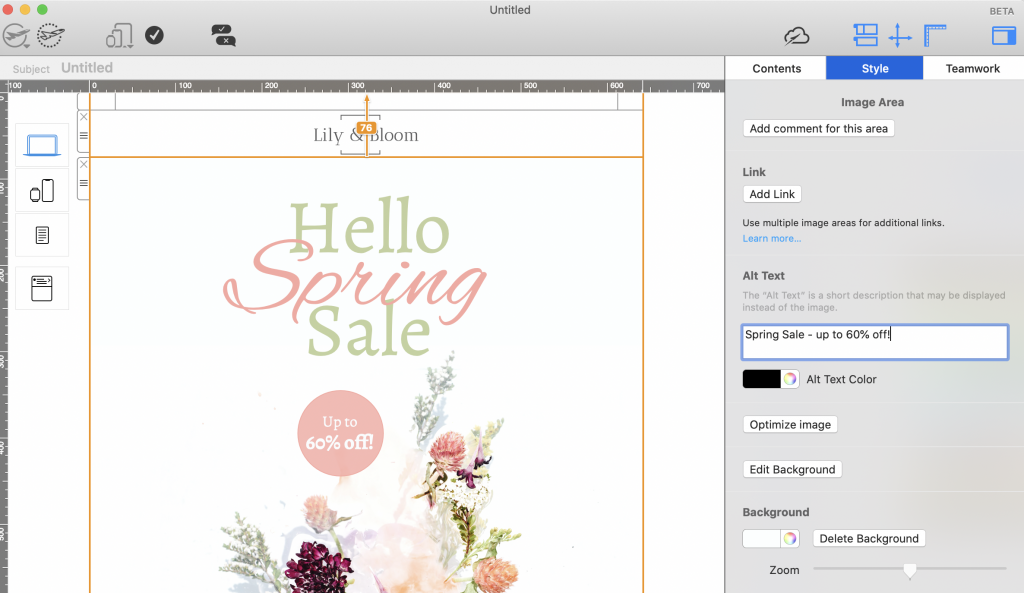
With Mail Designer 365 you can quickly set up alt text for the images in your email design. To do so, simply click on the image area to open the image link and alt text options in the Style menu. Here you can enter a suitable alt text for your image:
Best practice when writing alt text
The whole point of alt text is to provide recipients of your email with enough context to be able to understand your message and call-to-action - even when images aren't able to be seen.
Oftentimes, businesses will simply use an overly descriptive placeholder alt text such as "Image" or "Logo". This type of literal description of an image does not add any contextual value to the newsletter, other than showing the recipient where the images in your email should be!
Placeholder-style alt texts like these provide the recipient with next to no context:
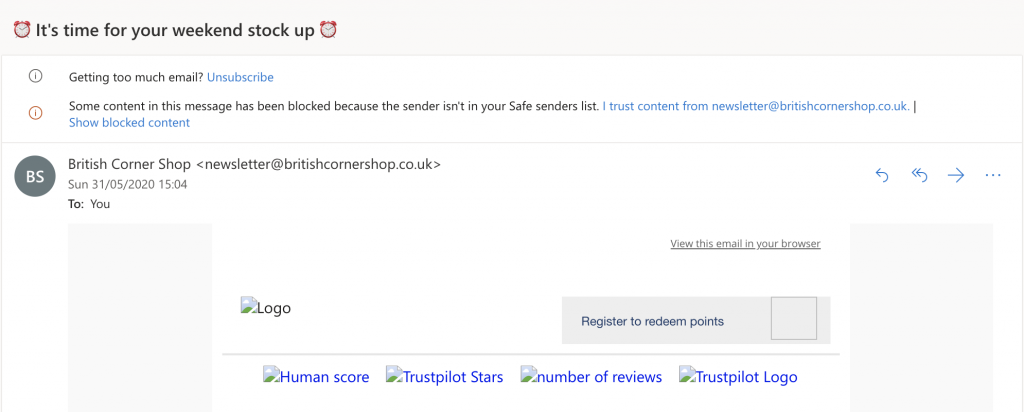
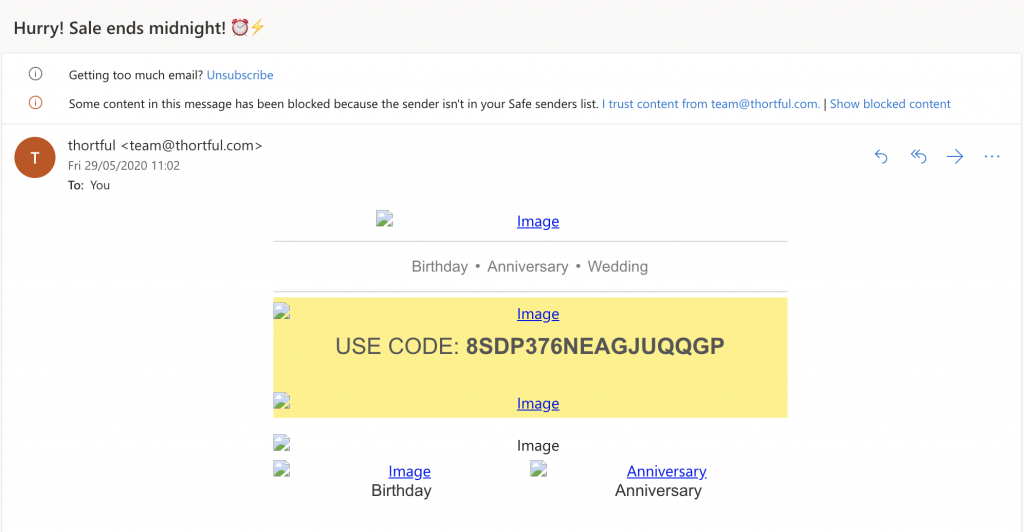
Also bear in mind that in some cases, the alt text will be read out (i.e by screen reader software), so the text you choose must make sense to the recipient and be relevant. For example 'blue button' isn't a helpful description of a call-to-action button, instead describe a button as 'Link to our online store."
Think about the images you have chosen for your email design and why you have chosen them. Rather than describing what is happening in the image (i.e. celebration table with balloons), best practice would be use the alt text description to relay important information or a call-to-action, e.g. "Take 20% off sale items" or "New restaurant now open!"
Possible issues when using alt text
Apple WebKit and alt text
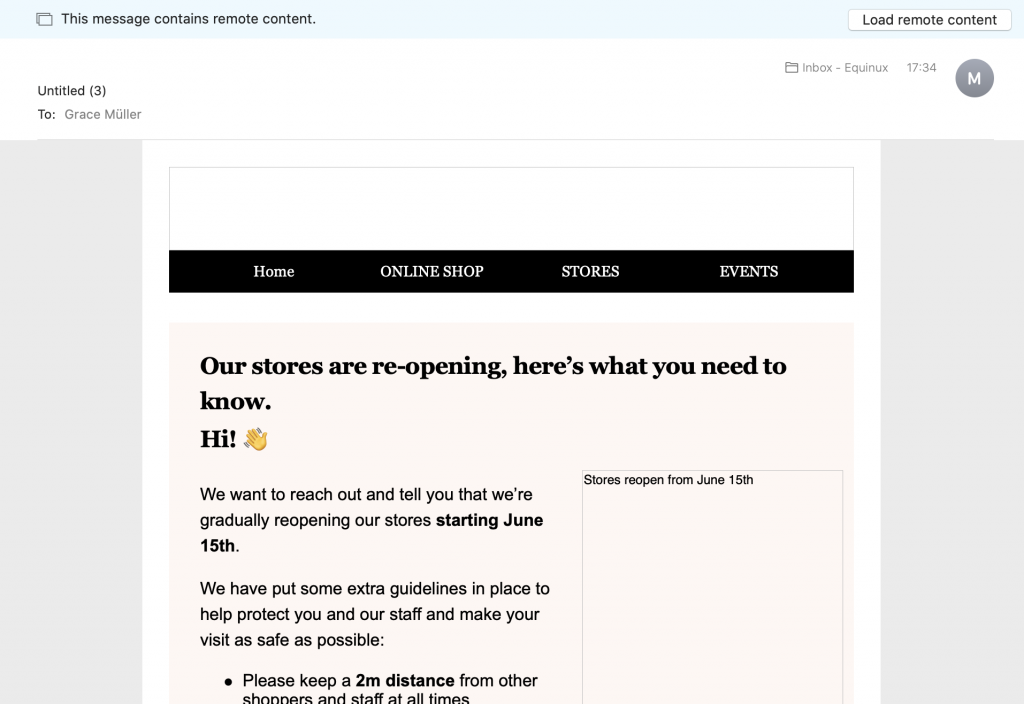
Email services using Apple's WebKit (Apple Mail & email clients accessed via Safari) only display image alt text when the alt text is short enough to fit in the first "line" of the image area:
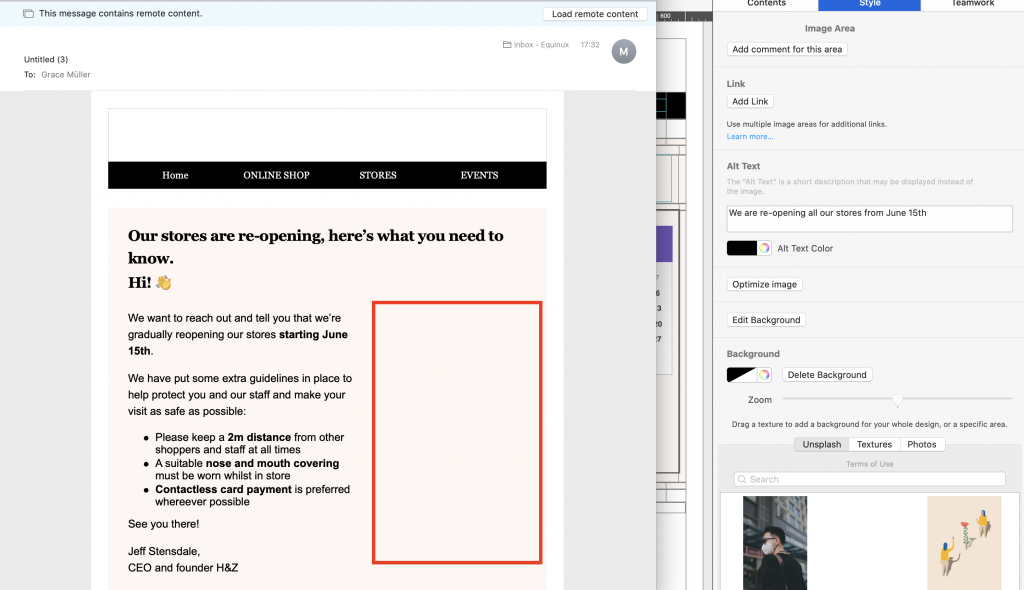
If the alt text is longer than this, Apple will display no alt text for the image area at all:
Alt text for the mobile version
When you are working with a design in Mail Designer 365 where image areas in the desktop and mobile versions are attached, it's important to remember that your desktop alt text will also be used for the mobile version of your email.
As image blocks in the smartphone view aren't as wide, this means the cut-off point for your alt text will come sooner, so the alt text will need to be even shorter if the design versions are paired.
Ways to resolve this issue
We appreciate this is a difficult issue and unfortunately, there is no one-size-fits-all approach that can be applied to your alt text length. This is mainly due to the fact that the size of image areas can vary massively in different email designs, as well as the mobile issue mentioned above.
Ideally, the optimal solution would be for Apple to change things behind the scenes. However, until this happens, the best workaround is to keep your alt text as short as possible and TEST TEST TEST!
Testing your alt text
To test the length of your alt text is suitable before you send, carry out the following steps:
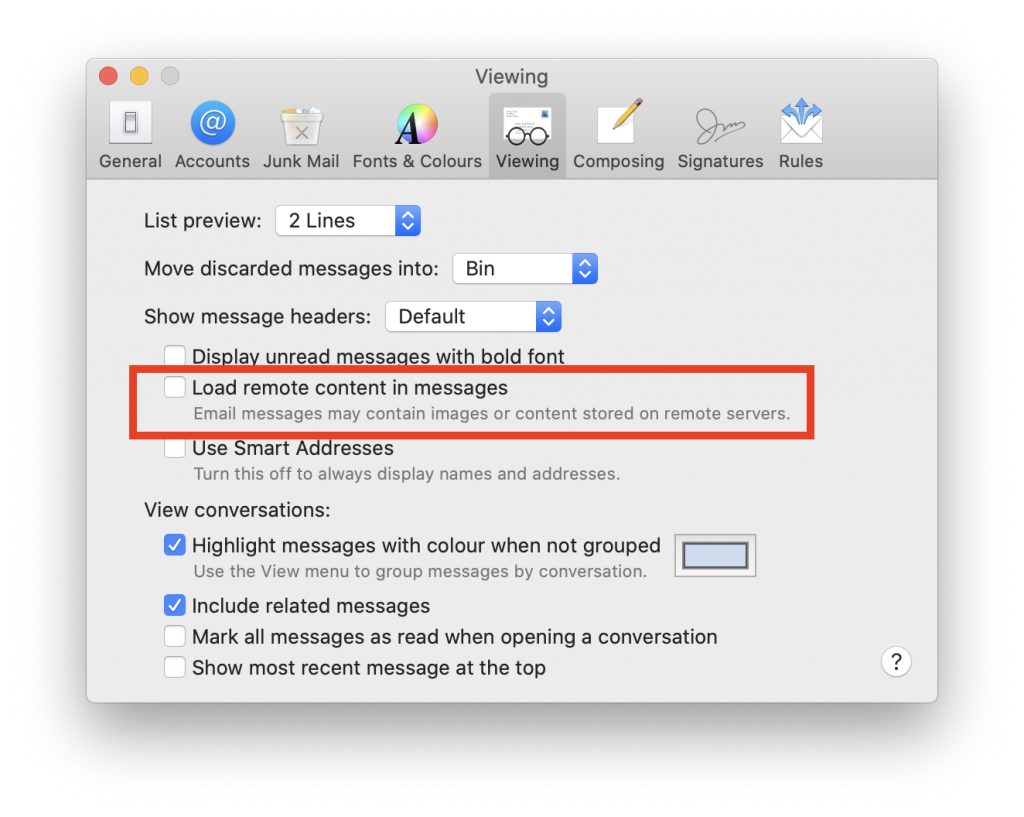
- Go to Mail > Preferences > Viewing and uncheck the box by "Load remote content in messages."
- In Mail Designer 365, use the Testmail service to send yourself a test version of your design.
- Open the email in Mail and check through all the image areas to see if the alt texts appear. Then, do the same on an iPhone to check the mobile version.
How Can We Help?

