Adding Email Contacts

By Gabrielle Campaigns

Before you can send your email campaign, you'll need to add your contacts to Mail Designer 365 Delivery Hub. You can add contacts manually via copy & paste or using a CSV file (e.g. when exporting contacts from another service.)

To get started, log into your my.maildesigner365 account and go to Delivery Hub > Add Contacts.

Manual import

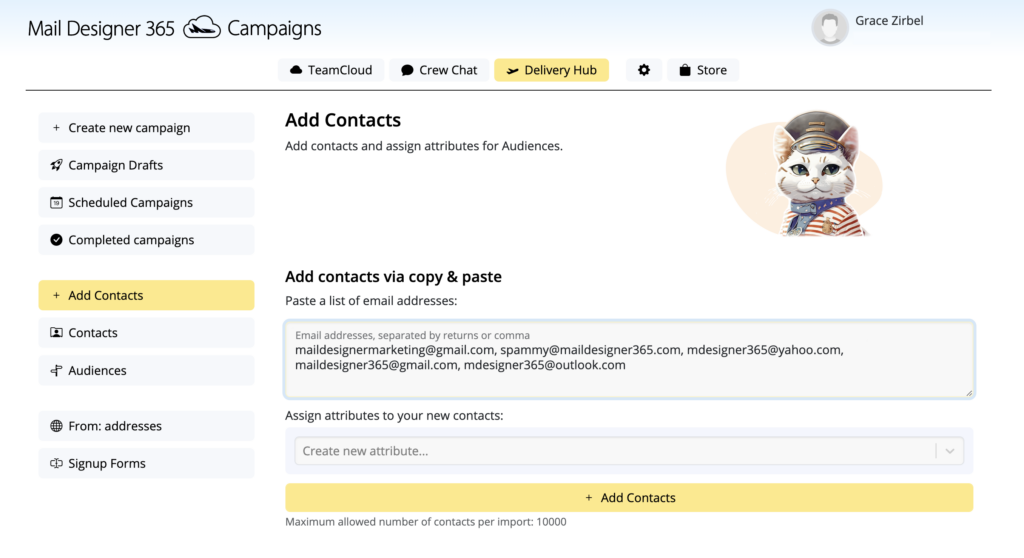
Under Add contacts via copy & paste, paste your list of email addresses into the space provided, ensuring that each address is separated with a comma (,) or line break:
Next you have the option to assign attributes to your new contacts. Attributes represent different characteristics (e.g. language, interest, country, etc.) and tell you more about the contacts you are adding. This step is important for setting up an audience later.

Just enter a value (e.g. "Interest") into the attribute field and click on Create:

Then, enter a sub value (e.g. "Kids Fashion") and click on Create:

In this case, all the new contacts you've added will be tagged as having an interest in kids fashion:

Repeat this process to add as many attributes and sub values as you like:
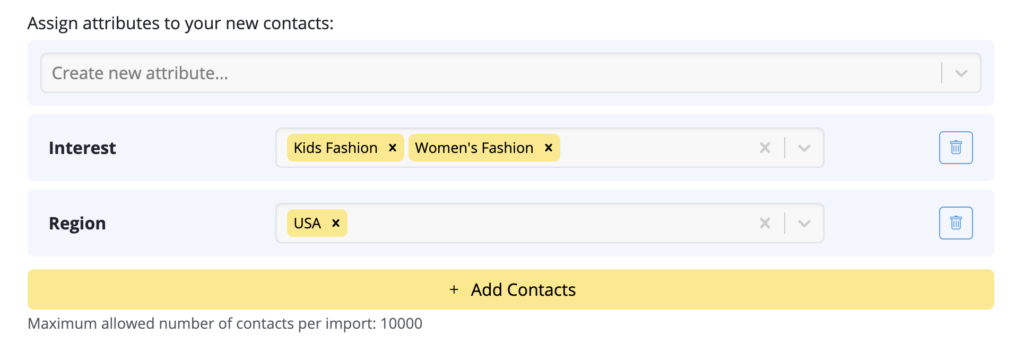
Then, once you are done adding attributes, hit Add contacts to save your new contacts.

CSV import

If you have a .csv file containing email contacts, you can upload this under Import contacts by file or service:
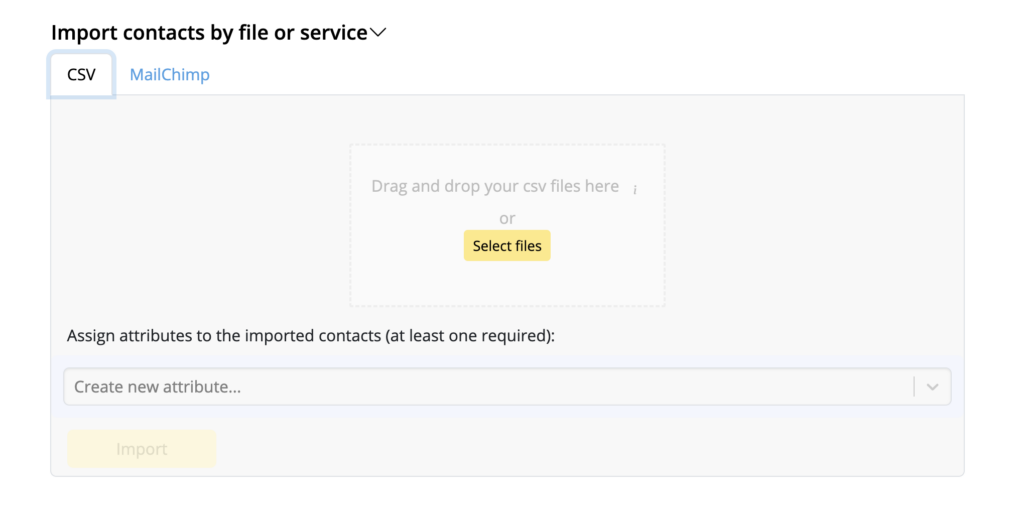
During this step, you can also assign attributes to your contacts as described in this guide.

A Quick Tour of Mail Designer 365

Advanced Design Techniques

Background

Blend Modes

Campaigns

Configuring Text Styles

Creative Tools

Editing Text

Graphics and Other Objects

HTML Export

Image Areas

Images

Layout Blocks

Links and Buttons

Optimizing your Template for Mobile

Other Sharing Options

Plain Text

Preparing your Design for Sending

Preview your Design

Tables

TextScout

Using Retina Images with your Design

Sending a Campaign

By Gabrielle Campaigns

Once you're happy with your email design, you can go ahead and send it as an email campaign to your audience.

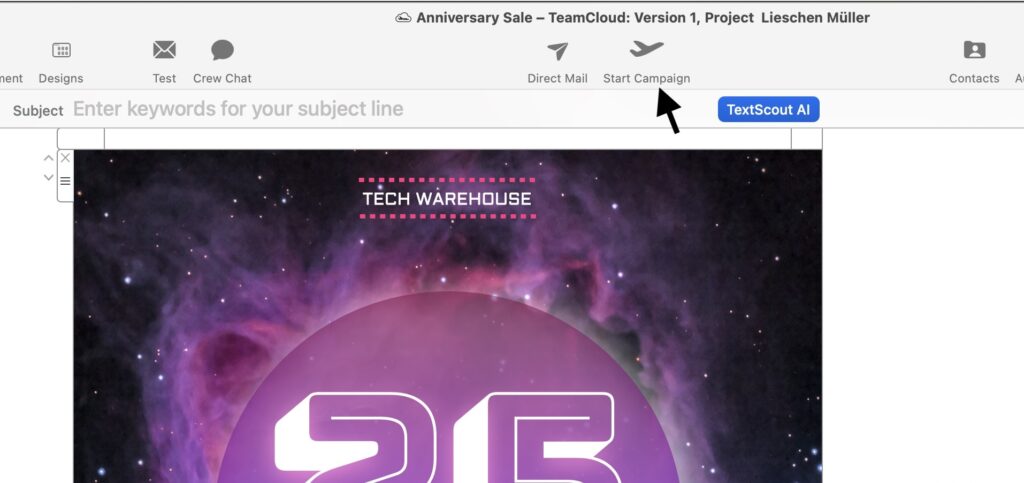
To get started, open up the template you would like to send and click on Start Campaign in the Mail Designer 365 toolbar:

Click on Start Campaign

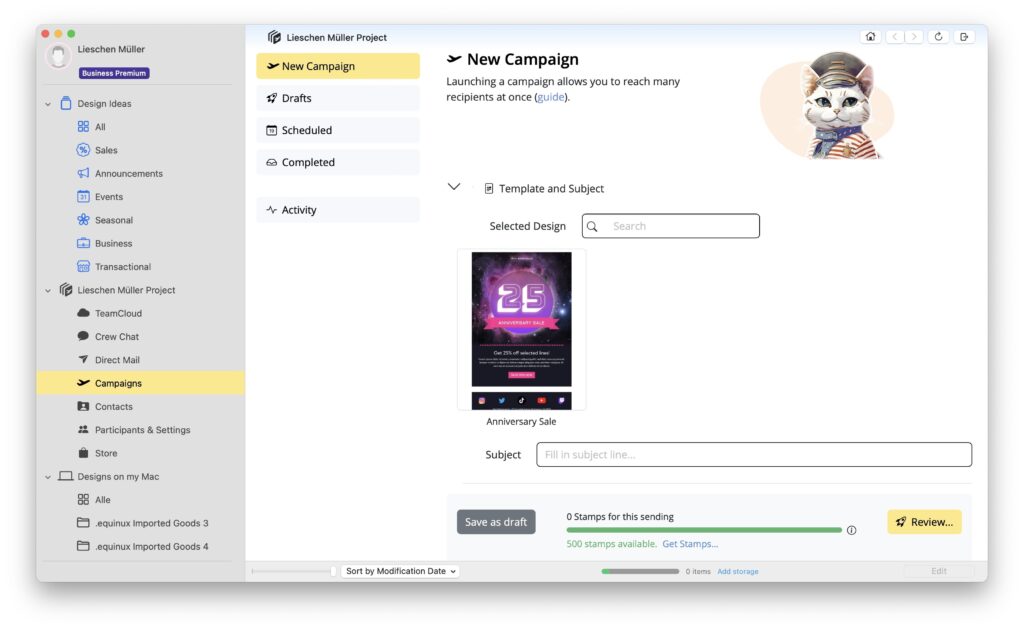
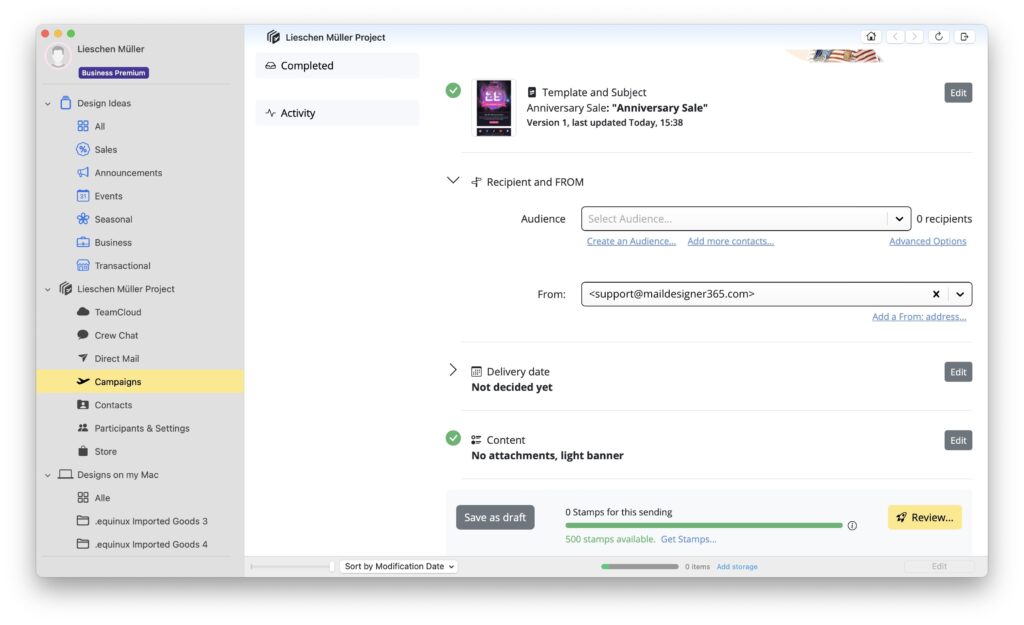
The latest version of your design will be saved to your Project and Campaigns will open in your Mail Designer Main Window:

New Campaign in Mail Designer Main Window

Template and Subject

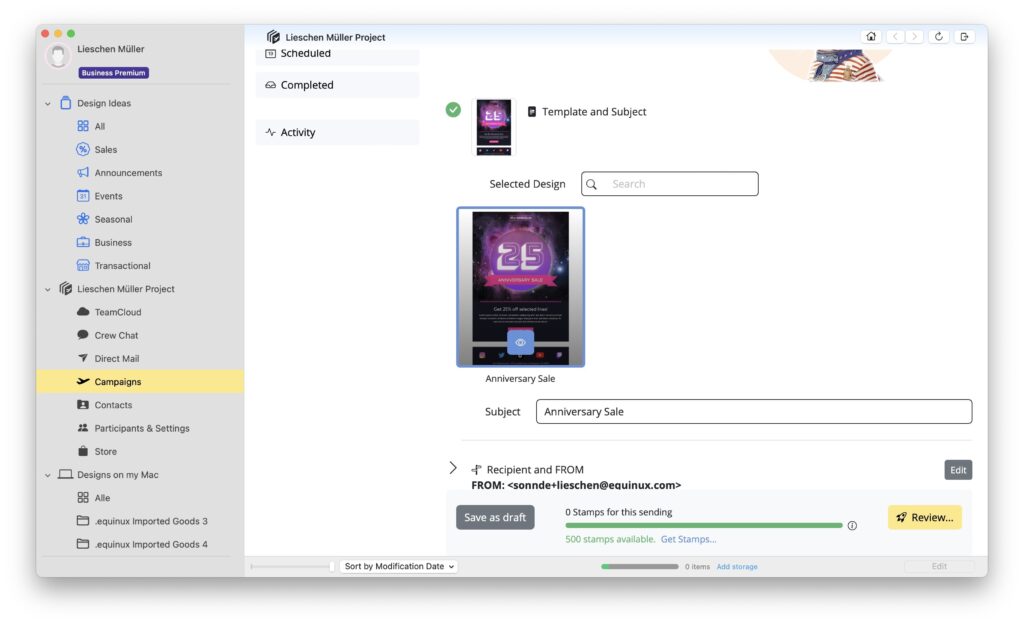
Click on your template to select it, and check your the subject of your email. This subject will be used as the subject in the inbox.

Once your Template and Subject is filled, you will see a green Checkmark next to Template and Subject. Scroll down to continue.

Template and Subject filled successfully

Next, scroll down to the Recipient and FROM Section

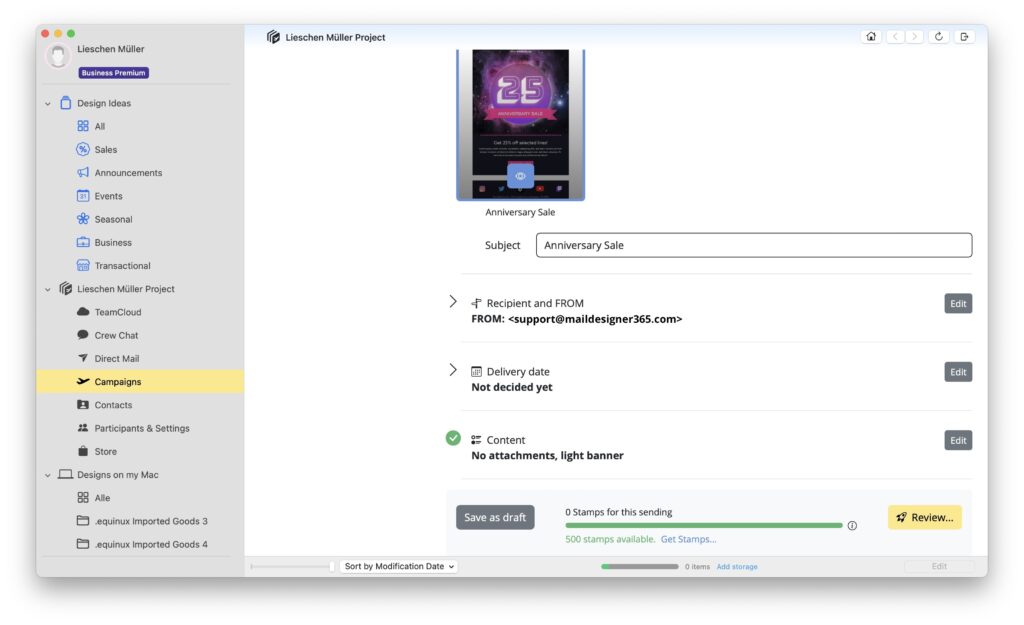
Recipient and FROM

Recipient and FROM Section

Click on Edit to select your Audience and check your from address:

Configure Recipients and FROM Addresses

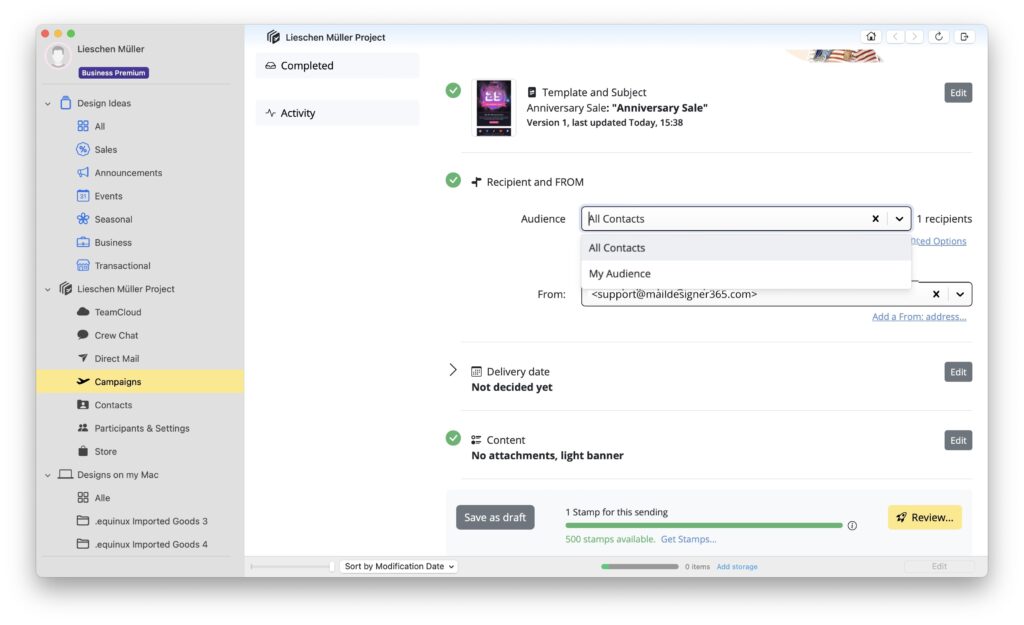
Now select your audience. These are the contacts who will receive your email campaign. Choose All Contacts to send your email to everyone or, if you have already set up custom audiences, choose one from the dropdown menu:

Select your AudienceNext check if your FROM address is correct. This is the address your campaign will be sent from.

By default, Mail Designer 365 will pre-fill this field with your last-configured address. If you have multiple addresses configured, choose one from the dropdown menu. If you want to add a new address, go to Participants & Settings in the sidebar menu.

All set? Make sure you have a green Checkmark next to the section: Recipient and FROM!

Delivery Date

Following this, you can decide when to send your campaign. Click Edit next to the Delivery Date section. Choose to send now or schedule it for a future date. Alternatively, choose Not decided yet to save it and come back to it later.

Choose your Delivery Date

All set? Make sure you have a green Checkmark next to the section: Delivery Date!


Additional Settings

You can optionally configure additional settings under the section Content. Options you can set here include:

  • Attachments for your email
  • Banner options
  • Link tracking options
  • Internal name for your campaign.

Ready to send?

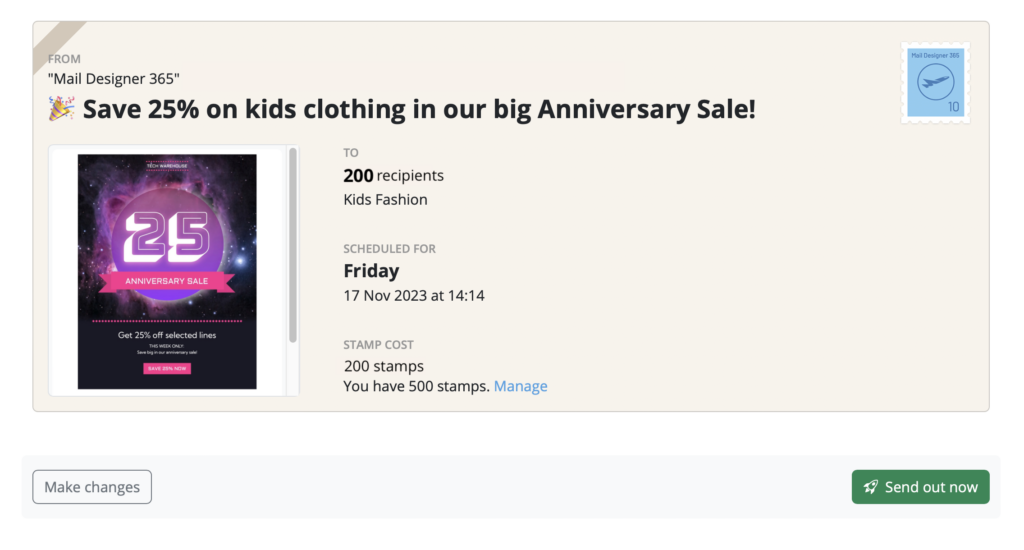
Press Review to do a final preflight check of your campaign before sending.

Ready to send? Review your Campaign!

You will now be given one final opportunity to look over your campaign details before sending to your audience:

A Quick Tour of Mail Designer 365

Advanced Design Techniques

Background

Blend Modes

Campaigns

Configuring Text Styles

Creative Tools

Editing Text

Graphics and Other Objects

HTML Export

Image Areas

Images

Layout Blocks

Links and Buttons

Optimizing your Template for Mobile

Other Sharing Options

Plain Text

Preparing your Design for Sending

Preview your Design

Tables

TextScout

Using Retina Images with your Design

Adding a From Address for Sending

By Gabrielle Campaigns

In Mail Designer 365 Delivery Hub, you can send email campaigns to your audience via your own email domain.

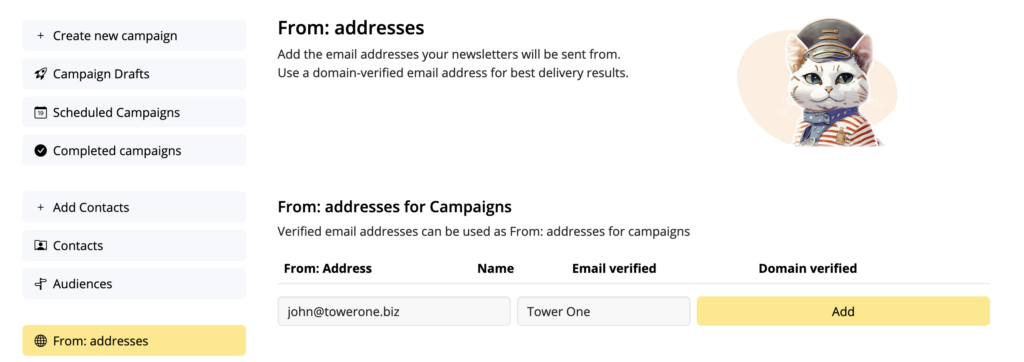
To set up a new from address for sending, go to Delivery Hub > From: Addresses.

Under From: addresses for Campaigns you will see the input field to add a new email domain. Enter your email address and sender name (e.g. your company):


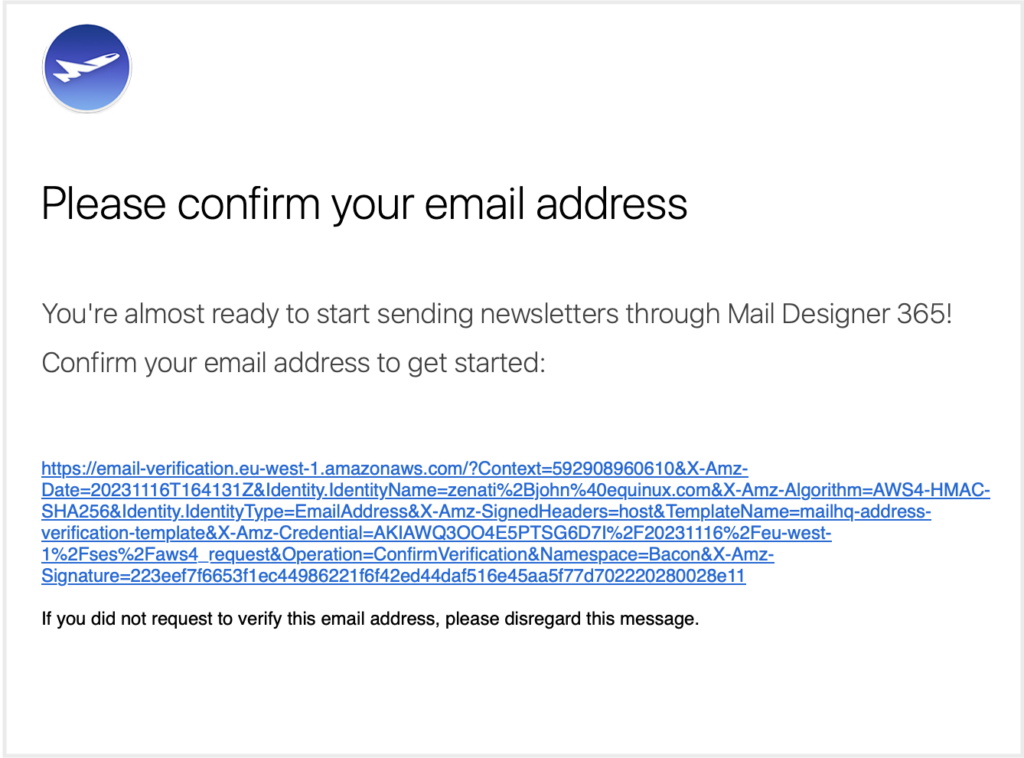
Shortly after, you will receive a confirmation email. Click the link in the email to confirm the email domain you entered belongs to you:


Important: Further verification steps

Although your new email address is now verified for sending, you also need to verify your email domain. This is an important step in order to prevent your emails being marked as spam. Without domain verification, you may experience deliverability issues.

This page takes you through step-by-step so you can get set up for sending emails in no time.


A Quick Tour of Mail Designer 365

Advanced Design Techniques

Background

Blend Modes

Campaigns

Configuring Text Styles

Creative Tools

Editing Text

Graphics and Other Objects

HTML Export

Image Areas

Images

Layout Blocks

Links and Buttons

Optimizing your Template for Mobile

Other Sharing Options

Plain Text

Preparing your Design for Sending

Preview your Design

Tables

TextScout

Using Retina Images with your Design

Inviting Team Members to Give Feedback on Designs

By Campaigns

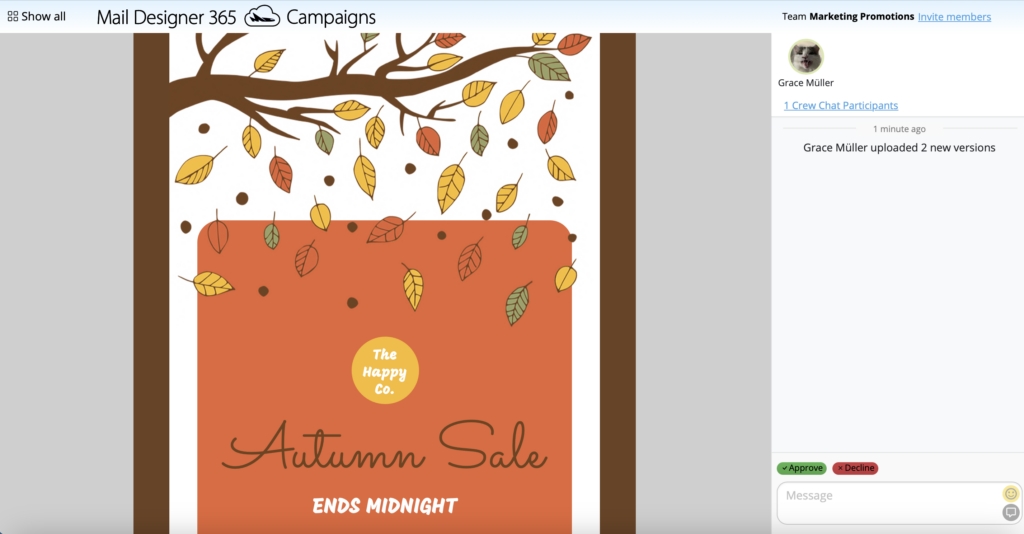
Once you have uploaded a design to Crew Chat, all your team can comment and give you feedback.

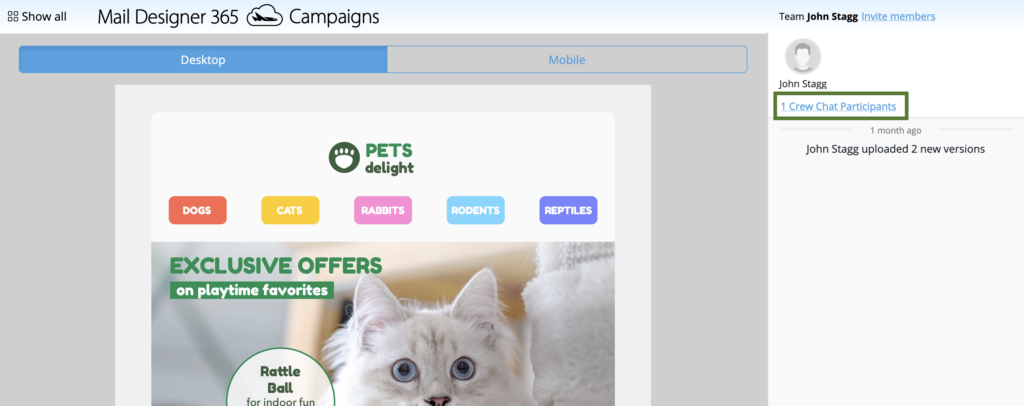
To notify a team member about a new design, click on Crew Chat Participants in the top right corner of the window:

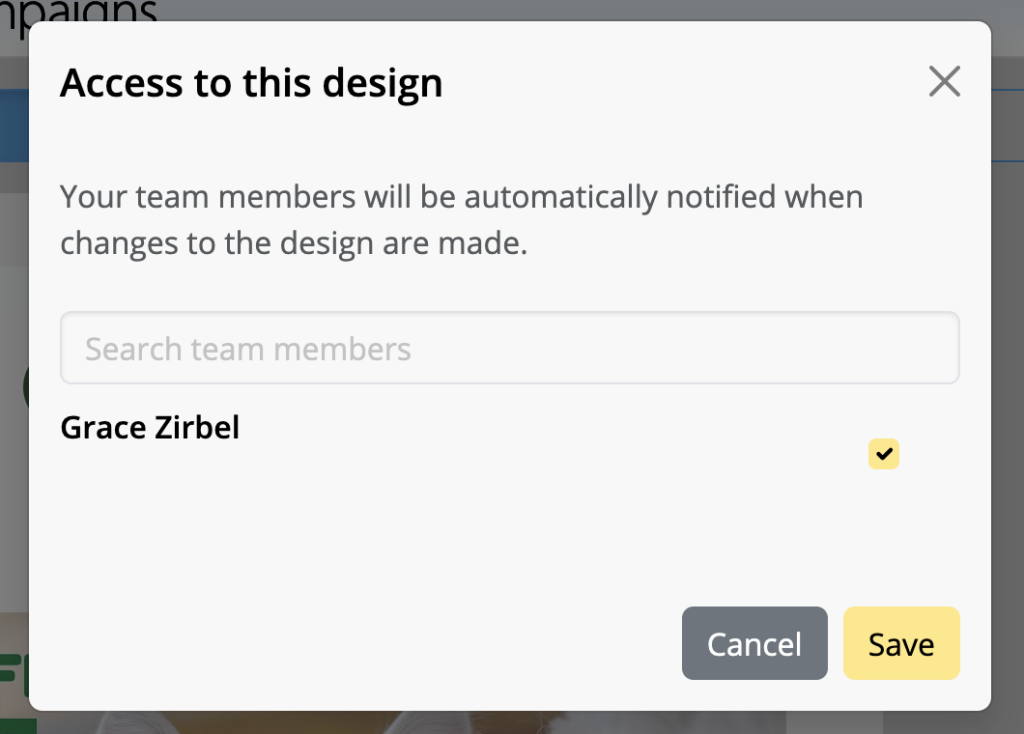
This will open up a list of your current team members. Simply check the box next to their name and click Save:

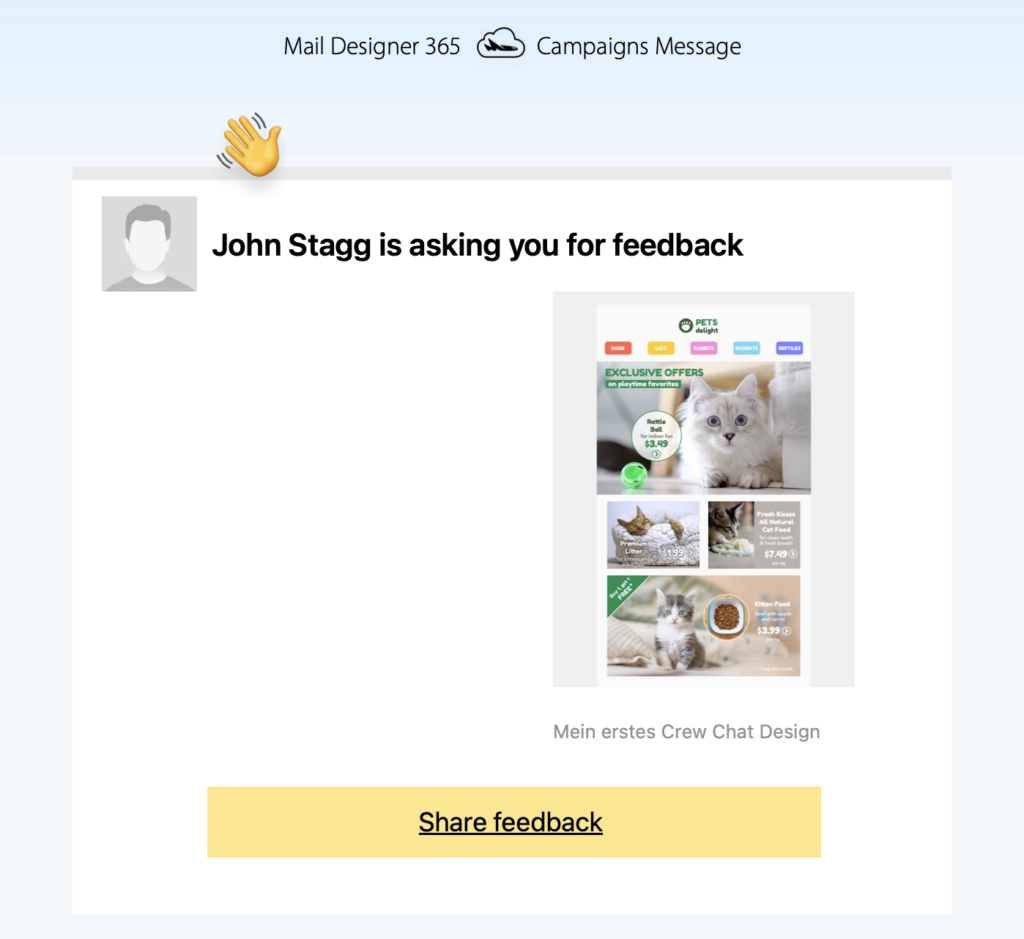
They will then be notified about your newly uploaded design by email:

If you need to invite a new member to your team, click on Invite members:

Enter their email address in the field provided and hit Invite to send them an email notification:

Now that you've invited all your team members to the discussion, you can get started with the feedback process!

A Quick Tour of Mail Designer 365

Advanced Design Techniques

Background

Blend Modes

Campaigns

Configuring Text Styles

Creative Tools

Editing Text

Graphics and Other Objects

HTML Export

Image Areas

Images

Layout Blocks

Links and Buttons

Optimizing your Template for Mobile

Other Sharing Options

Plain Text

Preparing your Design for Sending

Preview your Design

Tables

TextScout

Using Retina Images with your Design

Set up a Team

By Campaigns

Mail Designer 365 works best in teams – send test emails, discuss and approve design drafts in Crew Chat, and schedule and send campaigns together in Delivery Hub.

Setting up your team

When you first create your Mail Designer 365 account at my.maildesigner365.com, you will be taken through the team creation workflow.

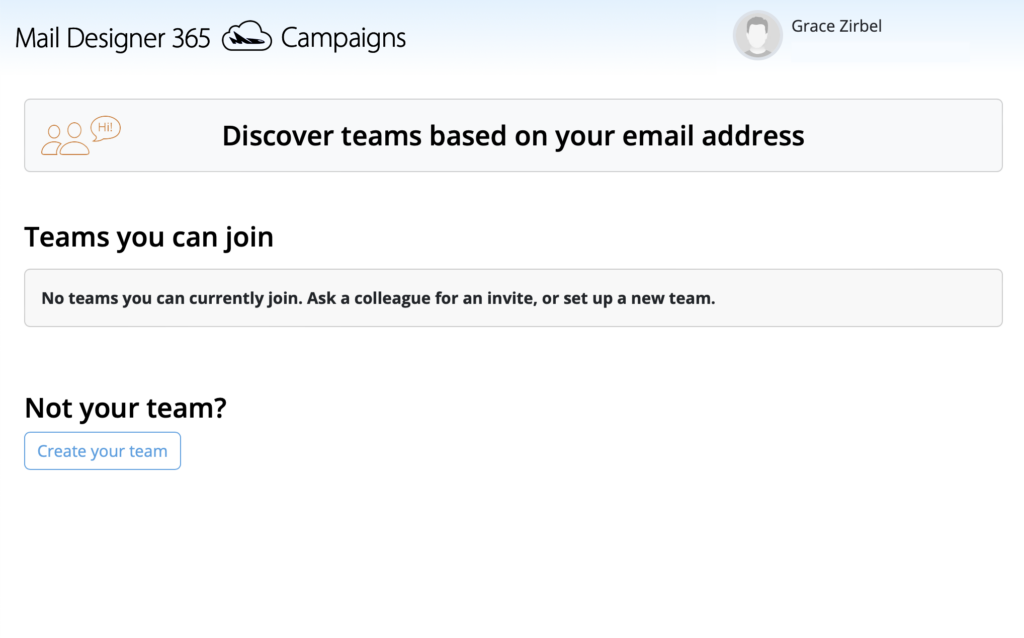
If someone from your company already has a Mail Designer 365 team, you will be asked if you want to join. Otherwise, click Create your team to get started:

You will now be directed to the TeamCloud start page. This is where you will see all your team's uploaded templates once you get started with Mail Designer 365 Campaigns:
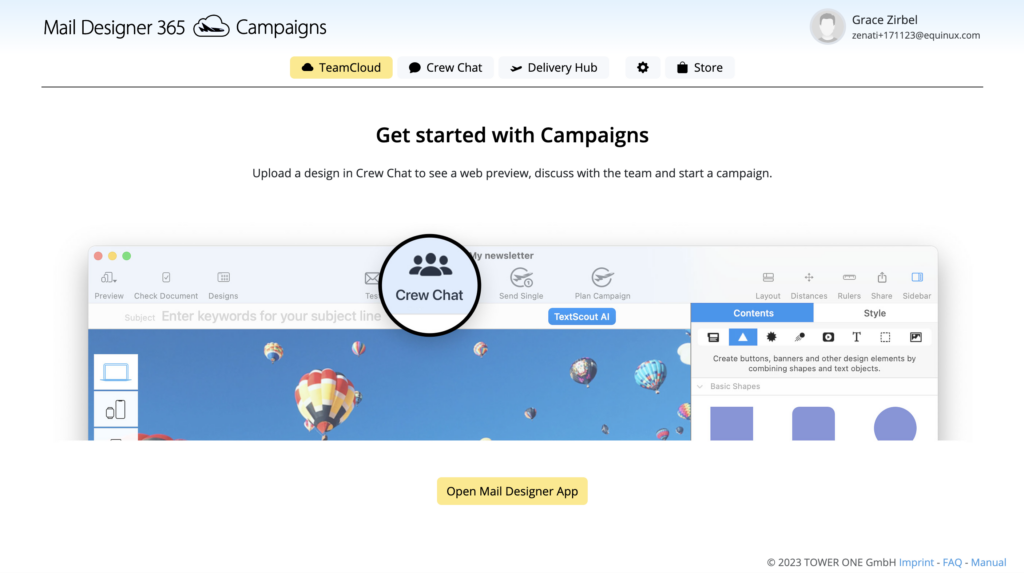
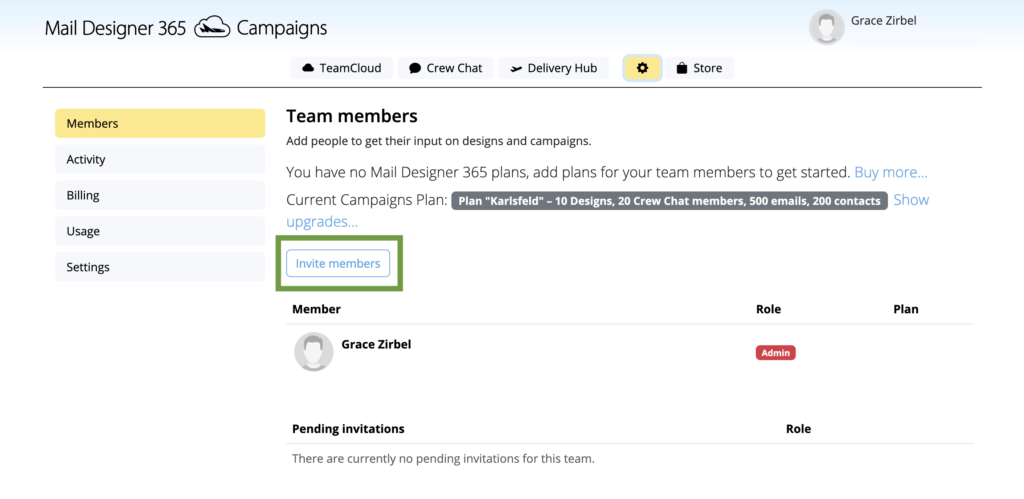
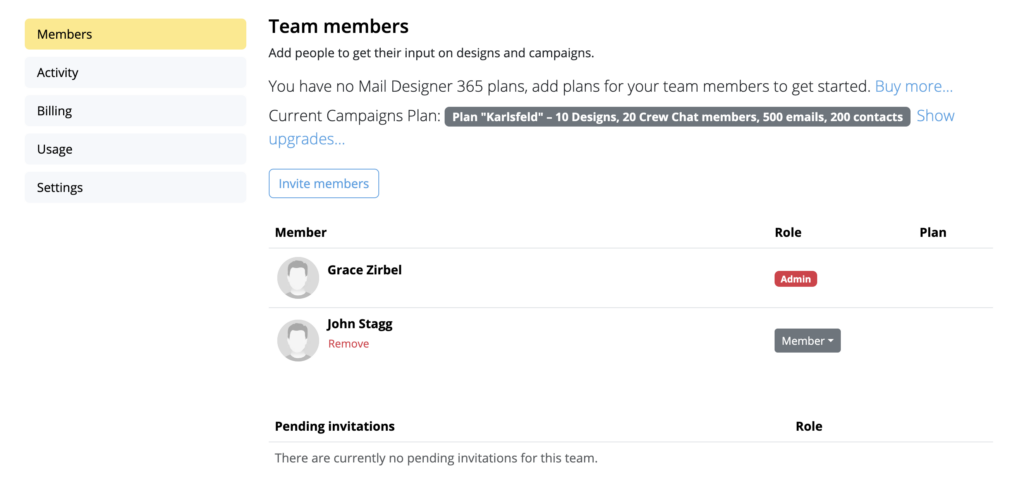
To manage your team, click the Settings icon. On the Team Members page, you can invite new members (e.g. colleagues & collaborators) to your team via the Invite members button:

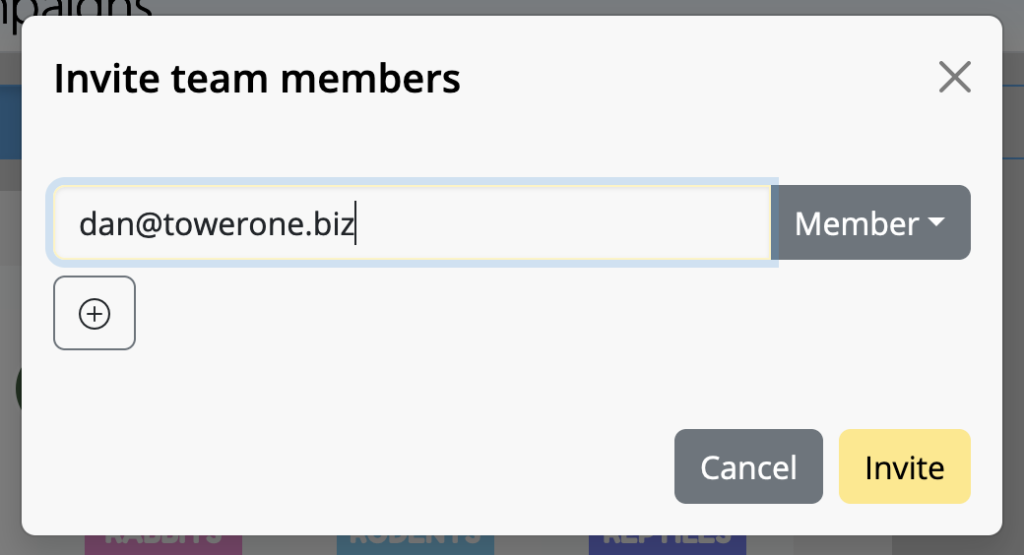
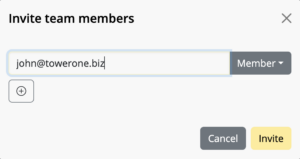
Enter the email address of the person you want to invite to your team and click the (+) icon to add further members. Finally, hit Invite to send your team invitations:

Once a user has accepted your invitation, they will appear in the Team Members overview list, where you can assign roles and design plans later:


A Quick Tour of Mail Designer 365

Advanced Design Techniques

Background

Blend Modes

Campaigns

Configuring Text Styles

Creative Tools

Editing Text

Graphics and Other Objects

HTML Export

Image Areas

Images

Layout Blocks

Links and Buttons

Optimizing your Template for Mobile

Other Sharing Options

Plain Text

Preparing your Design for Sending

Preview your Design

Tables

TextScout

Using Retina Images with your Design

Upload a Design to Crew Chat

By Campaigns

If you have created a design in Mail Designer 365 that you want to discuss with your team, use Crew Chat to invite team members to leave comments and feedback on the web. Here's how it works...

Upload designs to Crew Chat

Once you are happy with your email design and want input from your team, click the Crew Chat icon in the Mail Designer 365 toolbar:

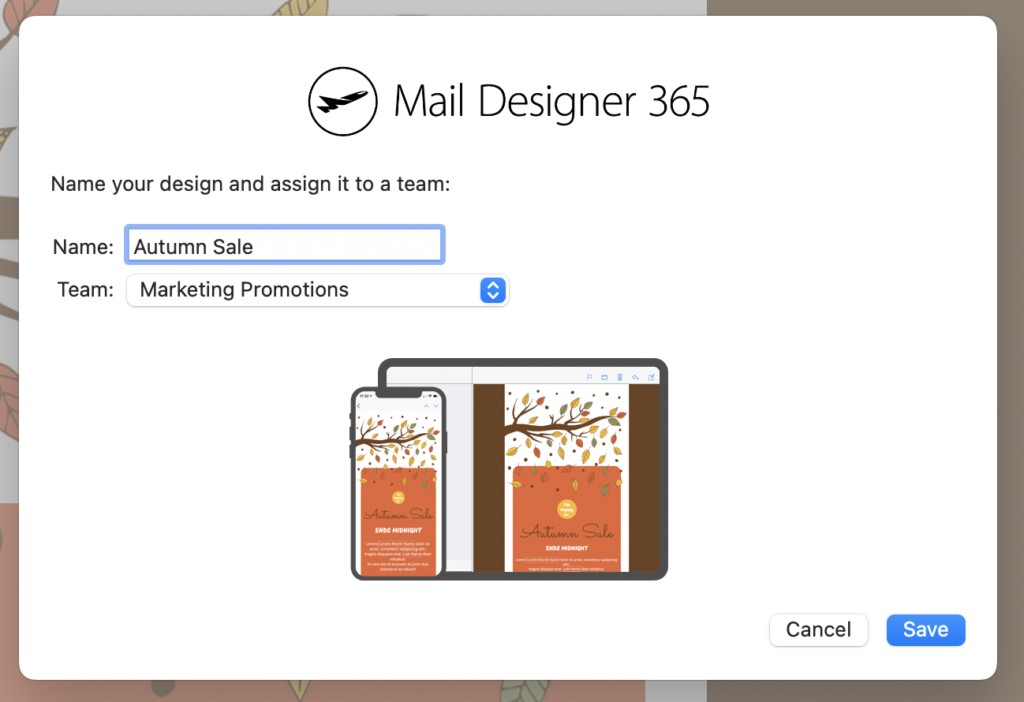
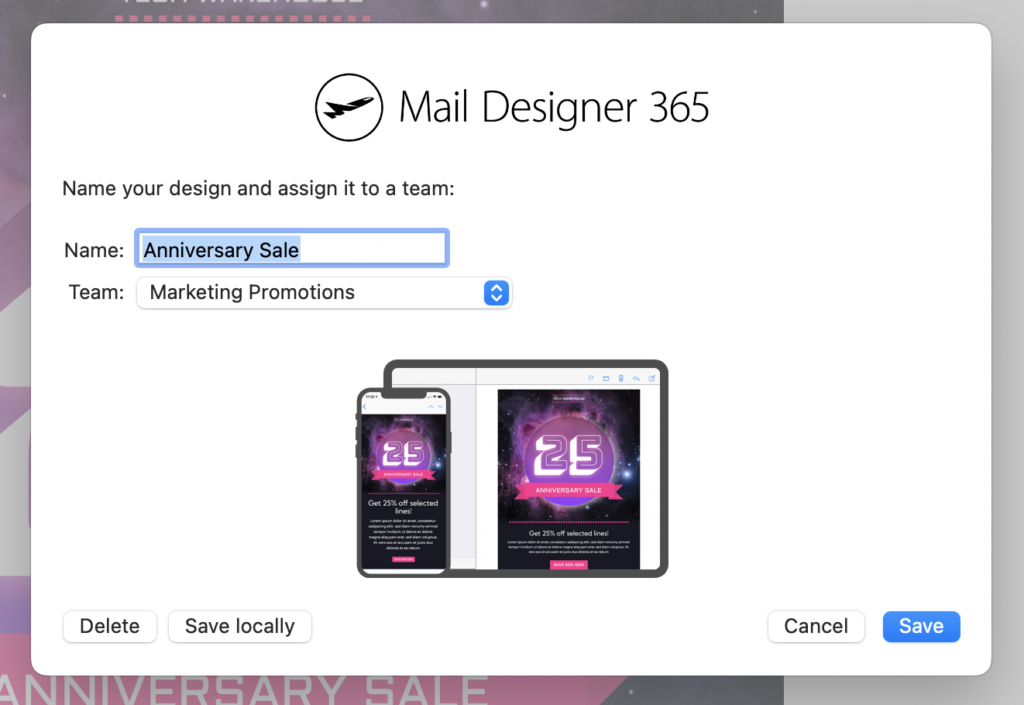
If this is the first version of your design, you will be prompted to save it so your team can view the latest version. Enter a name for your design and click on Save:

A new browser window will open and take you to the discussion thread, where you can invite team members to give feedback on your design.


A Quick Tour of Mail Designer 365

Advanced Design Techniques

Background

Blend Modes

Campaigns

Configuring Text Styles

Creative Tools

Editing Text

Graphics and Other Objects

HTML Export

Image Areas

Images

Layout Blocks

Links and Buttons

Optimizing your Template for Mobile

Other Sharing Options

Plain Text

Preparing your Design for Sending

Preview your Design

Tables

TextScout

Using Retina Images with your Design

Using the Testmail Feature

By Gabrielle Campaigns

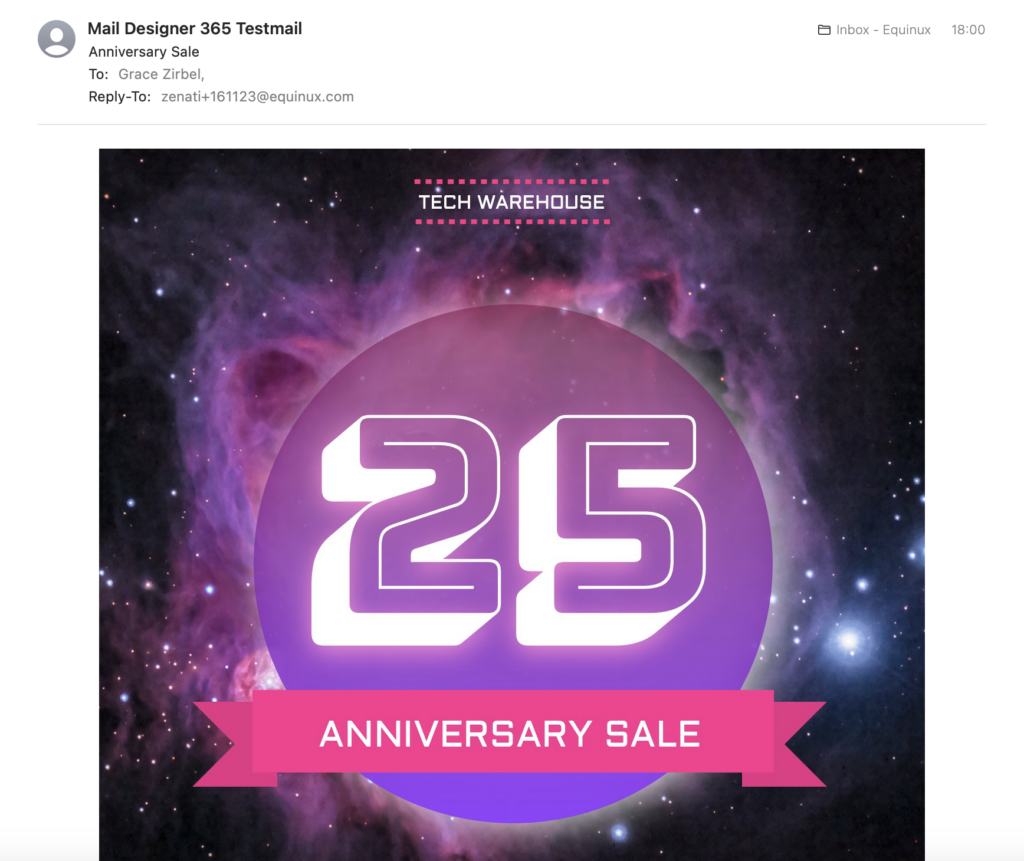
Mail Designer 365's Testmail feature allows you to test your design before sending to your recipients. 

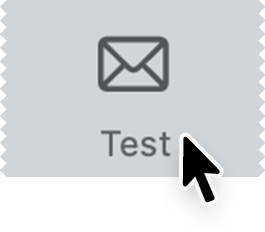
To get started, click on the Test icon in the Mail Designer 365 toolbar:

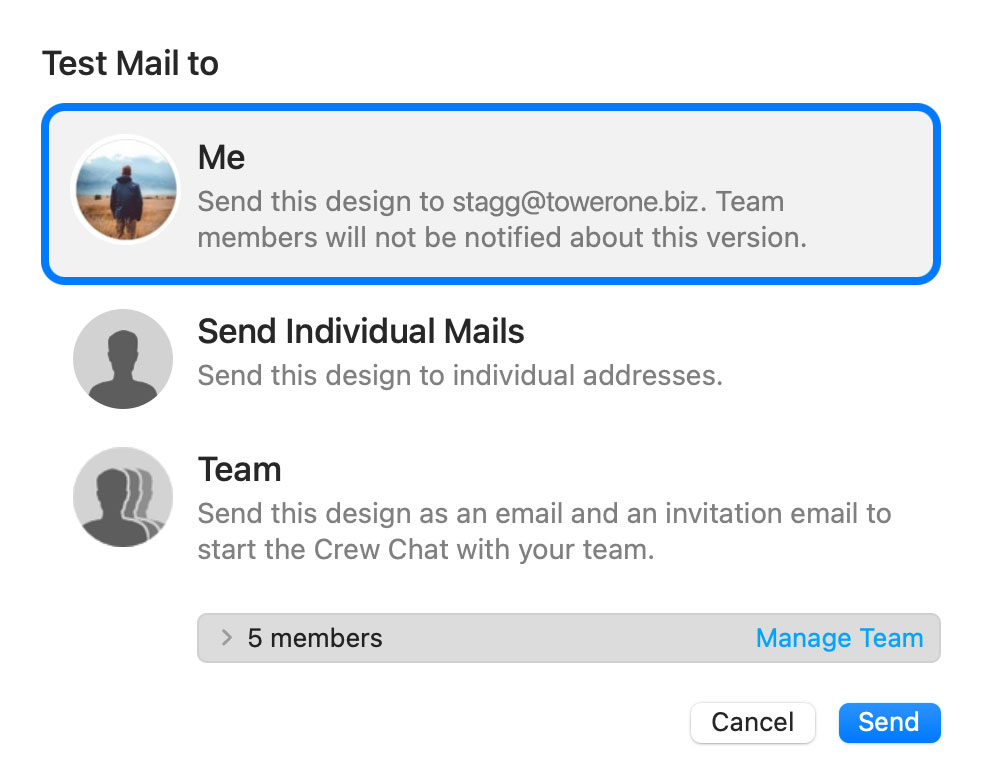
You can now choose who to send your test email to: yourself, your team or as an individual email to an external address (redirects to Delivery Hub.)


Once you've selected the recipients of the test mail, click Send to share the latest version of your design.


During this process, you will also receive a verification email used to verify your email address for sending in Delivery Hub. Click the link in the email to confirm your email address for sending:


A Quick Tour of Mail Designer 365

Advanced Design Techniques

Background

Blend Modes

Campaigns

Configuring Text Styles

Creative Tools

Editing Text

Graphics and Other Objects

HTML Export

Image Areas

Images

Layout Blocks

Links and Buttons

Optimizing your Template for Mobile

Other Sharing Options

Plain Text

Preparing your Design for Sending

Preview your Design

Tables

TextScout

Using Retina Images with your Design

Saving your design

By Gabrielle Campaigns

There are many scenarios where you will want to save the latest version of your email design – either to continue editing later, to share with your team, or to send.

Saving a design for the first time

When you first save a design, you will be prompted to give the design a name and can save it in your team's TeamCloud; making it available for all team members and across your personal devices:


Saving to continue editing

If you've finished working on your design for the time being, simply click the X to close the Mail Designer 365 design window. You will then be shown the save dialog:


Using your design with Testmail, Crew Chat or Delivery Hub

When you use your email design with Testmail, Crew Chat or Delivery Hub, Mail Designer 365 automatically updates the latest design version in TeamCloud to use with these services.

For example, clicking on the Crew Chat icon in the toolbar automatically triggers saving.

You can see when a new version is being uploaded whenever the TeamCloud upload icon is displayed in the toolbar:


A Quick Tour of Mail Designer 365

Advanced Design Techniques

Background

Blend Modes

Campaigns

Configuring Text Styles

Creative Tools

Editing Text

Graphics and Other Objects

HTML Export

Image Areas

Images

Layout Blocks

Links and Buttons

Optimizing your Template for Mobile

Other Sharing Options

Plain Text

Preparing your Design for Sending

Preview your Design

Tables

TextScout

Using Retina Images with your Design

Privacy Settings / Datenschutz-Einstellungen