Mail Designer 365 makes HTML email design easy, but there are still some key things to be aware of when it comes to building your email templates. This quick guide shares our top 5 best practices when using Mail Designer 365.
1. Always use text styles
Text styles make your design more reliable when sending, as they are automatically set up with a fallback font. This means your text will be displayed using an email safe font, should there be any compatibility issues with the first font you've chosen.
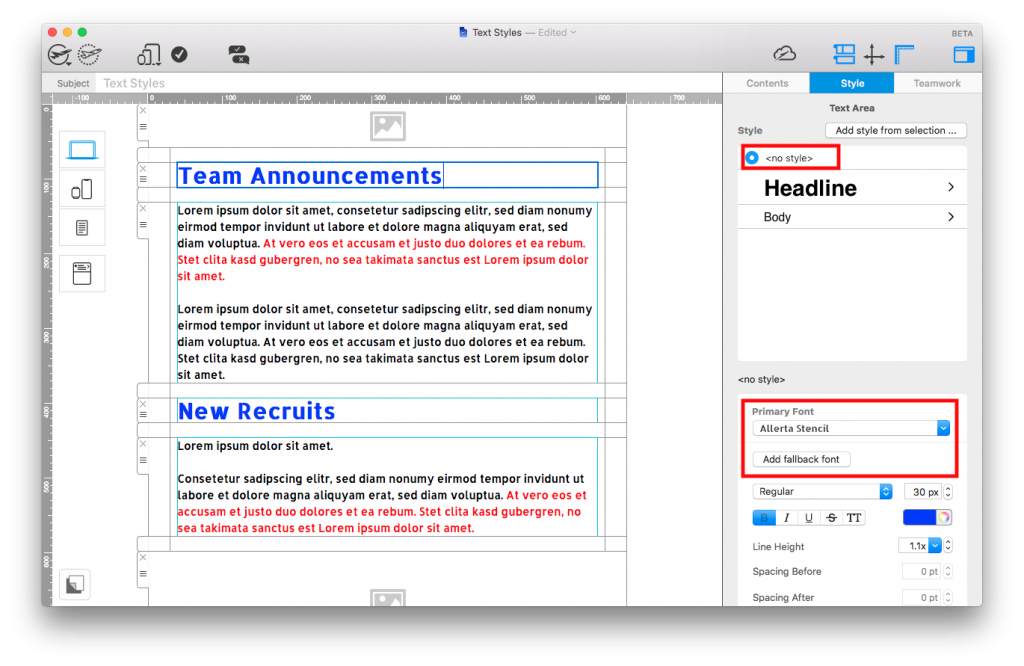
In this example, there is no text style or no fallback font set up. If the font 'Allerta Stencil' is unavailable, readers will receive an unformatted message.
You can learn more about setting up text styles here.
It is also a good idea to set up text styles, as they help you to keep all text consistent throughout your design. Without a style, editing newsletter text is more difficult, as you will have to apply changes to every section of your design manually.
2. Use text layout blocks for email copy
Use the designated text layout blocks for any email copy, as you may run into compatibility issues otherwise. Email designs which are purely made up of images often encounter problems after sending.
What could go wrong?
- Some email providers block images in emails by default. Your all-image email will appear blank and readers will miss your message.
- Using only images also increases the size your email; making it much slower to load.
- Spam filters can detect and trap image-only emails as a precaution.
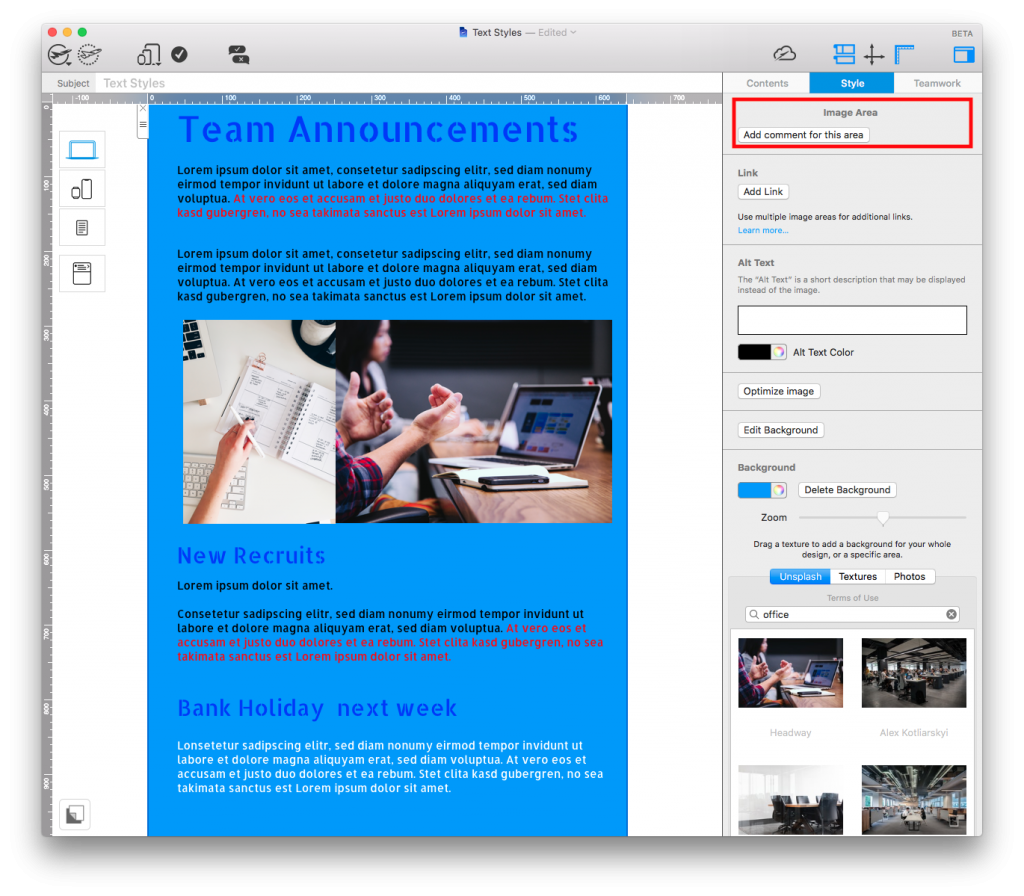
This email consists solely of image elements. Although it's hard to see a problem while editing inside Mail Designer, after sending, you could run into compatibility issues.
Decorative text like buttons and eye-catchers are ok to go in an image area. Any copy which is important to the message of your email should be displayed in a text block.
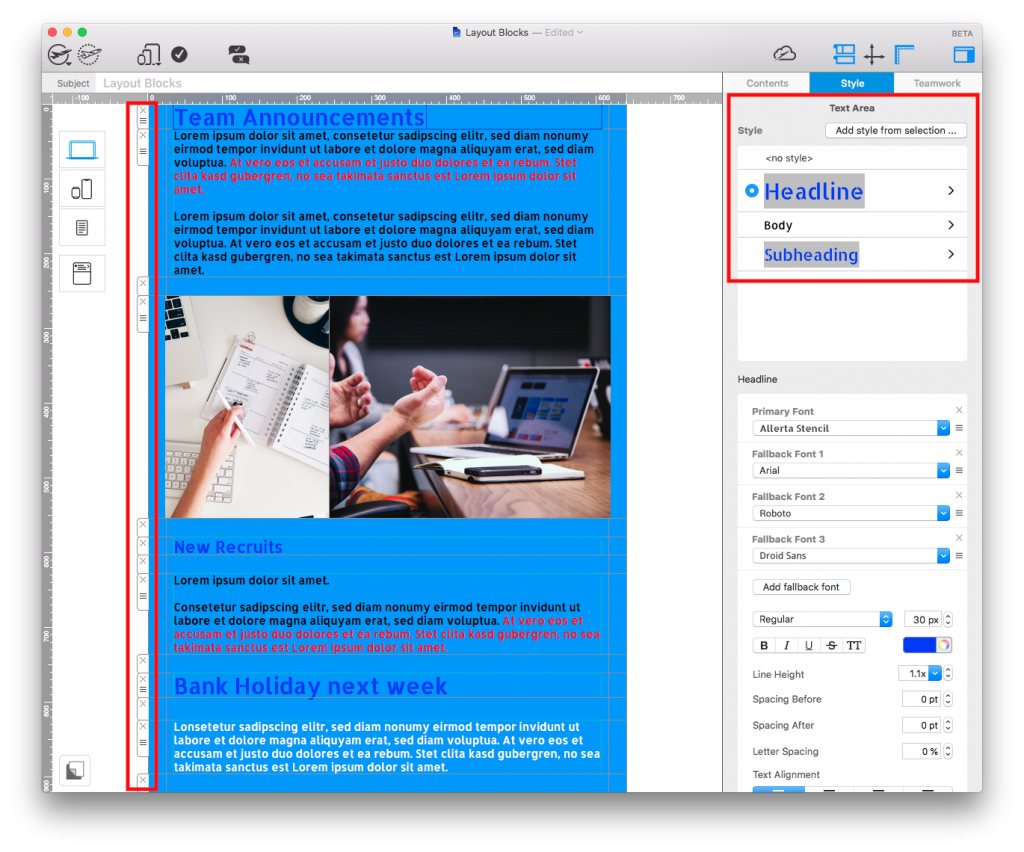
This design looks almost the same as the first, but is much better practice. Text is contained in text blocks and images in image areas.
3. One link per image block
Unlike text blocks, where you can include as many different text links as you like, you can only use one link per image block. This is because the link attaches itself to the entire area of the block, rather than the individual design element you are referring to.
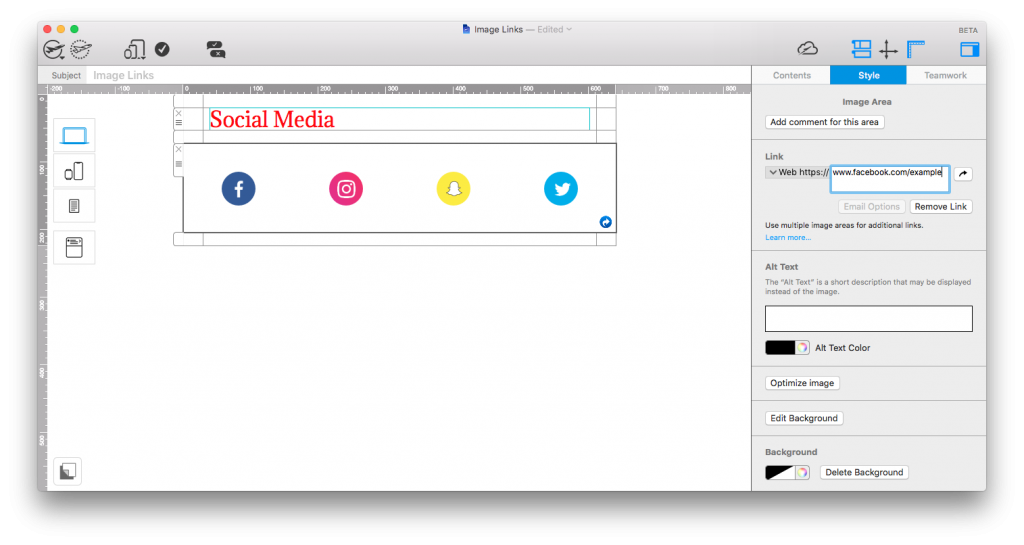
In this example, 4 buttons have been placed in one image block. Only one link will work per image area.
To link two or more images (e.g. social media buttons, product catalogue listings, etc.), you will need to use a multi-image layout block as a workaround. Each design element needs to be linked inside its own image area in order for the links to work correctly.
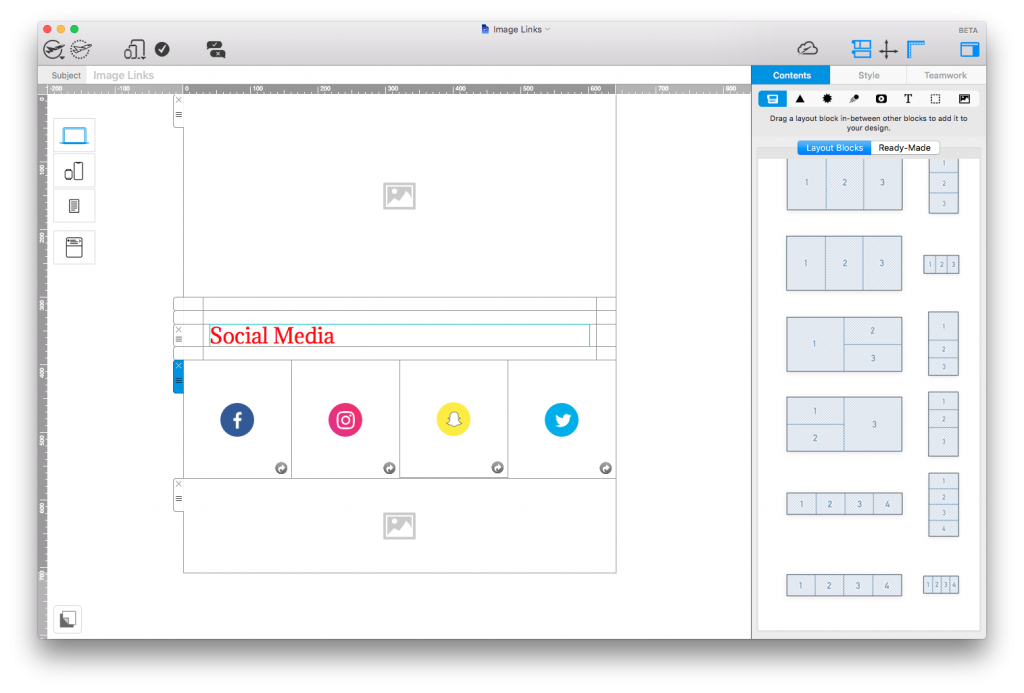
Use a multi-image layout block if you want to add additional links.
You can find more information on how to insert multiple image links here.
4. Think about your mobile version
You can customise content in the smartphone view to make it more suitable for mobile users. This is done by detaching the respective layout blocks to separate them from the main design (see this tutorial.)
We would advise against detaching all of your mobile blocks from the main layout. Not only does it create a much larger file size (you essentially have two email designs in one), it also means that any changes you make to the content of your email will have to be made twice.
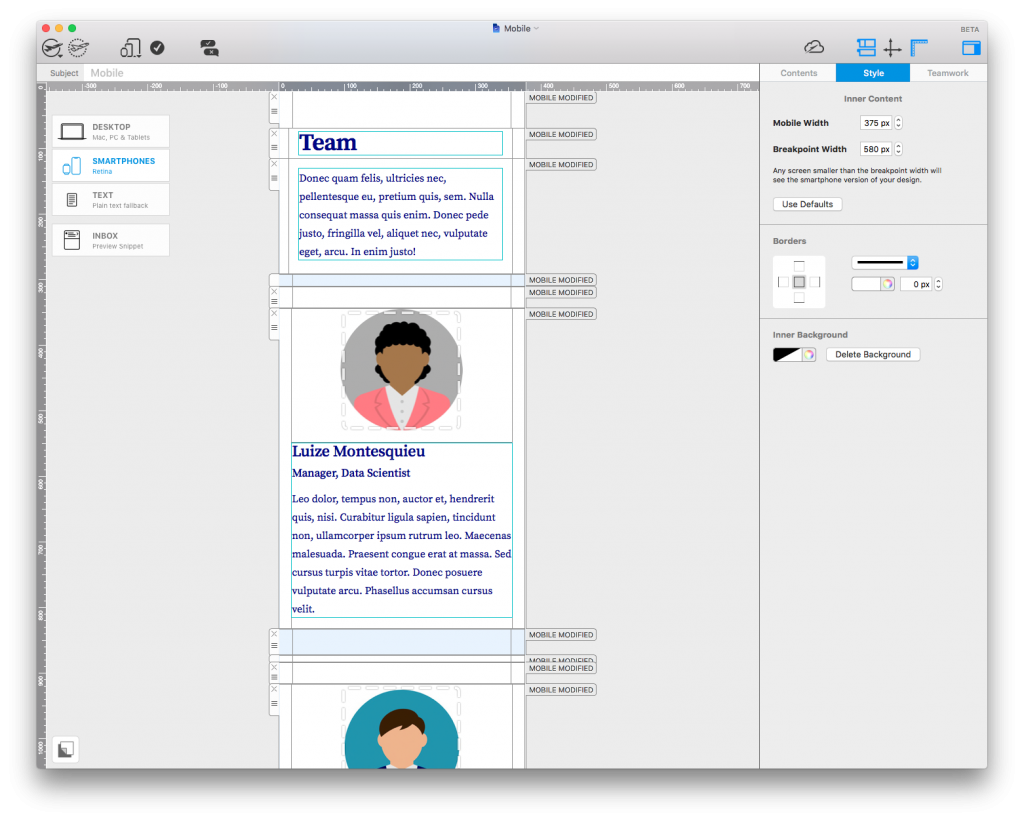
Detaching all of your mobile blocks from your main layout as shown here will increase the size of your design file and make editing more difficult.
5. Don't change your design following export
As we have no means of testing external or custom code, our team cannot guarantee that changes made outside of Mail Designer 365 app will be compatible.
It is best practice to carry out any changes inside the app and re-export new versions until you have settled on your final design.
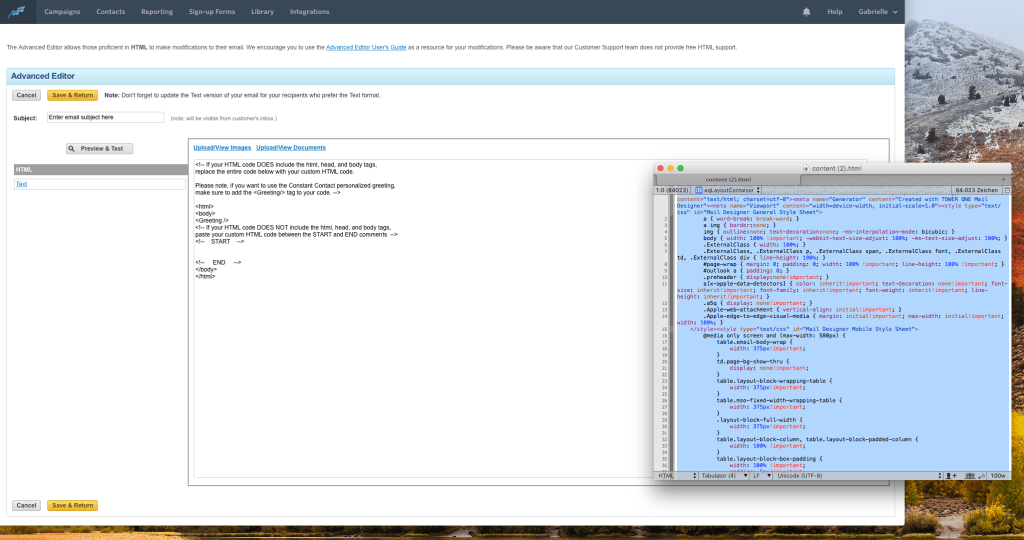
When you are copying your exported code into your ESP's editor, don't change any aspects of it. We cannot guarantee your design will look the same as you intended it to if you change it.
How Can We Help?
A Quick Tour of Mail Designer 365
Background
Layout Blocks
TextScout
Editing Text
Links and Buttons
Configuring Text Styles
Tables
Image Areas
Images
Using Retina Images with your Design
Graphics and Other Objects
Creative Tools
Advanced Design Techniques
Blend Modes
Optimizing your Template for Mobile
Plain Text
Preview your Design
Feedback and Sharing
Preparing your Design for Sending
Contacts and Audiences
Sending Emails
1:1 Emails
Email Analytics
HTML Export
Other Sharing Options
