Lines are basic, fundamental design elements that you can use to create professional newsletters. In fact, you can use a line on its own as a separator of two different sections of your email template. Or you can try to insert multiple lines, place them in a row, and add some space in between them to separate two sections of your newsletter.
When it comes to organizing your email newsletter content, we will show you how handy line separators can be. Not only can lines act as separators, but lines are also great for guiding the eyes of the readers. You can strategically position the lines within your newsletter to give hints on the direction and flow of the email content.
Mail Designer 365 makes it easy to add lines to your email template.
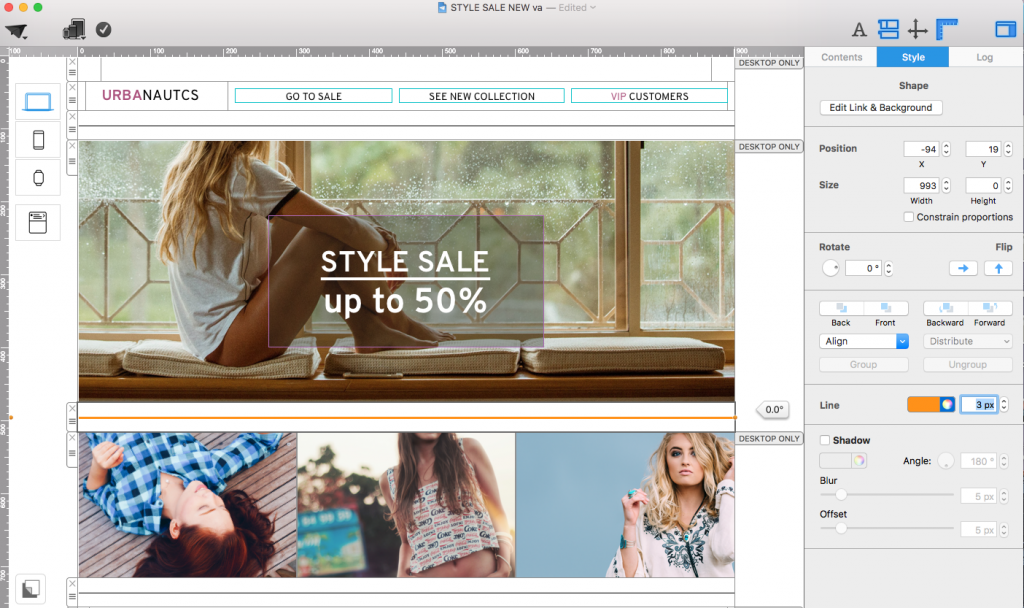
You can treat the line graphic elements as subtle content dividers. Use the line from Mail Designer 365’s graphic elements to divide individual parts of your newsletter or to create chic design accents. Here's how create your own line separators:

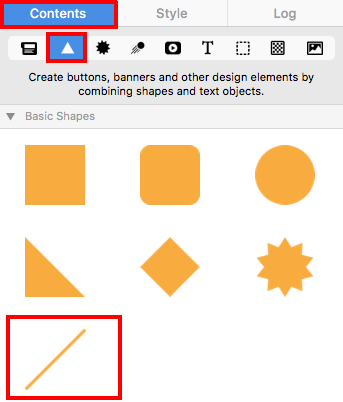
- To use the line, you will find it from your graphics collection under “Basic Shapes.”

- Drag and drop the line into an image area of your email template.
- Remember, you can only add lines to image areas. You cannot drag and drop lines into text areas.
- You can rotate the entire line by holding the "Command" key and then rotating at one of the ends of the line.
- Tip: If you want one end of the line to hold its position while you rotate, then do not hold the "Command" key. Just place the cursor on top of one end of the line, drag the end, and rotate the line to the position that you want.
- Tip: If you hold the "Shift" key while turning, the line locks on sensible angular degrees (You can rotate every 45 degrees).
- Quick way to add horizontal lines: If you want to make sure you have a flat, horizontal line, just hold the "Shift" key and rotate until the line reaches 0 degrees or 180 degrees.
- You can adjust the thickness of your line from 1px to 40px.

Helper Lines:
Grab a helper line from the side ruler. You can show the side ruler by pressing "Command + R." An alternative is to press this button on the top right of your Mail Designer 365 Window:
![]()
To grab a helper line, just click on the side ruler and drag to your template. You will see the helper line show up once the cursor moves into the email template. You can add as many helper lines as you need. When you finalize your email design and launch your email campaign, your subscribers will not be able to see any of the helper lines. They will only be able to see the final result.
To help with horizontal alignment, you can grab a helper line from the top. To help with vertical alignment, you can grab a helper line from the left side of your Mail Designer 365 window.

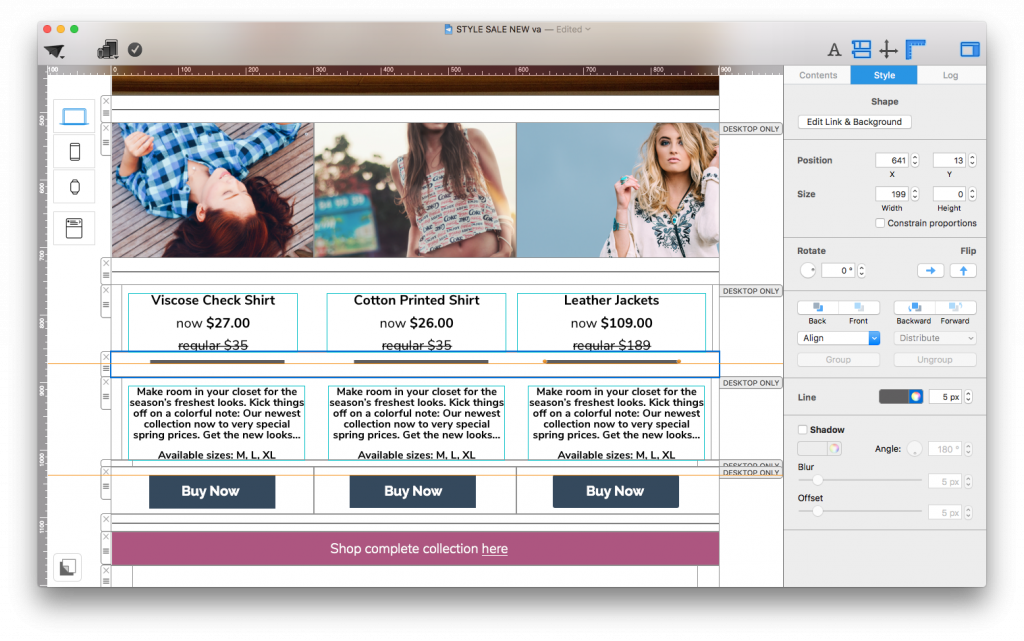
The helper line allows you to align your lines exactly to a specific position. This is quite helpful when you have to align graphic elements in different image areas or when they are spaced out. For example, we can use a helper line to align 3 different lines that are positioned in a row:

Until next time,
Your Mail Designer 365 team
