Beginner's Guide to Email Marketing
Step 5
Sign Up for an Email Service Provider
By this step, you know how to build your subscribers list. Ideally, you have created your checklist of your most needed features and researched your ESP options. Finally, you are ready to sign up for an email service provider! Congratulations!
Not sure what to expect when signing up for one of these providers?
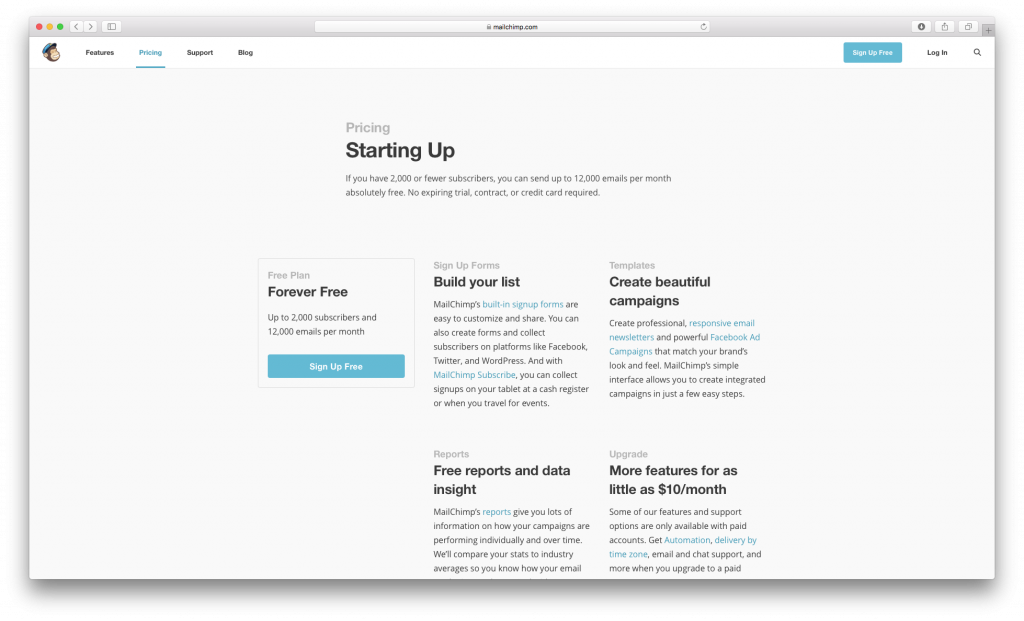
Don't worry, together, we will explore how the signup process will probably look like. As an example, we will walk you step-by-step with one of the most popular email service providers (ESPs) in the market: MailChimp. Note: Mail Designer 365 has direct integration for MailChimp, so all of MailChimp's features have been tested and should work normally with Mail Designer 365.
Quick tip: Get your inbox ready. Some of these steps require you to check your email.
Let's begin!
Account Activation
When you first sign up for MailChimp, it will ask for the following:
- Username
- Password
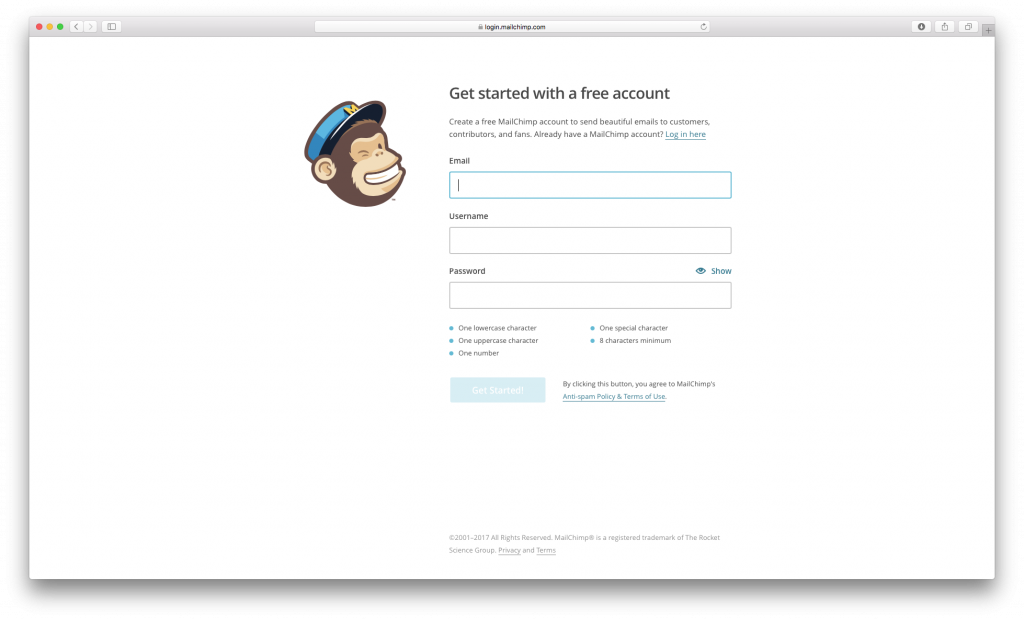
After completing the "Get started with a free account" form, MailChimp will automatically send an activation confirmation email.
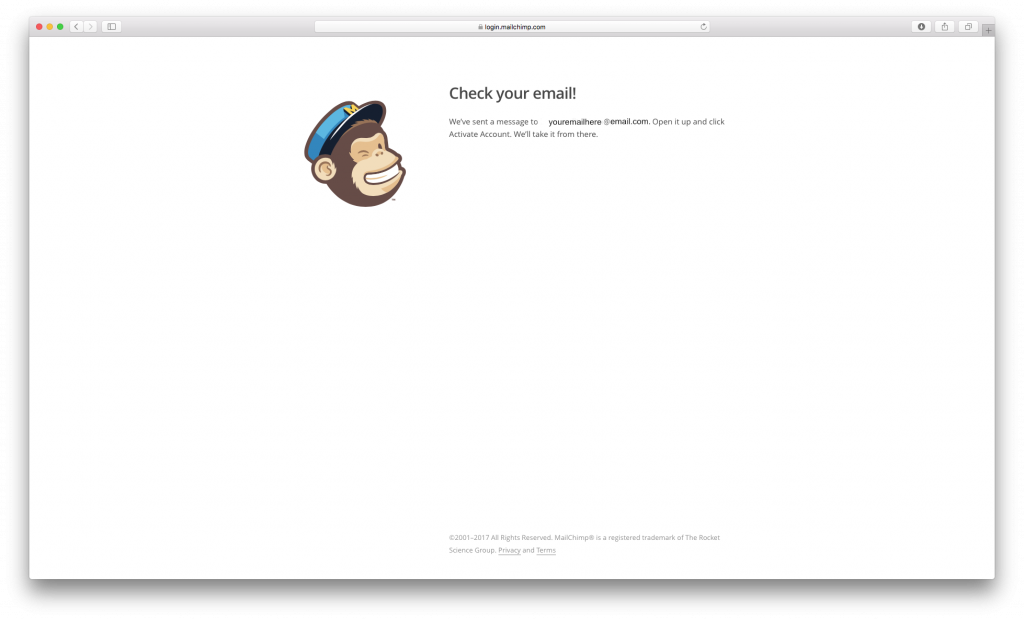
Go to your inbox. Check if you receive an email similar to this:
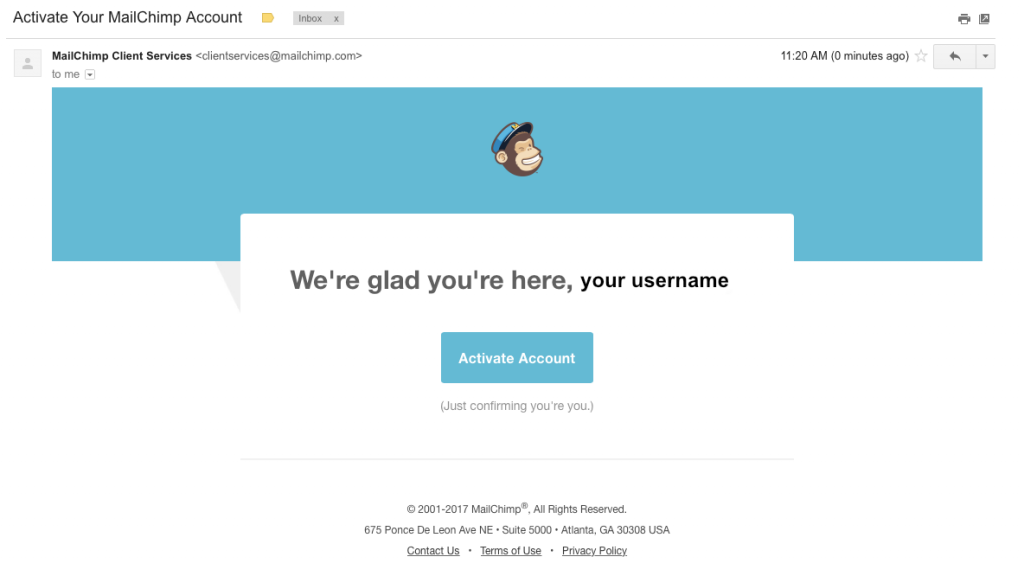
Click “Activate Account.” Congratulations! Your account with MailChimp should now be activated.
Account Setup
After you activate your account, MailChimp will do 2 things:
I. Send you another email to welcome you to MailChimp. The email will look like this:
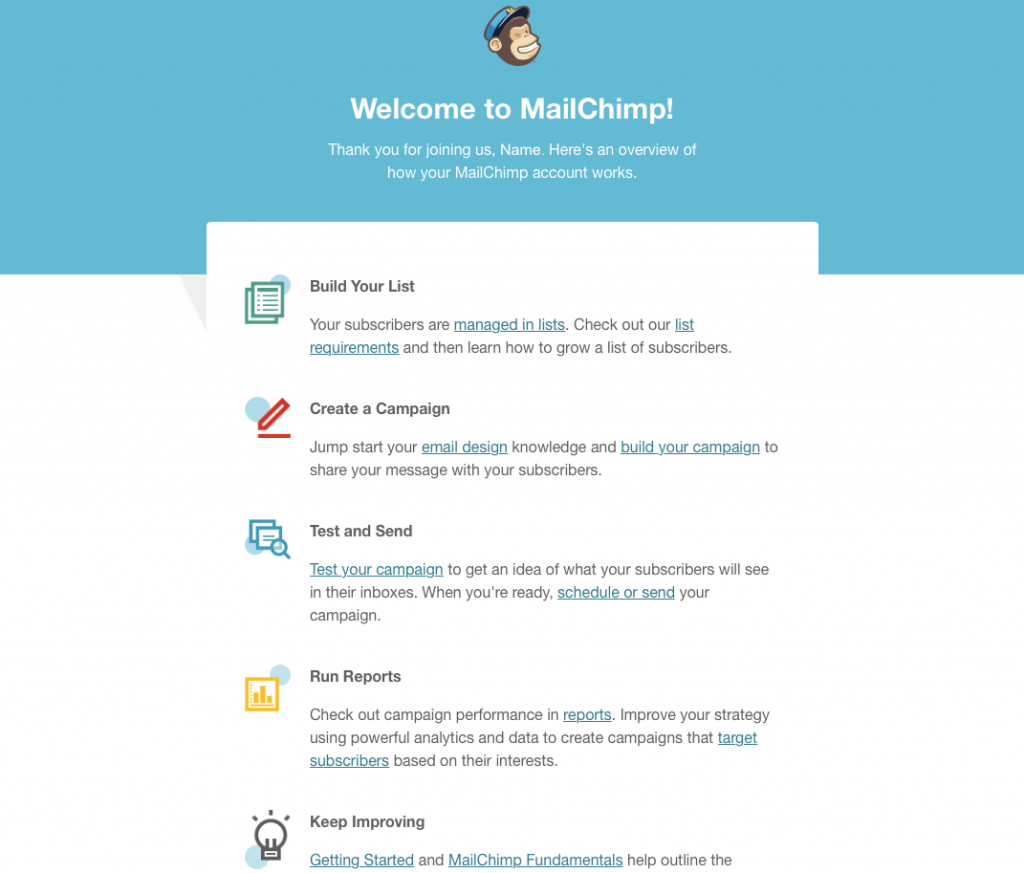
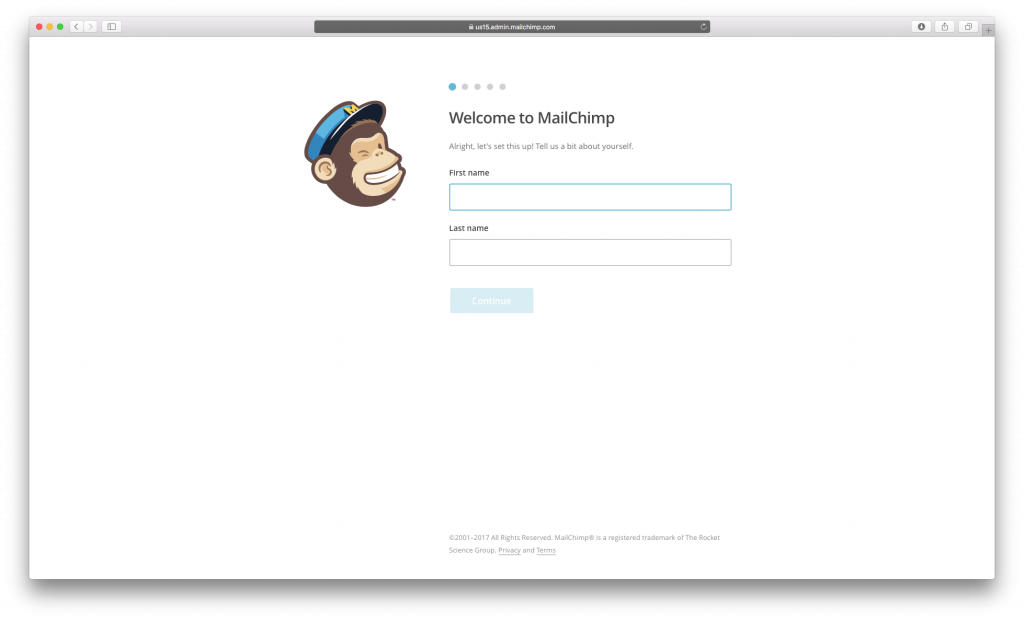
II. Directly lead you to its site. You will need to answer a couple of questions to complete the signup process.
1. Type in your first and last name.
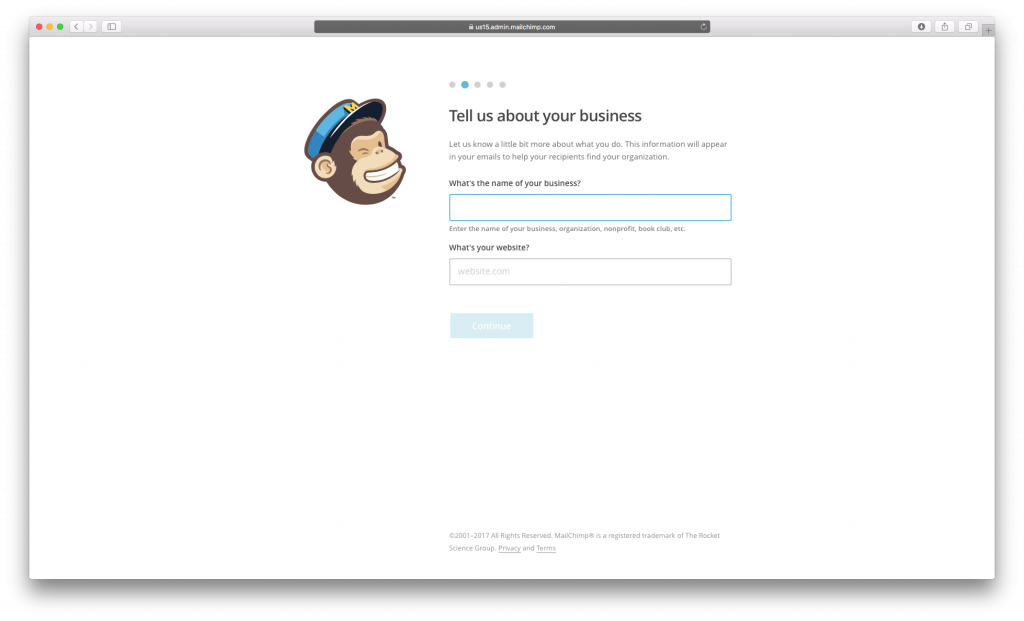
2. Add the name of your business and your company website.
(Quick tip: This is an important legal step. Most countries require you to have your official business name and company website in every commercial email you send out.)
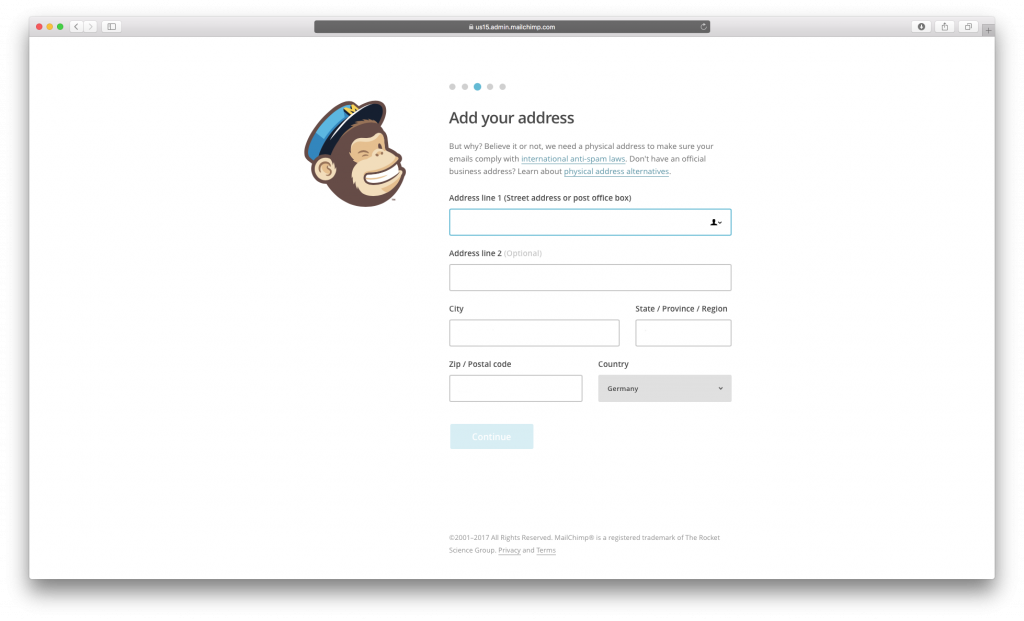
3. Write your business address.
(Quick tip: This is also an important legal step. Make sure you comply with international anti-spam laws by inserting your business's registered office address.)
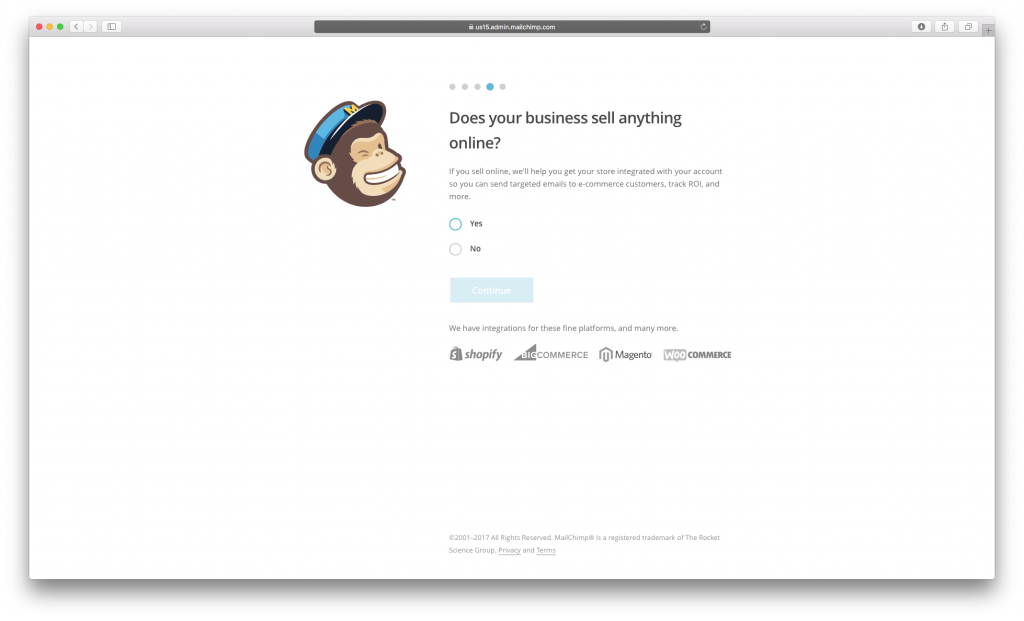
4. Click "Yes" or "No" if you sell anything online.
(Quick tip: This is a convenient tool that lets you access your customer contact list from your online shop and contact them directly via MailChimp. There are also several ESPs that allow you to integrate your e-commerce shop with your account.)
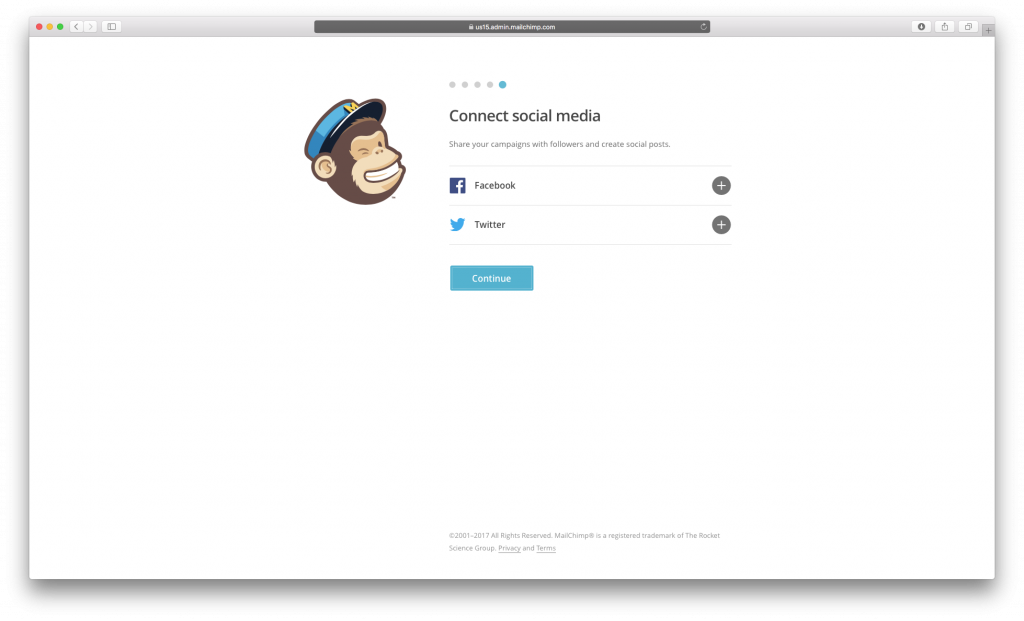
5. Decide if you want to connect your business's Facebook or Twitter account with your MailChimp account.
(Quick tip: Social media integration is great at getting your messages seen across multiple media channels. Other ESPs will let you integrate other social media outlets like Pinterest, Instagram, etc. There are also several ESPs that let you track your social media engagement.)
Congratulations! Your signup process is now complete!
The Dashboard
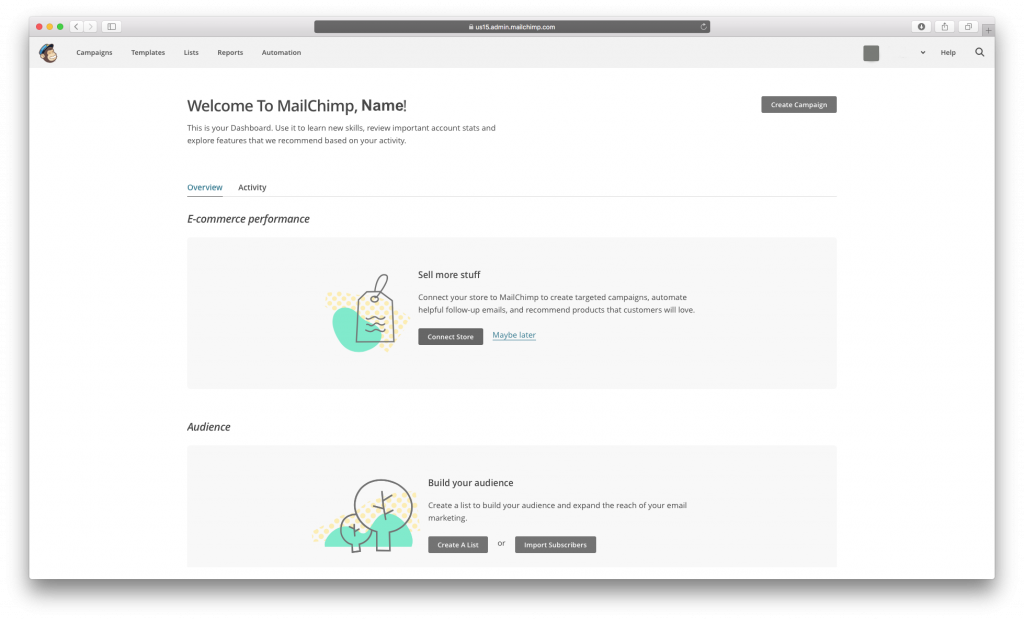
Once completing MailChimp’s questionnaire, MailChimp will lead you to its dashboard.
(Quick tip: Every ESP has its own unique dashboard. Play around and get familiar with it! )
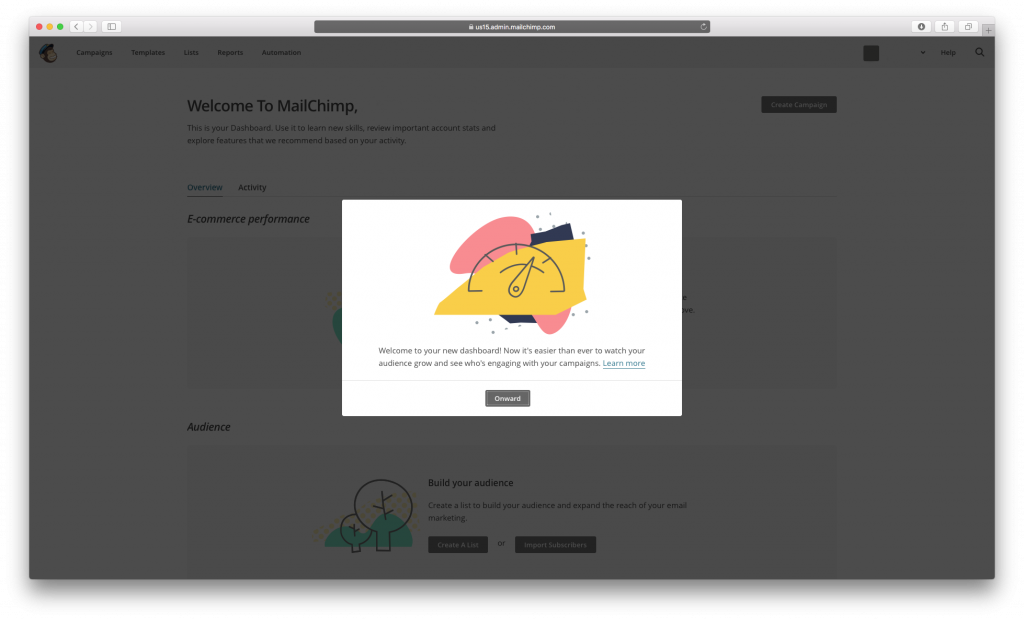
Let's dive in!
E-commerce performance
With MailChimp's dashboard, you will notice that you can check out your e-commerce performance. By connecting your MailChimp account with your e-commerce, you can communicate directly with your customers via MailChimp.
Note: As mentioned earlier, several ESPs give you the option of connecting with your e-commerce shop, which has several benefits. Some platforms will automatically add new opt-ins to your list, easing contact management demands. Others also use trigger mechanisms: a viewer's action within the e-commerce shop can trigger a specific email campaign.
And you may wondering how can ESPs communicate directly with your customers? With email automation!
What is email automation?
Email automation is when you send emails on an ahead-of-time basis or when specific emails are sent based on a customer's actions.
Note: Most ESPs have email automation tools. How awesome is that! No need to worry about manually sending emails, especially during night hours.
Why email automation?
- Good for follow-ups
- Convenient for receipts
- Helpful at nurturing leads
- Makes customer relationship management easier
- Can address geographical time differences
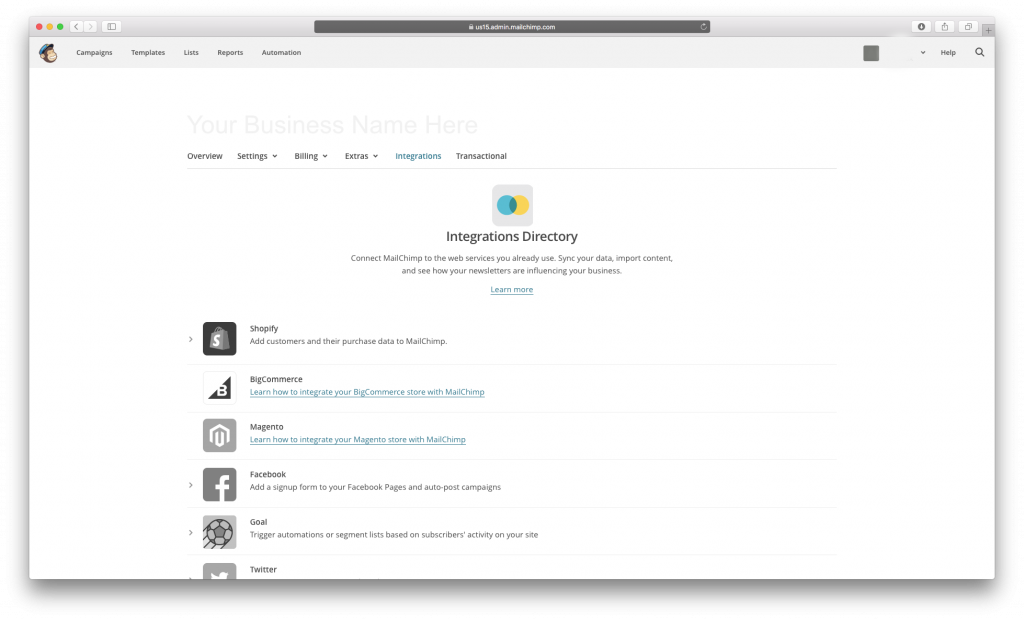
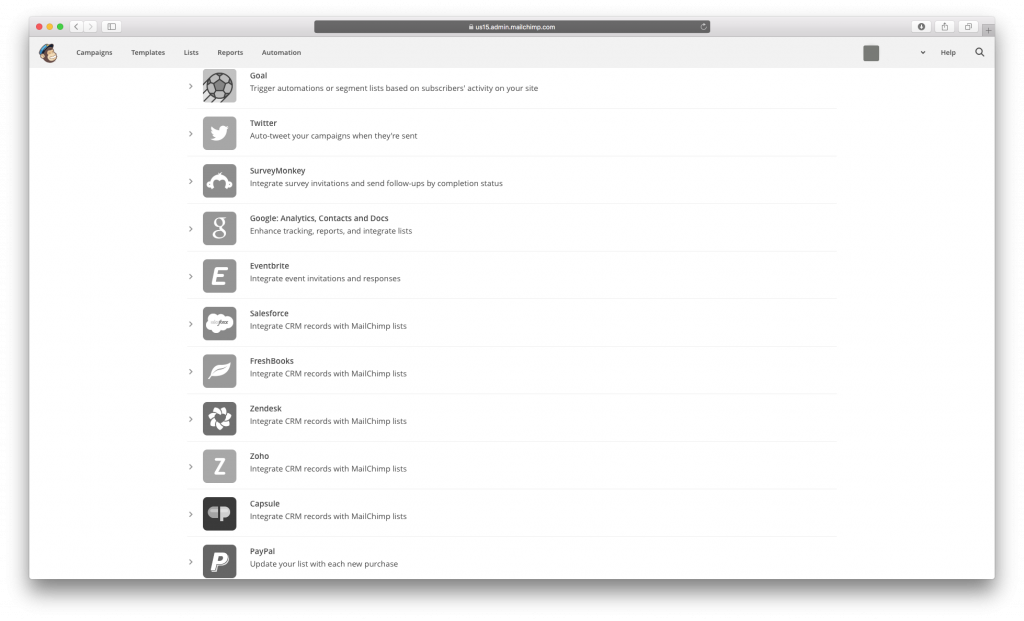
If you want MailChimp to have access to your e-commerce system, then click on “Connect Store” under E-commerce performance. MailChimp will then lead you to its Integrations Directory.
In this directory, MailChimp gives you several options of how you can connect other web services with your MailChimp account.
(Quick tip: Every ESP has their own unique integration policies. Different platforms allow you to integrate with different sets of applications. The majority of ESPs even provide guides into how to integrate an app/software with their platform. If you're a developer, you may be interested in checking out the platform's API directory and integration options.)
Audience
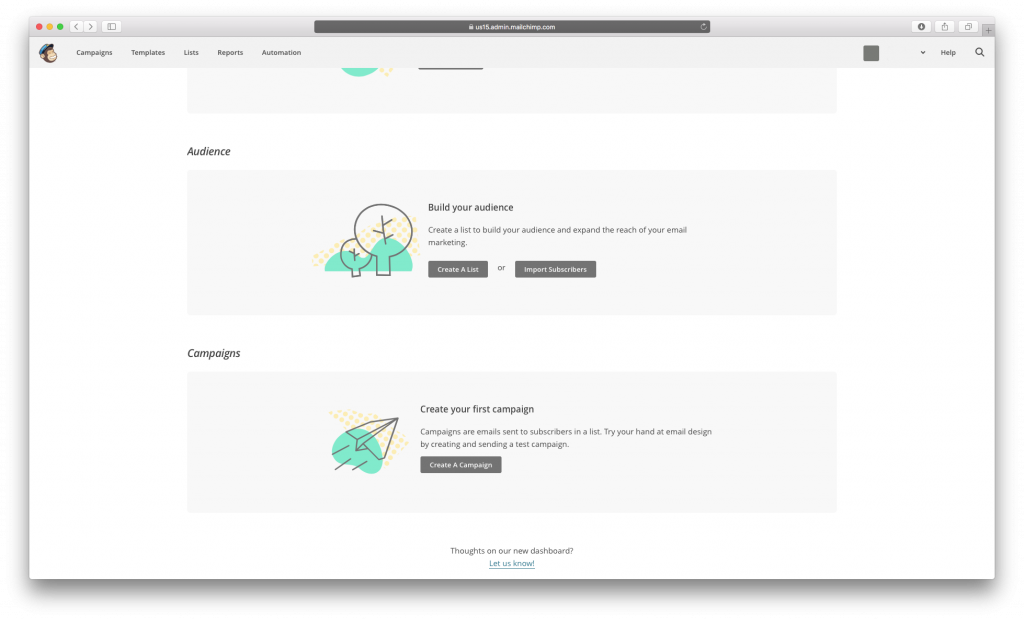
With any ESP, you need to be able send your emails to your email subscribers list. MailChimp gives you 2 main options when it comes to transferring your list to its platform: "Create A List" or "Import Subscribers."
If you click "Create A List," MailChimp will direct you to this page:
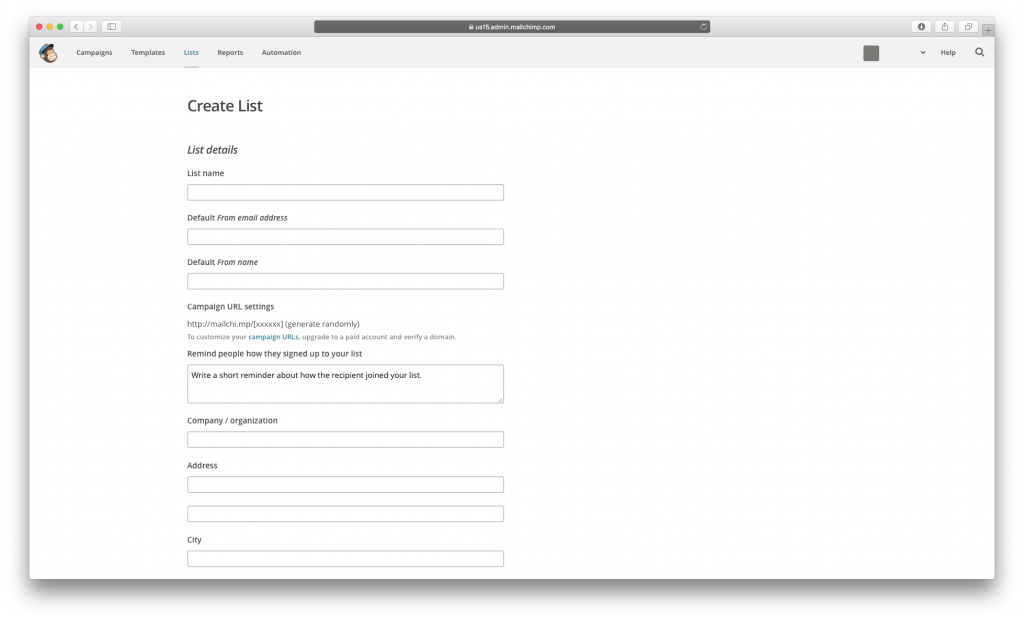
Type in a list name that you can easily remember. This is important in case you want to segment your list. You must be able to recognize what name goes with which segment.
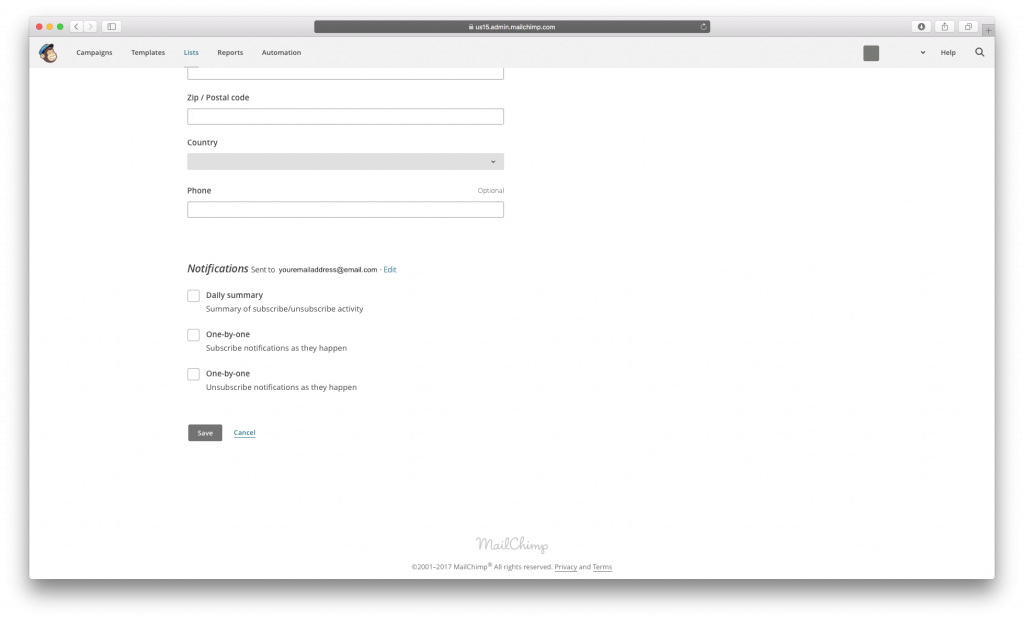
At the bottom of the page, MailChimp gives you 3 options for notifications: daily summary, one-by-one subscribers, and/or one-by-one unsubscribers. If you choose daily summary, MailChimp will notify you of your subscribers and unsubscribers activity every single day. If you choose to be notified on a one-on-one basis, MailChimp will notify you as you get a new subscriber or unsubscriber.
(Quick tip: If you're starting from scratch, the one-by-one option is a good choice for increasing motivation within your team. If you already have a long list, then the daily option is more convenient: less emails, less hassle.)
Now, if you already have a list of subscribers stored in a file, then click on "Import Subscribers." MailChimp will direct you to a page that looks like below:
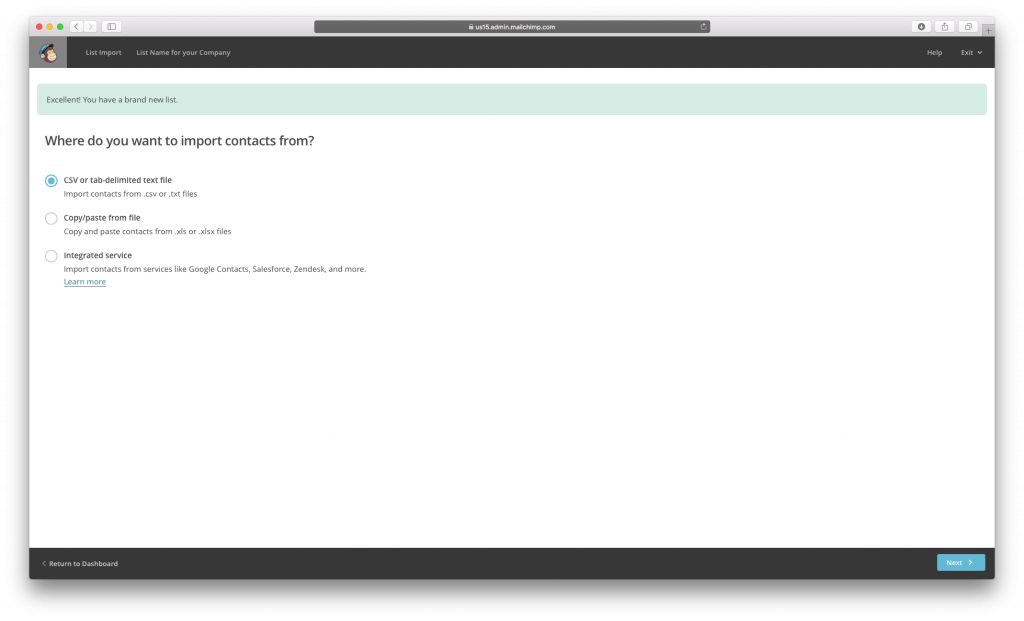
MailChimp will ask you if you want to upload CSV (.csv) or tab-delimited text (.txt) file. Also, you can choose to copy and paste your contacts manually from a spreadsheet.
If those do not work, you can import your contacts from other services. MailChimp allows you to import your list from Google Contacts, Zendesk, Salesforce, and many others.
(Quick tip: The majority of ESPs will allow you to import your subscribers list by uploading different file types or copy & paste the contact information. Make sure that whichever platform you choose will support your contact list/address book file.)
Option 1: Upload a file
If you want to upload a file, you will be led to this page:
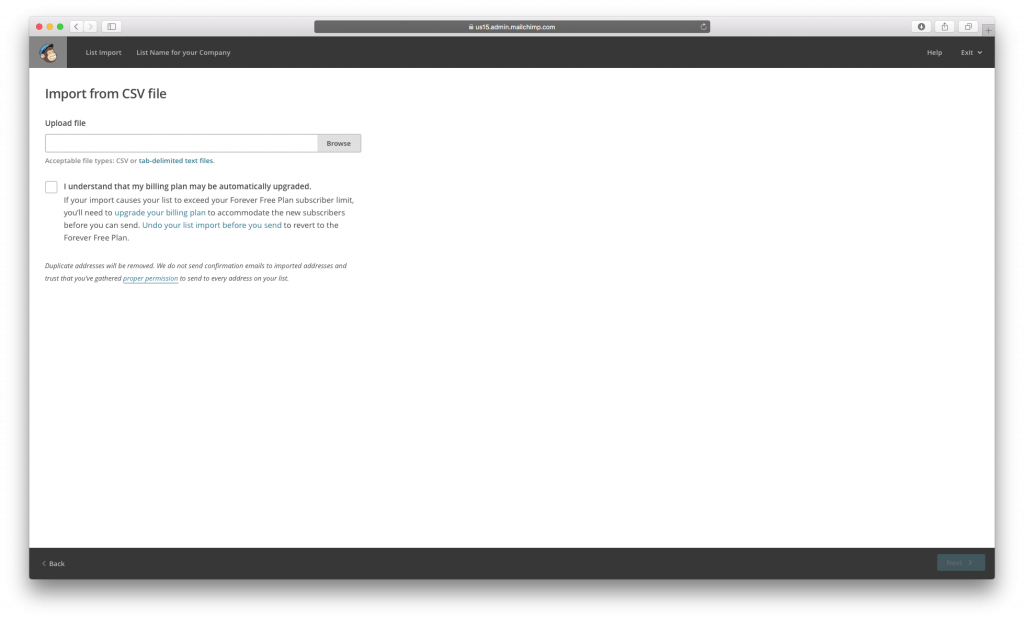
(Quick Tip: Always pay attention to how big your list is, how many emails you plan on sending out per month, and whether you need to upgrade your plan. Every ESP has its own policies. Some ESPs will automatically upgrade you if you reach a certain number of contacts, which can dramatically affect your budget.)
Option 2: Copy & paste
If you want to copy & paste your subscribers list, you will be led to this page:
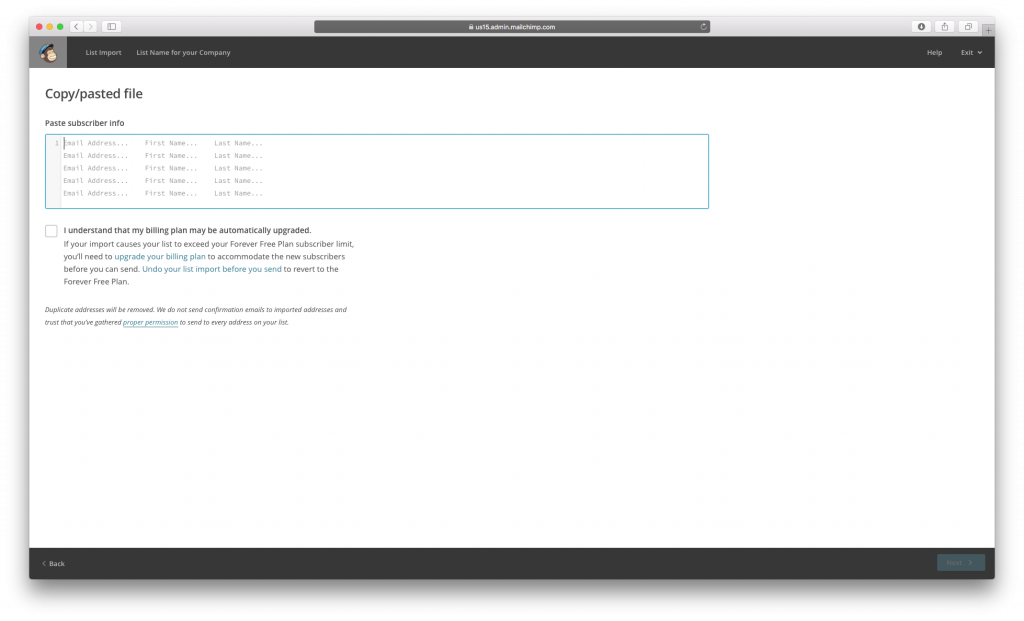
(Quick tip: Make sure to pay attention to which column is assigned to which information.)
Option 3: Integrated Service
If you want to import your contacts from another service, you will be directed to this page:
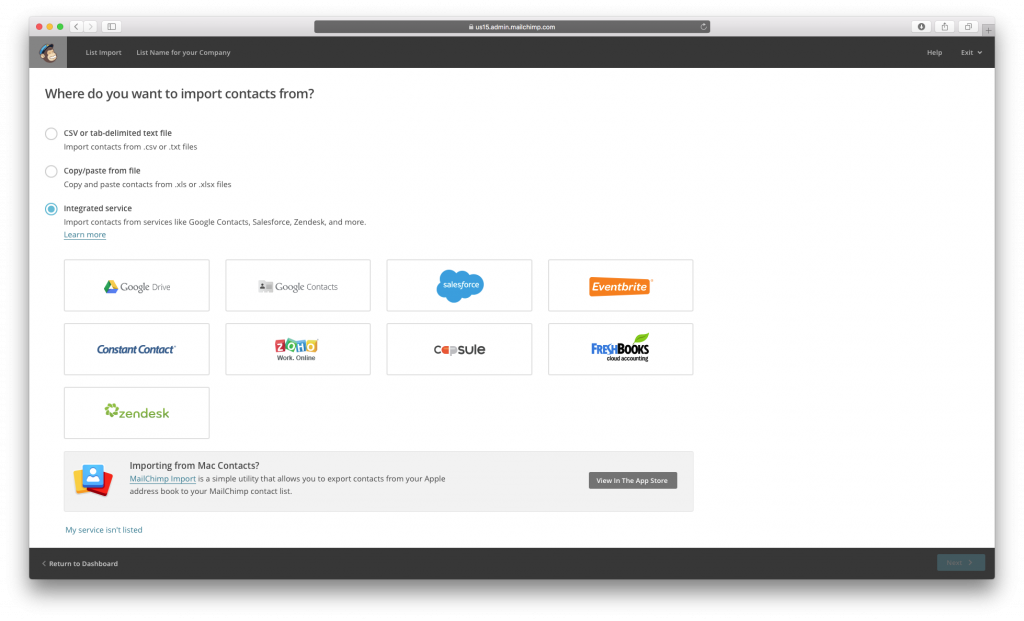
(Quick tip: Not every ESP in the market has this option. If your list is stored in services like Salesforce, Google contacts, etc., then make sure to sign up with a platform that allows you to import from these services. Otherwise, importing your contacts can become a big hassle, especially if you have hundreds or thousands of email addresses.)
After you have chosen an import method, MailChimp will take you to the importing page below:
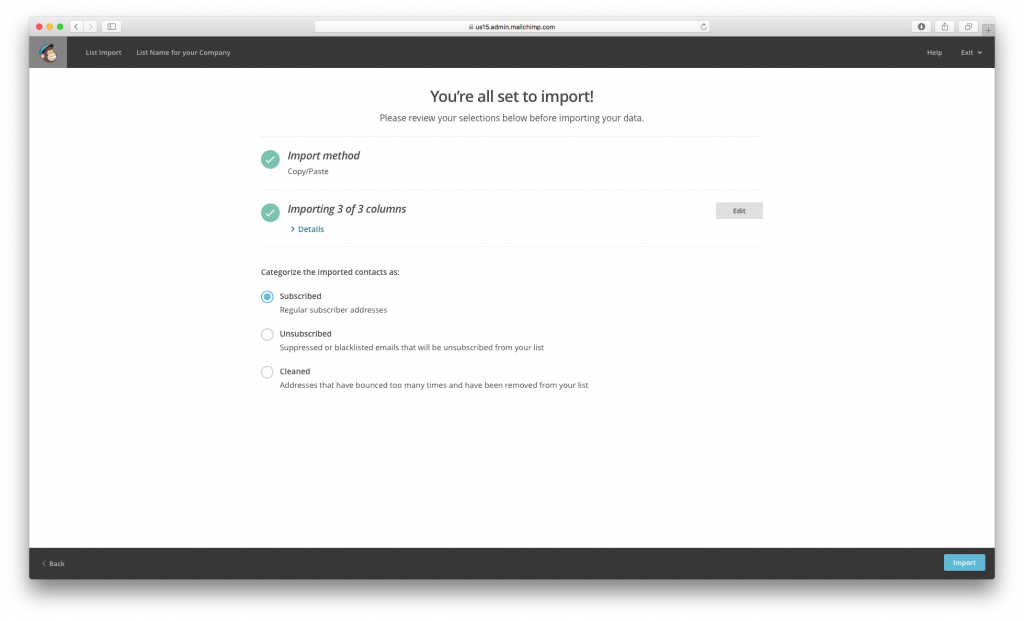
You will then have the option of categorizing your imported list. This is great for ensuring that you keep the unsubscribers and the email bounces separate from your regular email list.
(Quick tip: Many ESPs even automatically remove unsubscribers and bounces from your contact list. This is really helpful at making sure that your reputation stays on the whitelist of inbox providers and internet service providers.)
After you import, you will receive an email confirming that your list import is finally complete:
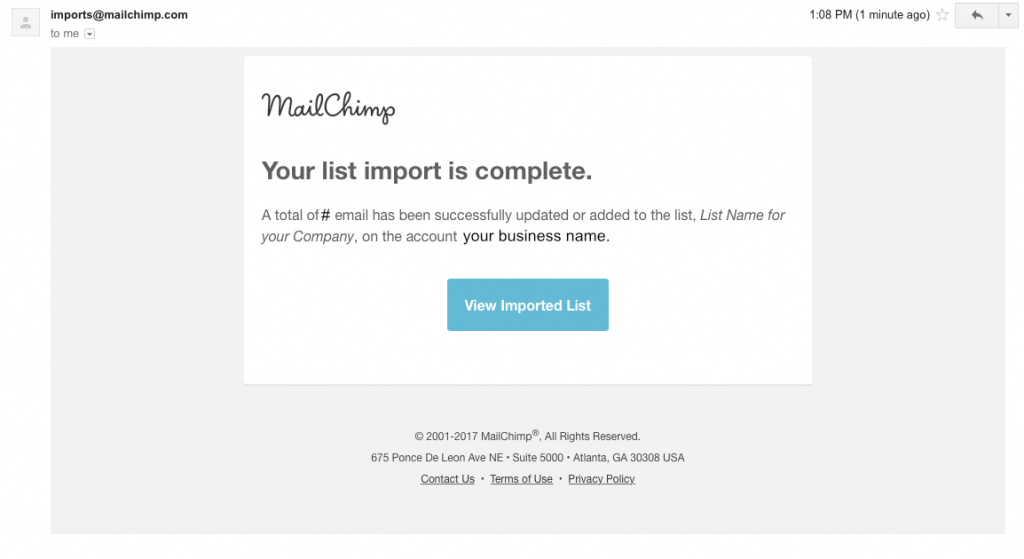
Click "View Imported List" to review if your entire list was important and to double check your subscribers list for any errors.
Campaigns
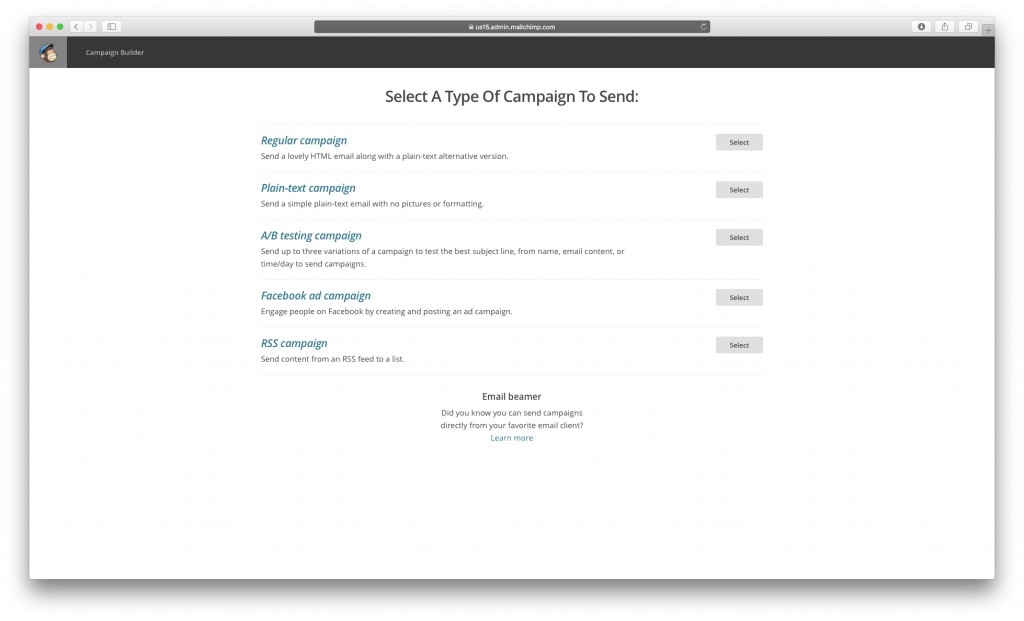
For your campaign, MailChimp will ask you what type of campaign are you aiming for. They will ask you if you want to send a regular campaign, a plain-text campaign, an A/B testing campaign, a Facebook ad campaign, or an RSS campaign.
Tips:
- Regular campaigns are awesome if you want to send great email designs to the majority of people who have HTML enabled.
- Plain text campaigns are great for sending to people who do not have HTML enabled, such as people opening emails via the Apple Watch.
- A/B testing campaigns are the way to go if you want to test which variables will have higher click-through rates.
- Go for the Facebook ad campaigns if your business has a lot of interaction with your customers through Facebook.
- RSS campaigns are terrific for news and blog type posts, so that the reader does not have to visit the website for every update.
After you click "Select," MailChimp will lead you to its segmentation page.
Segmentation:
Regardless of what campaign you end up choosing, MailChimp will ask you who you want to send the email to. It gives you the options to send the newsletter to your entire list, or to send to a group/pre-built segment that you already have, or to send to a new group/segment that you want to create. This is where you list name comes in handy. If you can easily identify which list name goes with which segment, then this step will be breeze.
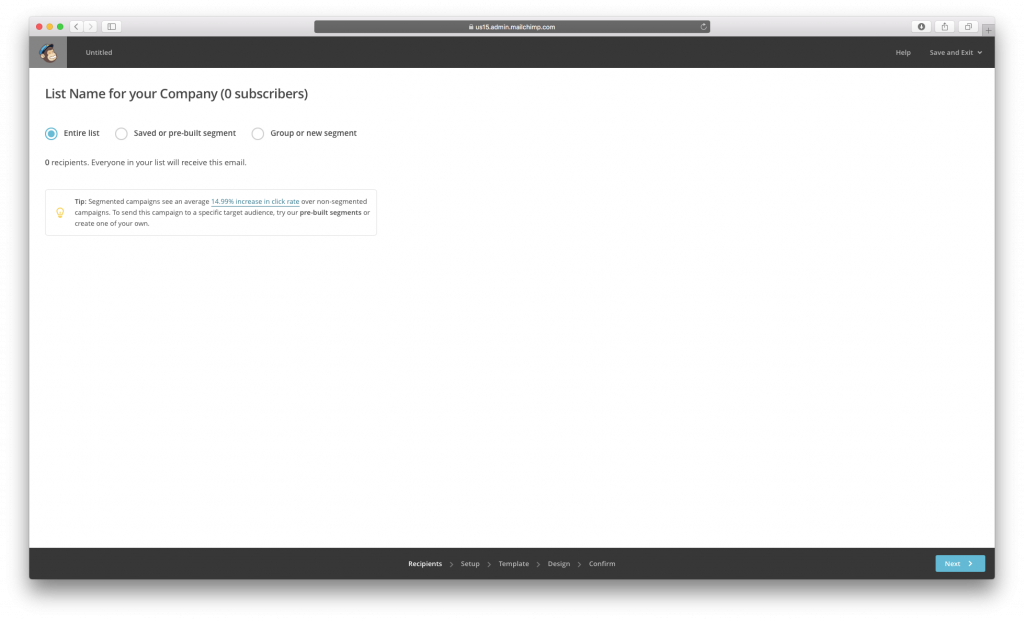
(Quick Tip: Take advantage of the segmentation tool. It allows you to send highly targeted emails, which can increase customer retention, enhance customer experience, increase email engagement, and increase sales.)
One last thing to keep in mind when you sign up...
If you choose to sign up for a free plan from an ESP, then remember:
- Their logo will most likely be in all of the commercial emails you send out. Think of it as a give and take - you get to use some of the ESP's features for free, and the ESP gets to advertise their logo to your subscribers.
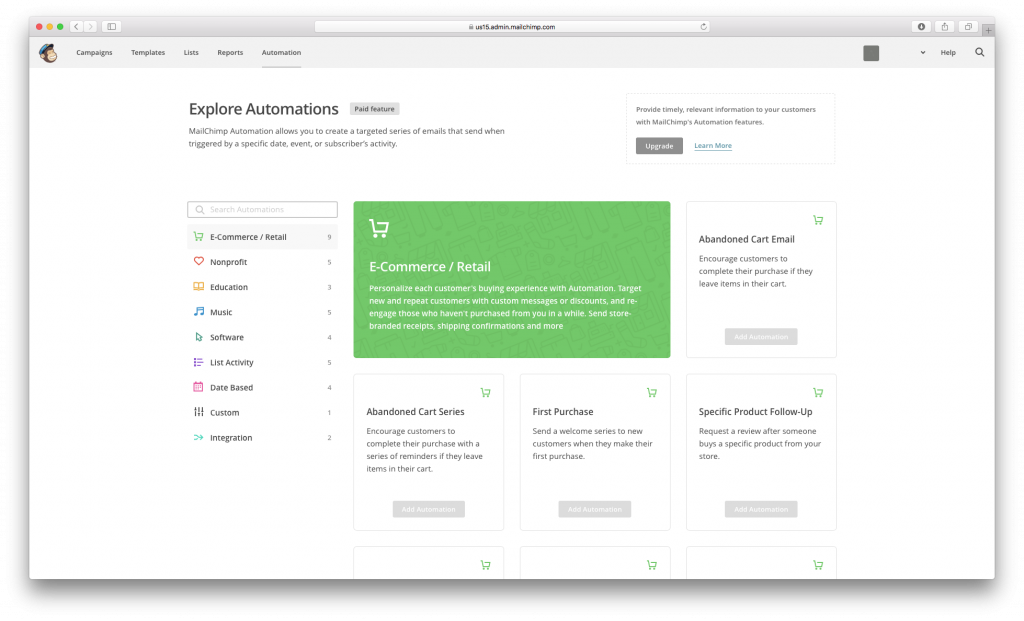
- You may not be able to use some of the ESP's tools and features. For example, MailChimp has an automation feature that is not free. But if you are still fairly new to email marketing and do not have a lot of subscribers, then play around and explore the free features available from your choice of ESP. Once you get the hang of it and have built a bigger list, then look into purchasing a plan with additional features.
Key messages:
- Make sure to include accurate info during the signup process (business name, business address, email address, etc.)
- Pay attention to the ESP's policies (like automatic upgrade depending on number of contacts)
Until next time,
Your Mail Designer 365 team
Disclaimer: We only used MailChimp as an example. Please feel free to sign up for an email service provider of your choosing.

