Beginner's Guide to Email Marketing
Step 7
Sending your first email design
Getting started
Do you need a little bit of design inspiration? Don't worry - Mail Designer 365 comes with a set of templates that you can use whenever you need a little boost to get your creativity going. If you are new to email marketing, you can start by choosing a template from the Design Ideas. Whether you are sending email newsletters for sales, announcements, events, transactions, or tutorials, the Design Ideas section is here to help:
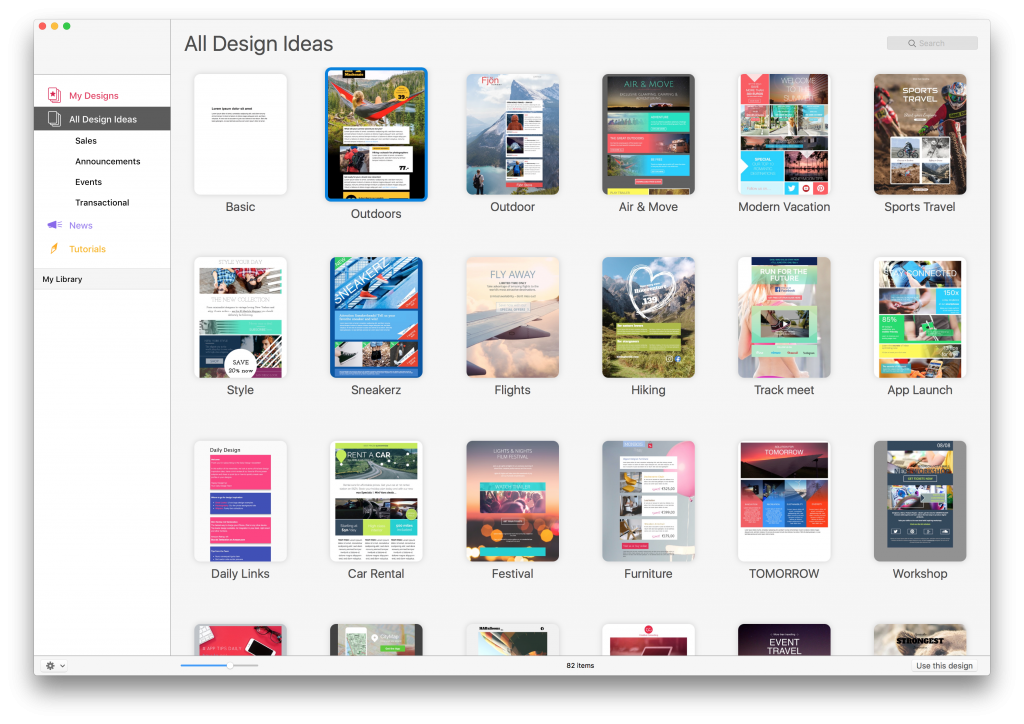
Customize to fit your needs!
Once you choose your template, you can customize it by adding your own photos, additional text and image areas, etc.
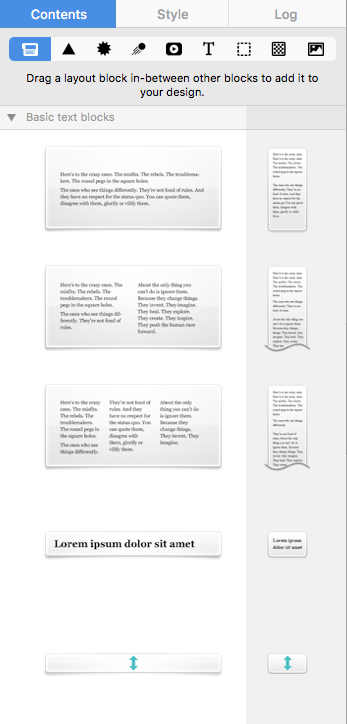
Before we go through the process of sending email newsletters, we highly encourage you to explore the "Contents" section of Mail Designer 365. Get familiar with all the cool features you can use in your future email designs. With Mail Designer 365's help, you can easily add design elements like pre-made buttons and animated GIFs to give your email newsletters an extra edge. You can also add and remove different layout blocks and add spacers to alter the overall look of the email. With Mail Designer 365, you can even style all your text and objects using the "Style" section. You also have the option of changing the mobile version of your email design independently from the desktop version. Designing and sending email newsletters has never been easier than with Mail Designer 365.
Feel free to visit our How To's section or our Video Tutorial section for quick tips on how to optimize your emails using Mail Designer 365.
Remember to preview
If this is your first time sending an email newsletter, then take advantage of Mail Designer 365's preview button. With Mail Designer 365, you can preview what your emails will look like on several devices:

Just choose which device you want to preview: a desktop, smartphone, tablet, or watch version.
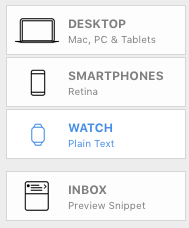
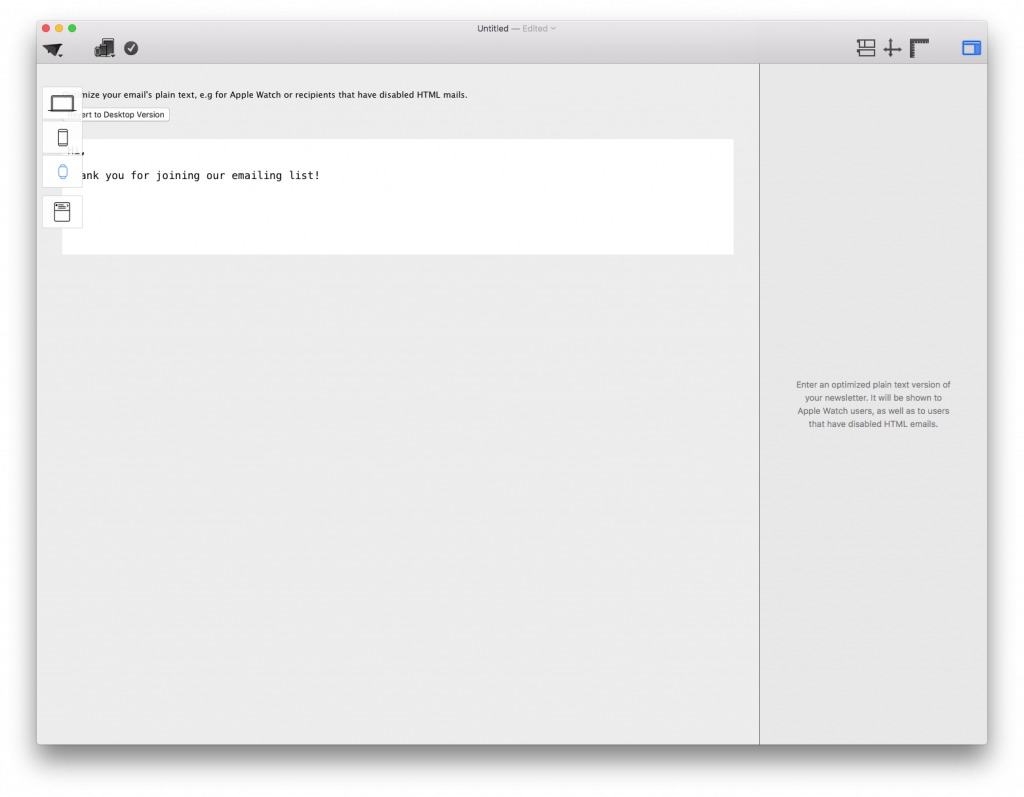
You can even use the Apple Watch preview option to optimize your email's plain text:
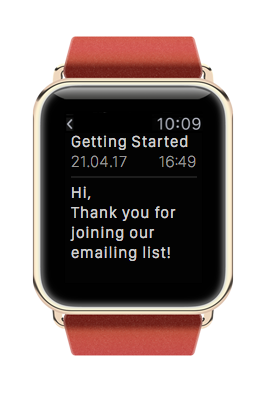
Here is an example of what your email can look like on an Apple Watch:
With the help of Mail Designer 365's preview features, you can have a better idea of how your email messages will be displayed on your recipients' devices. Designing and sending email newsletters matter, but how your messages look when someones opens the email via different devices matters just as much. If your preview device is not listed, then you can set up a custom preview device.
Optimizing the inbox preview snippet
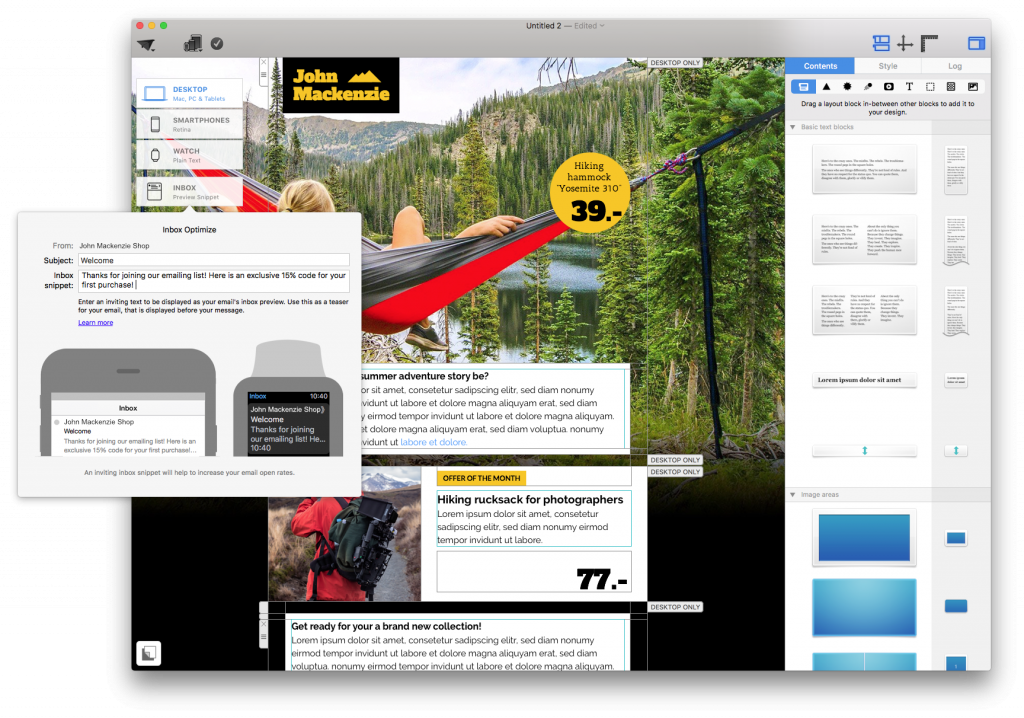
Another great feature in Mail Designer 365 is that you can even optimize the email's inbox preview snippet prior to sending email newsletters. Say goodbye to awkwardly cut-off inbox preview text!
Setting up your design delivery account
Are you done designing your email? Try sending email newsletters to yourself or to your team first. This way, you can see and review your email template before it goes live to the public. Also, this is a great way to receive feedback from others prior to the launch of your email campaign.
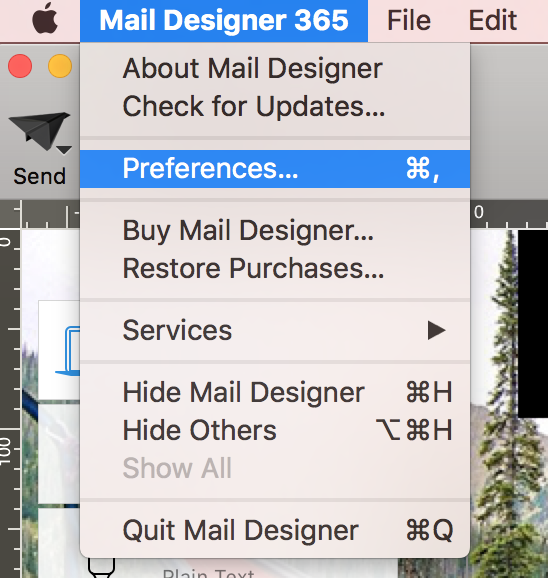
First, make sure that you set up your design delivery. In Mail Designer 365, choose "Mail Designer 365 > Preferences..."
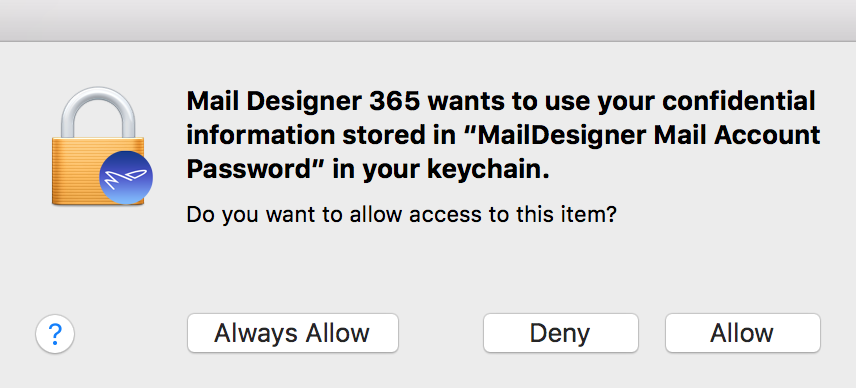
A popup may appear. Click "Allow" when you are ready:
Then add your mailing information:

Once you finished, you are ready to send a test email!
Sending a test email
In Mail Designer 365, click on the paper aiplane icon on the top left.
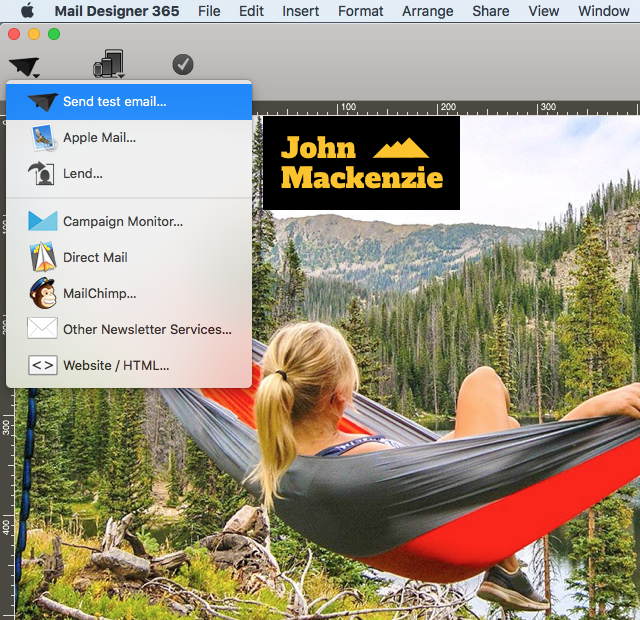
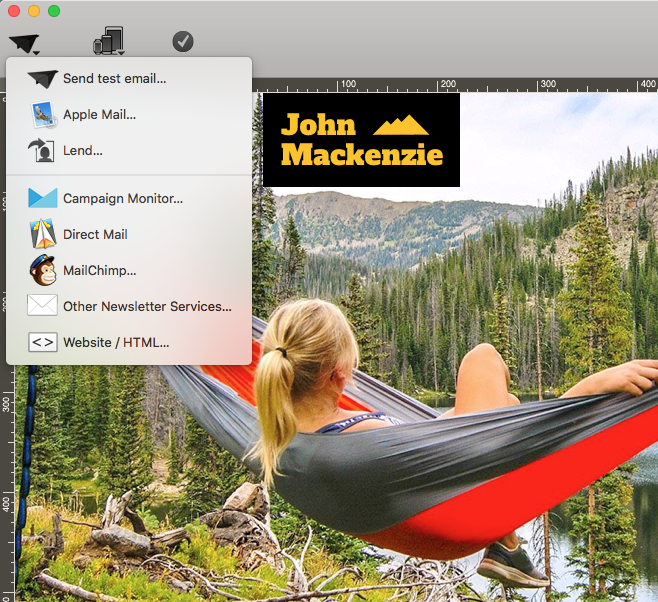 The choose "Send test email..."
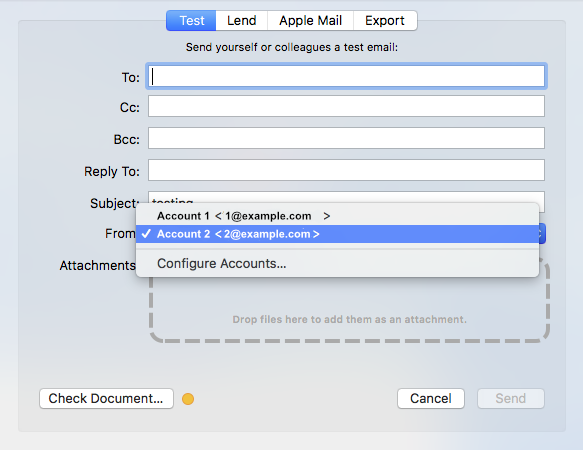
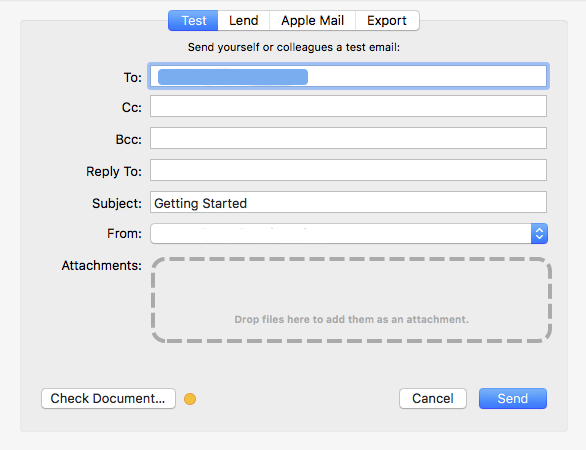
A popup will appear:
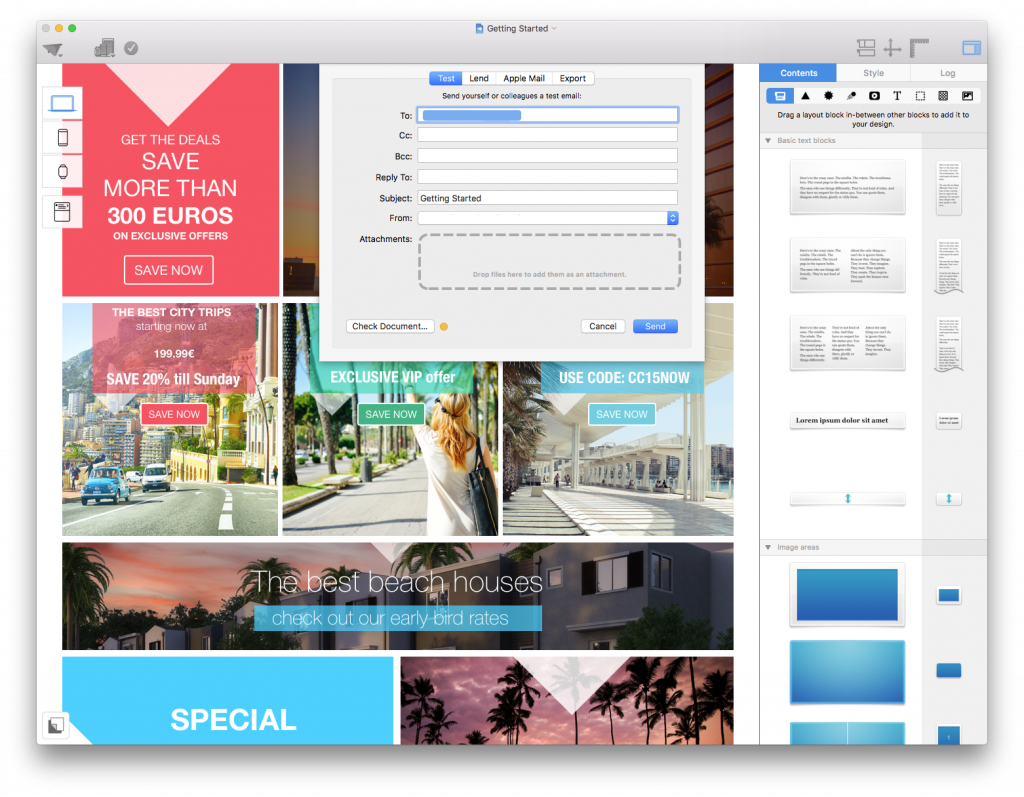
You can add an email address of your choice within the “To” section. This could be to yourself or to a designated test email address.
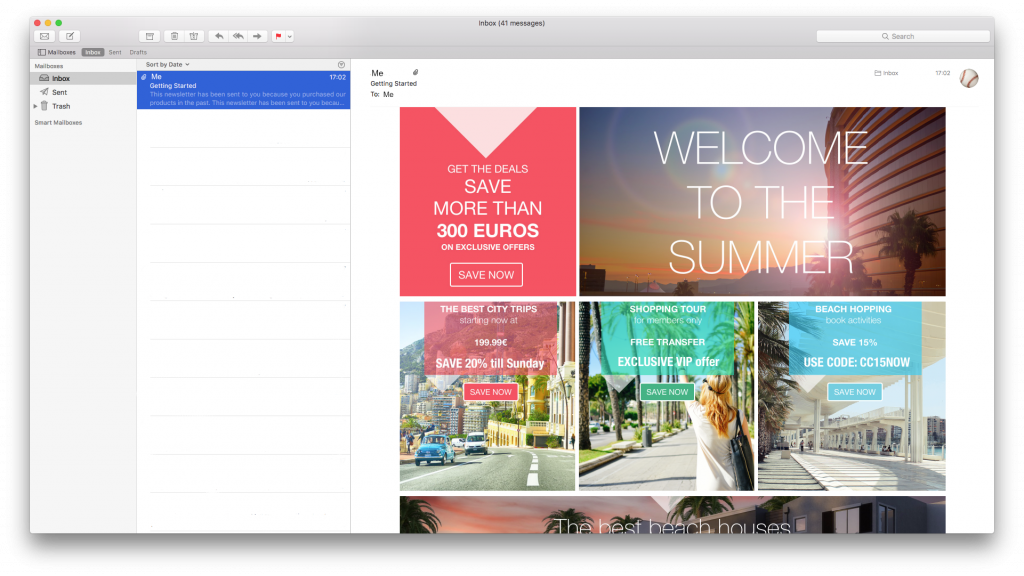
If the email address is correct, then the recipient should receive the test email in their inbox:
Other collaboration options
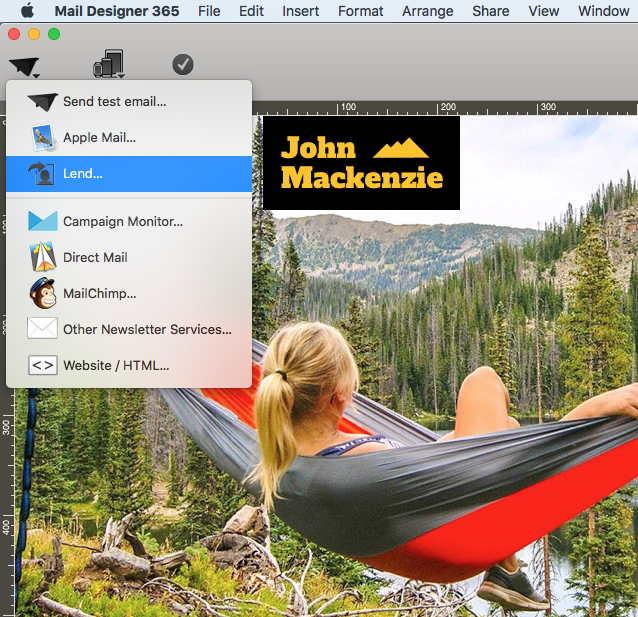
You also have the option of lending your email template draft to one of your team members. Just click on the paper aiplane icon and choose "Lend..."
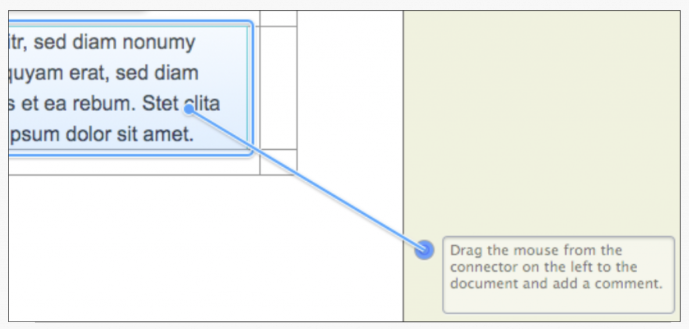
Mail Designer 365 also makes it hassle free to get feedback from your teammates. They can easily add comments, so you know where to look.
After checking your email draft and making your adjustments, then you’re ready to send it through your email service provider.
Sending your email newsletters through an email service provider (ESP)
Note: Since we have already guided you on how to sign up for an email service provider (ESP) using MailChimp, we will also guide you on how to send your Mail Designer 365 designs using the same service. Although we are using MailChimp as the ESP for this example, you can use your choice of ESP. If you do not know which ESP to pick, check out our checklist of ESP features as well as our quick guide to ESPs.
Quick tip: With Mail Designer 365, you can configure and use your choice of standard email service to send your email newsletters such as GMX, Gmail, Yahoo, etc. If you end up choosing an ESP that is not listed, then make sure to check out our configuring tips for non-standard email service providers.
Here is what a configuring box will potentially look like:
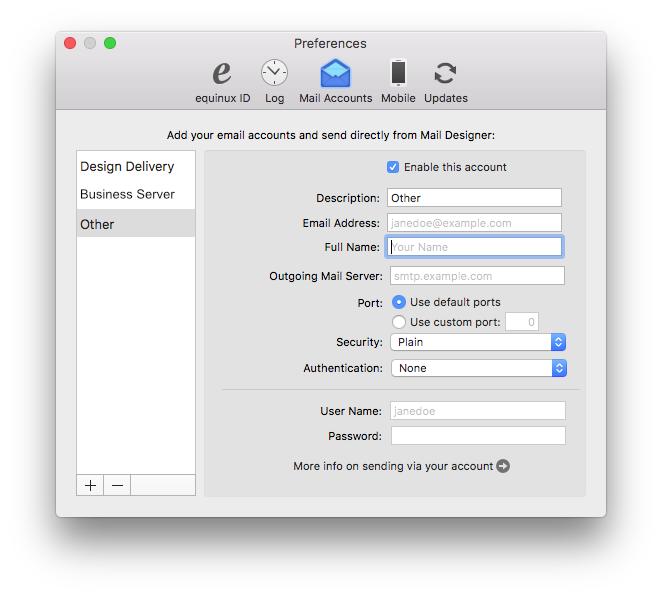
If you end up configuring several email services, you can choose the send service you want to use for a specific email campaign from the drop down menu:
Note: When sending email newsletters, you do not need to stick to the same ESP with every campaign.
Sending your email newsletters via MailChimp
If you're ready to send your email through an ESP, then click on the paper airplane icon found on the top left of your screen. Then, choose "MailChimp..."
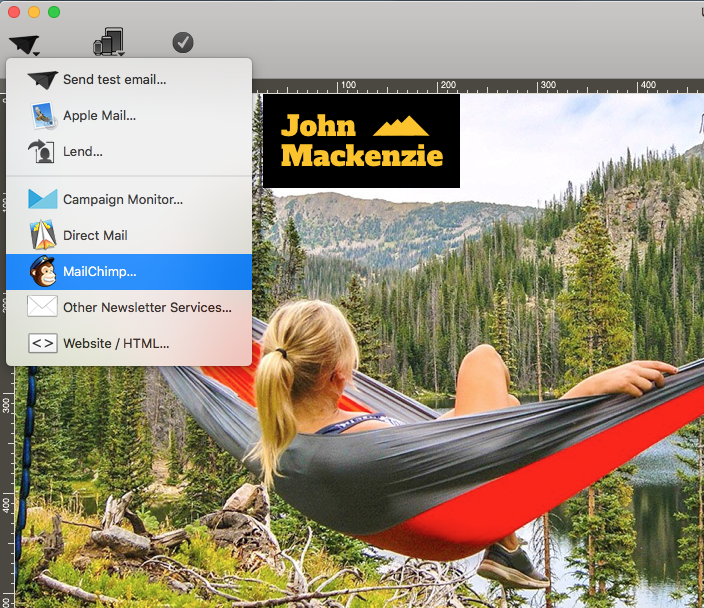
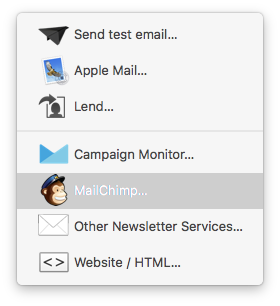
Here is a closer look of the drop-down menu:
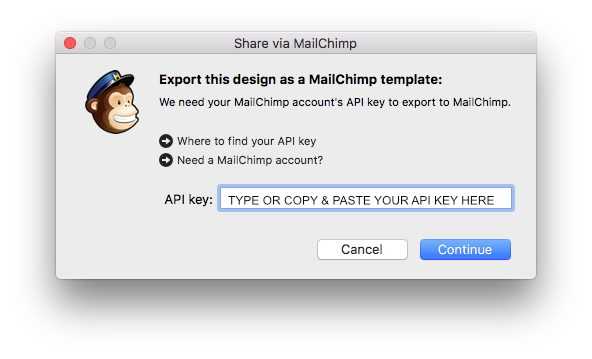
A popup will appear that will ask for the API key:
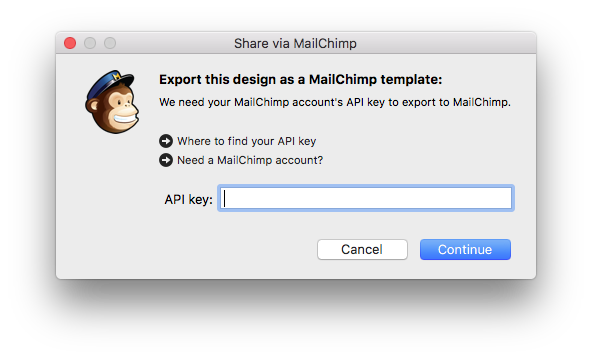
You can click on the “Where to find your API key” or enter this address on your web browser: https://us15.admin.mailchimp.com/account/api-key-popup/
It will lead you to a sign-in page where you need to sign in into your MaiChimp account. If you are already logged into your MailChimp account, it will direct you to a page like below:
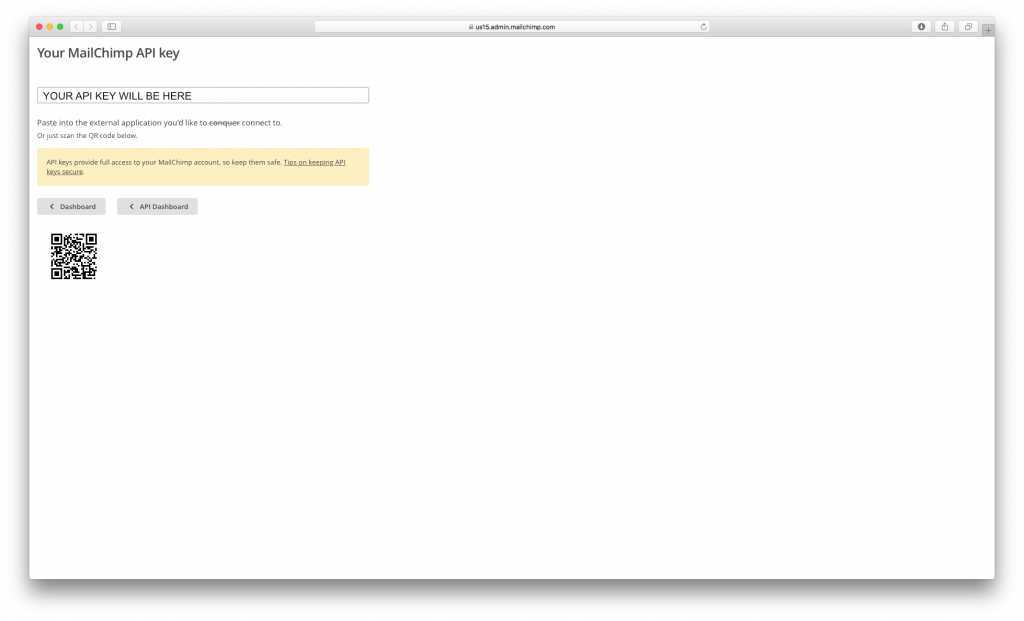
Copy and paste your API key and click "Continue."
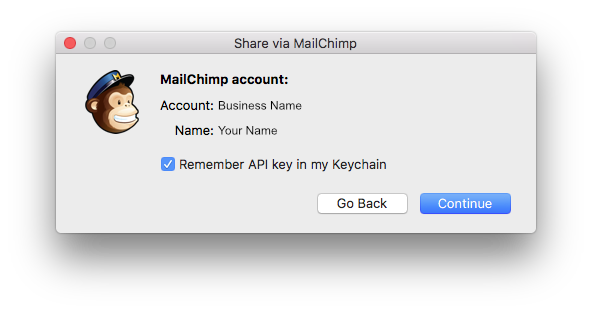
After you click "Continue," it will ask you if you want to remember the API key. Check or uncheck the box and then click "Continue."
MailChimp will ask you to import the design as a template. If you forgot to add an unsubscribe link, MailChimpwill remind you to add it:
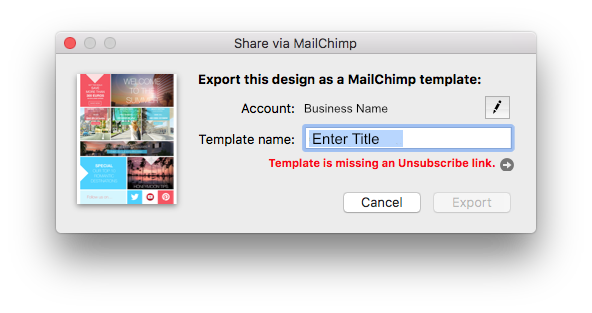
You will not be able to export your email design unless you have an unsubscribe link. Think of it as an added safety net to help you comply with anti-spam laws.
Unsubscribe link
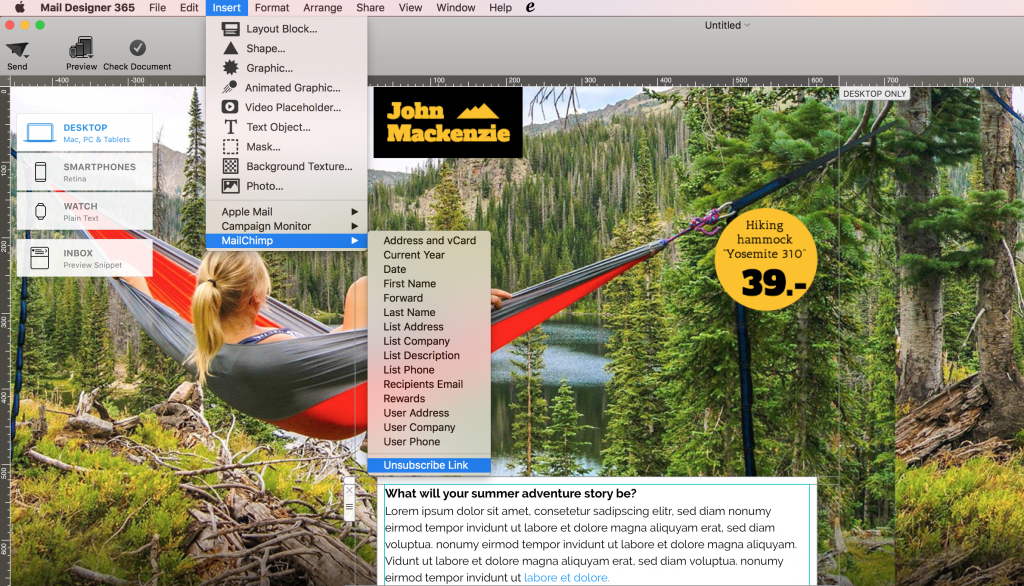
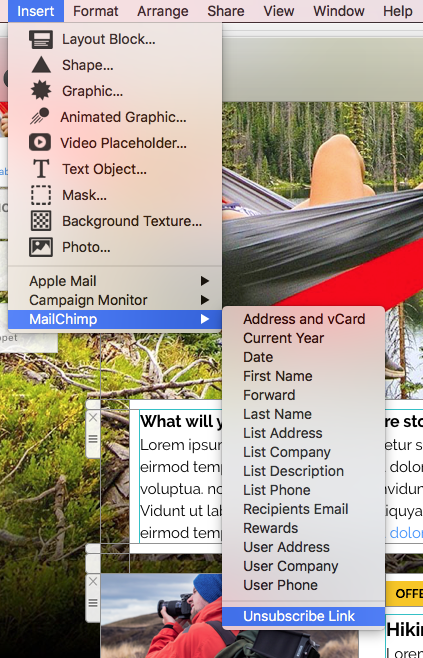
To enter an unsubscribe link, choose "Insert >MailChimp > Unsubscribe Link."
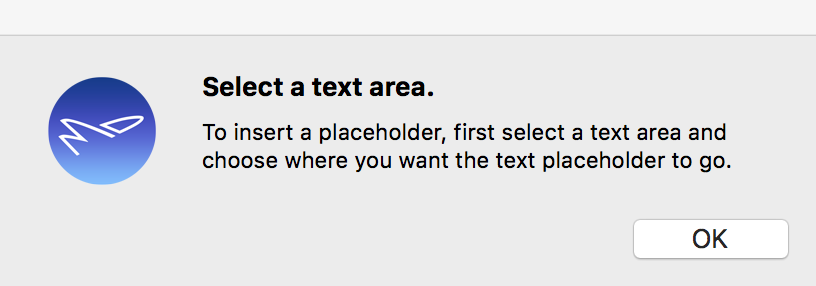
Mail Designer 365 will tell you to select a text area as a placeholder if you have not done so:
Make sure to click on a text area. Then proceed as before by choosing "Insert >MailChimp > Unsubscribe Link."
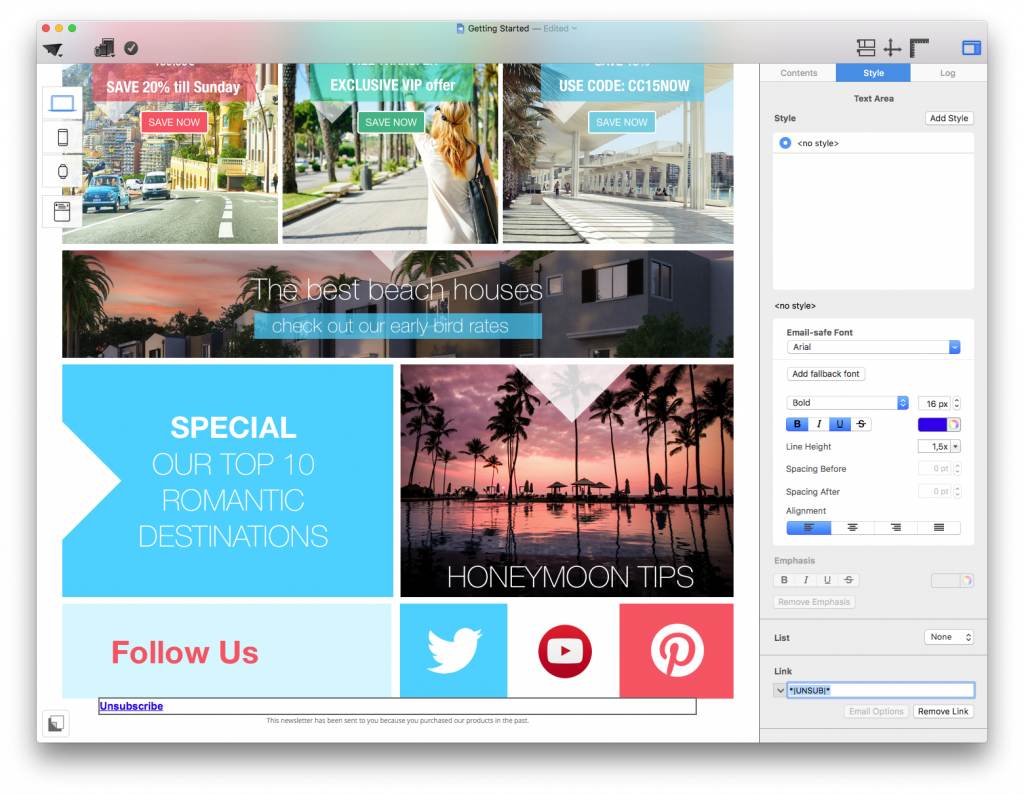
It will automatically write “Unsubscribe” within the text area. On the bottom right side of the sidebar, you will see a form for the link where you can type in the unsubscribe link:
Make sure to comply with unsubscribe requests as soon as possible. If possible, try to comply instantaneously.
Quick tip: Some ESPs have automatic unsubscribe management tools that remove unsubscribers from your regular emailing list as soon as the system receives the unsubscribe requests. If this feature is important for you, then remember to prioritize it when creating your checklist of must-have ESP features.
Enter your unsubscribe link accurately:

After inserting an unsubscribe link, you can now export. Before you export, you do have the option of adding a rewards link if you want. Unlike an unsubscribe link, a rewards link is not mandatory. For other safe email practices aside from an unsubscribe link, check out our tips.
When you are ready, click "Export:"
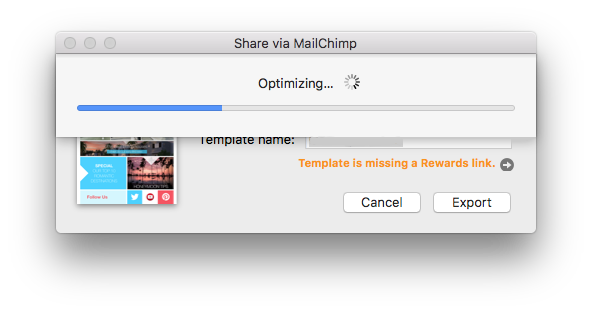
Then a popup will appear that lets you know when your newsletter has been uploaded to MailChimp:
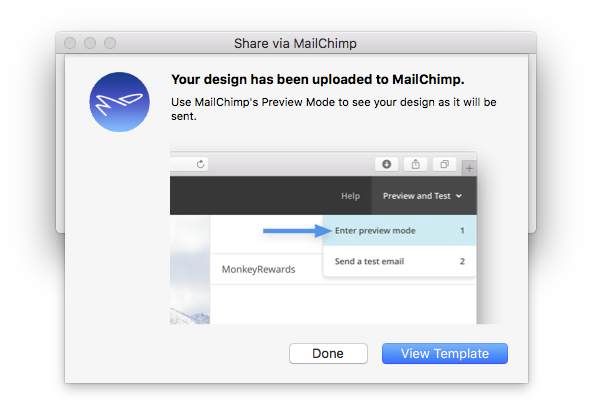 Click "View Template" to view your email design.
Viewing the template on the ESP's website
You can view your newsletter on the Templates page in MailChimp:
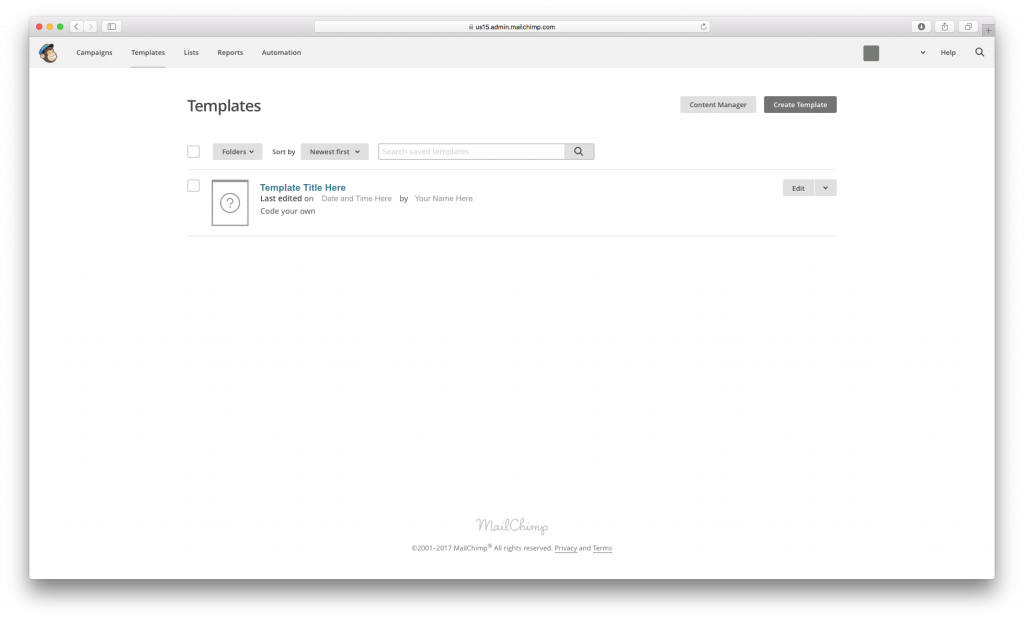
This may be different depending on your email service provider. However, most email service providers will let you review before sending email newsletters.
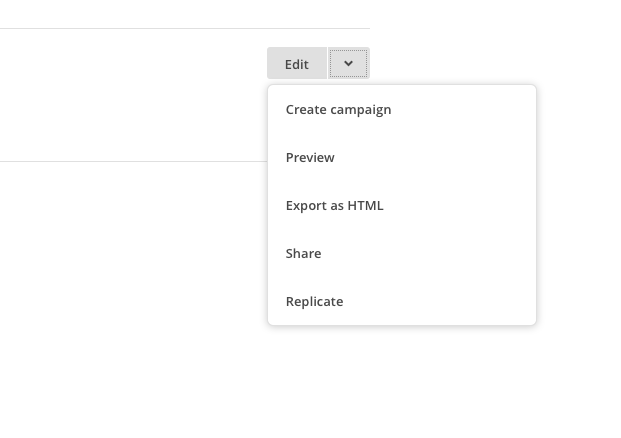
On the right side, you can choose "Edit > Create campaign:"
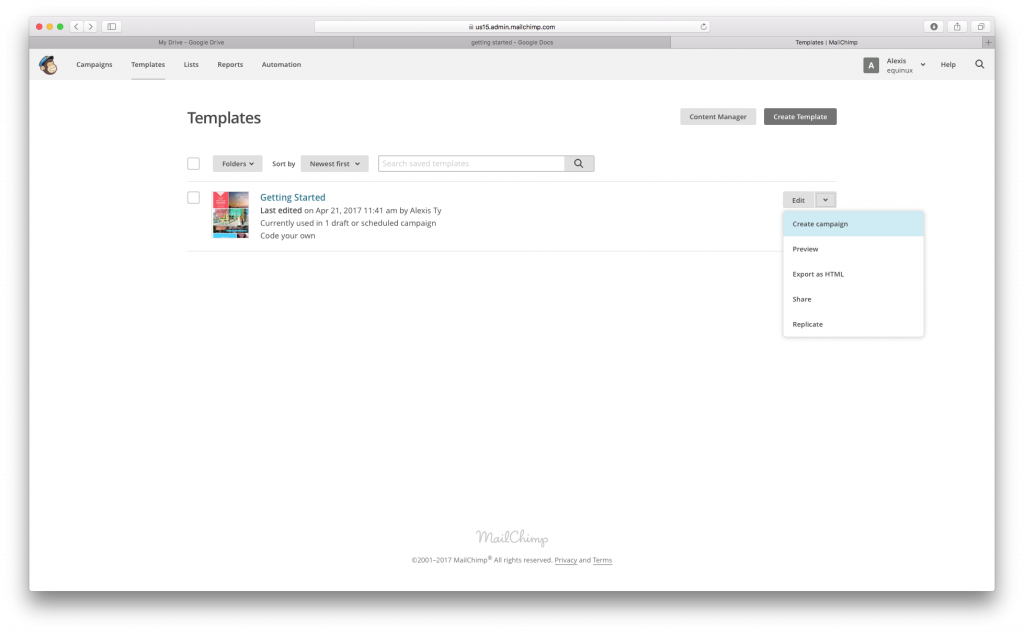
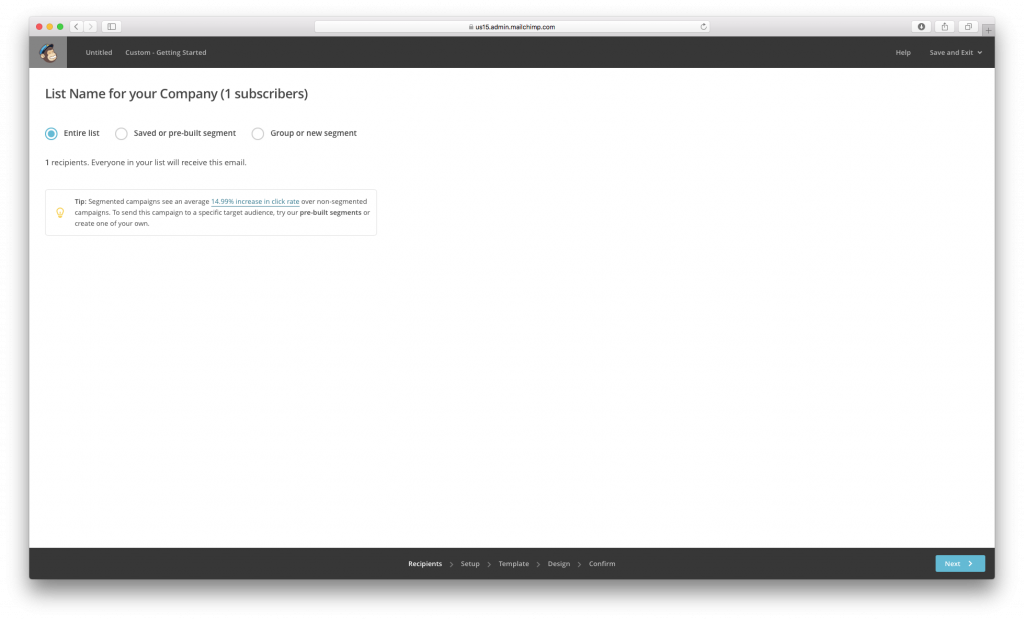
With each campaign, MailChimp will ask you if you plan on sending email newsletters to your entire list or to a segment of your list:
After clicking next, MailChimp will direct you to the “Campaign info” page:
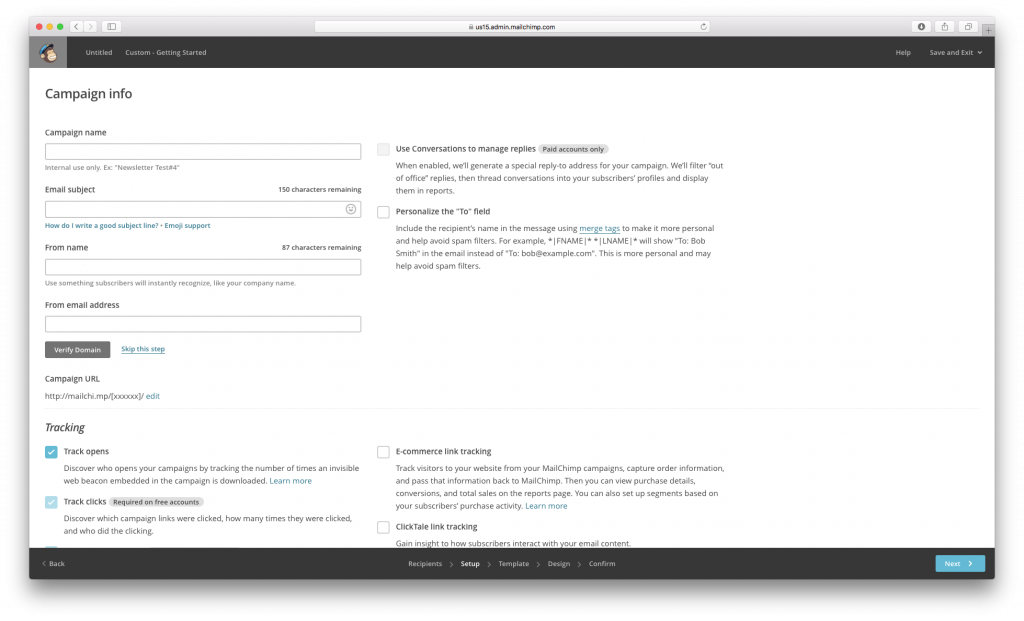
Within the campaign info page, you can add the campaign name and email subject that your recipients will see. You can also personalize your emails by using merge tags. Additionally, you have different tracking options, allowing you to track opens, clicks, plain text clicks, etc.
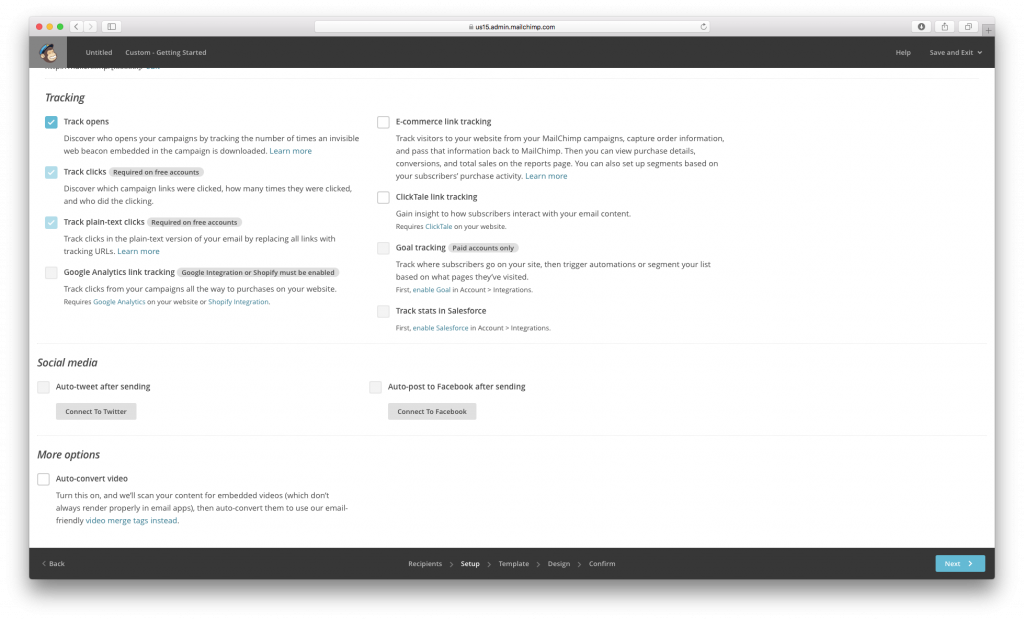
Is your business active in social media? No problem. You can choose to add social media integration by auto-tweeting or auto-posting on Facebook.
Lastly, are you using a video in your email? MailChimp gives you the option of auto-converting for your videos.
When you are ready to send, just click “Next.” A popup will appear asking you if you want to send:
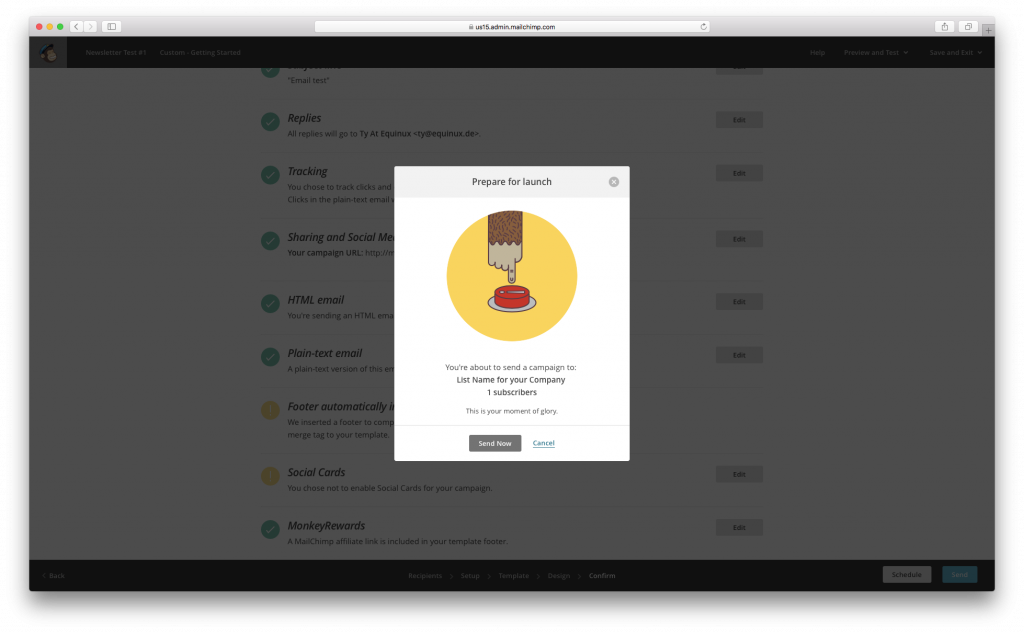
Click "Send Now." After you send it, MailChimp will confirm with you that your email campaign is in the send queue:
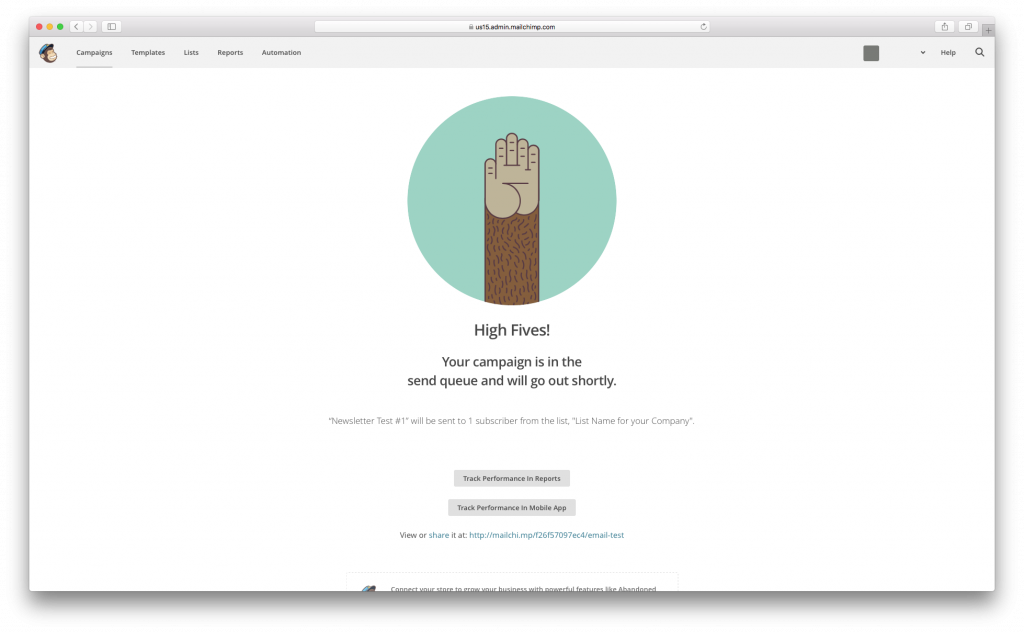
Tracking tools
Afterwards, MailChimp will let you track the progress of your email campaigns:
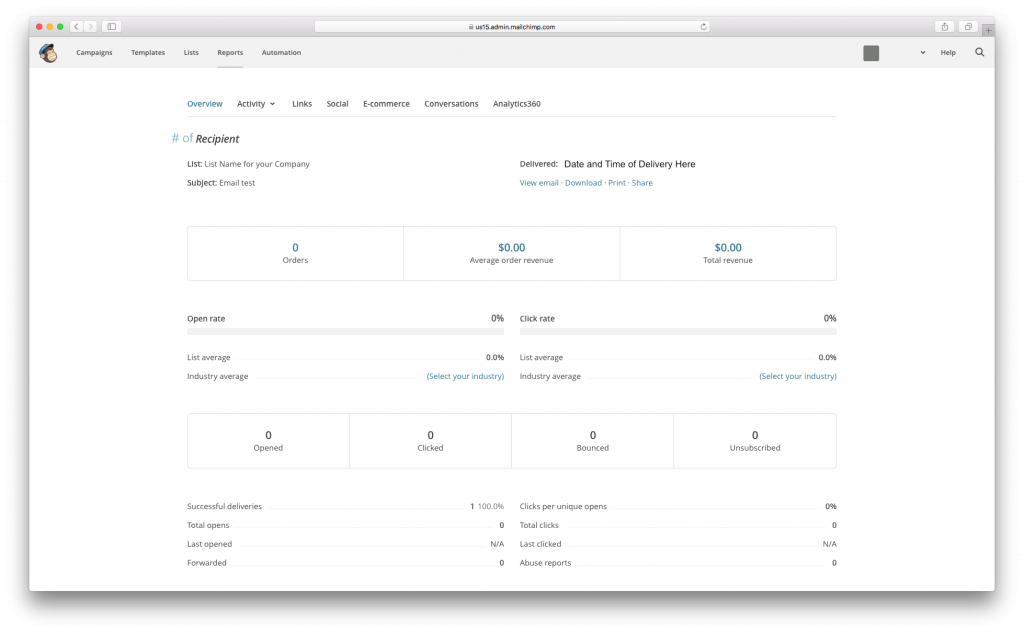
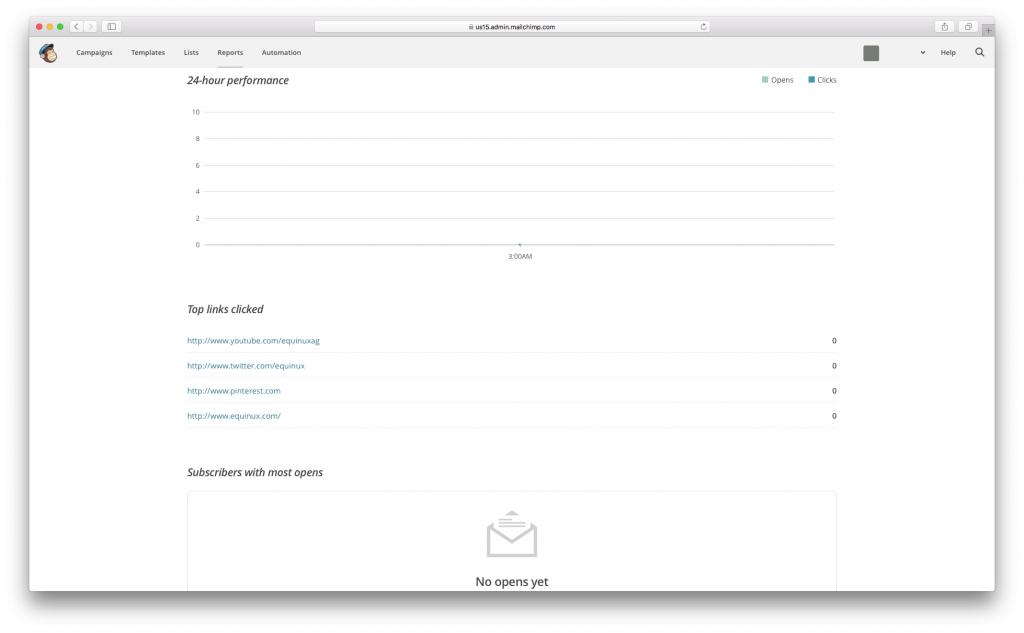
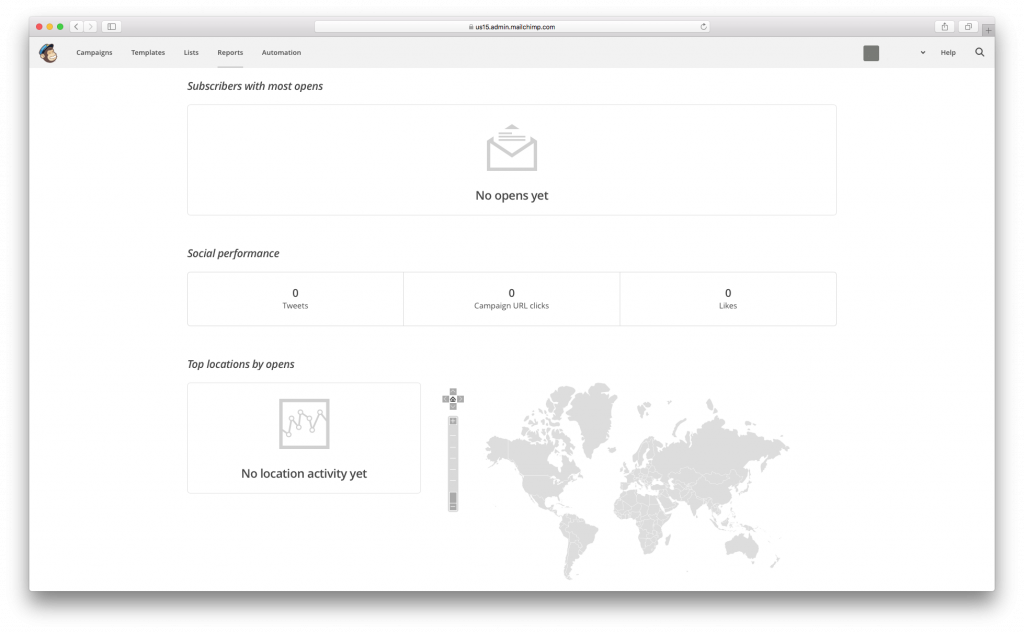
Sending email newsletters goes hand-in-hand with tracking their success. With the help of your ESP's tools, you can determine which type of campaigns and designs receive more engagement.
Quick tip: It may take some time for you to get used to your ESP's dashboard. If you have not done any tracking before, don't worry if it's a little frustrating or overwhelming at first. It will get easier with time - we promise! Once you get used it, tracking key performance indicators will be a piece of cake.
Formatting is not being displayed correctly in MailChimp?
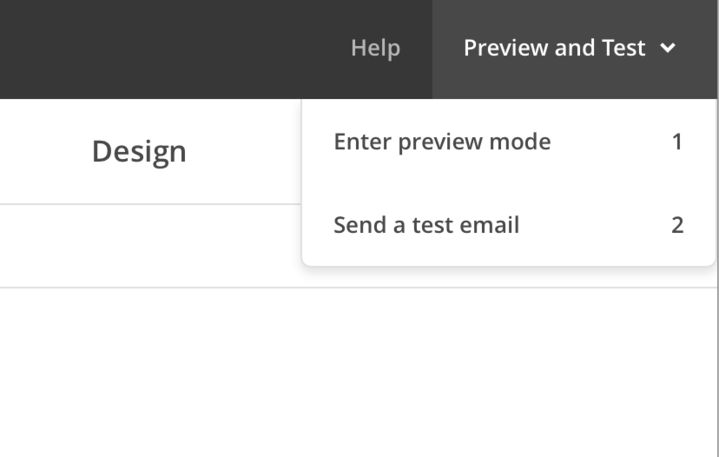
In cases when you see that the formatting of your Mail Designer 365 email design is not being displayed properly when uploaded to MailChimp, try clicking on "Preview and Test." Then choose "Enter preview mode." This should now display your email design the way you formatted it in Mail Designer 365.
Disclaimer: We are only using MailChimp as the ESP for this example. Please feel free to use your choice of ESP. Check out our quick guide to ESPs to see if your choice of ESP has been tested for Mail Designer 365 compatibility. To get support for ESPs that have been tested for Mail Designer 365 compatibility, read our integration guides.
Until next time,
Your Mail Designer 365 team

